Archives for November 2011
TKW Specialities
Sweets & Treats
Courses/Types

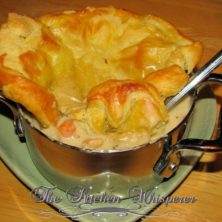
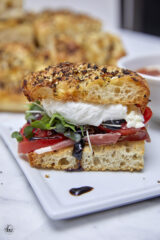
Turkey Pot Pie with a Puff Pastry Crust

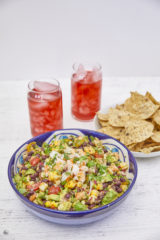
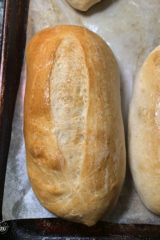
Leftovers… now what?

What I’m thankful for…

Thanksgiving… Are you ready???
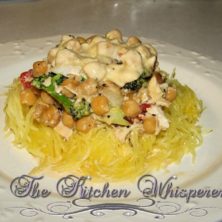
Spaghetti Squash in a vegetable mornay
Spaghetti Squash in a Vegetable Mornay
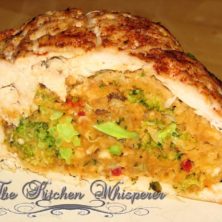
Stuffed Chicken Breasts – Redux!
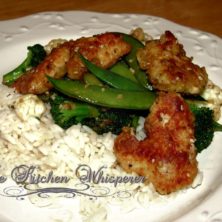
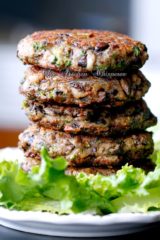
Crispy Honey Glazed Chicken
So you’re out of a recipe item… Now what?
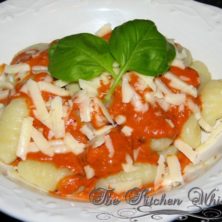
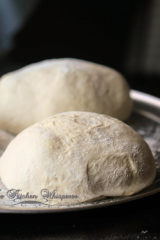
Gnocchi in a Vodka Cream Sauce
Yes, we have facebook!!!
See more recipes