Archives for April 2012
TKW Specialities
Sweets & Treats
Courses/Types


Ya shoulda known better… common kitchen mistakes
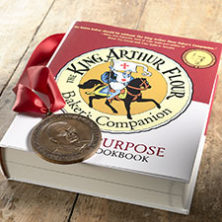
The King Arthur Flour Baker’s Companion
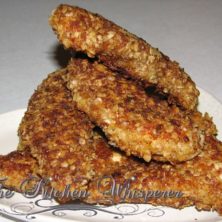
Oat Crusted Chicken Tenders
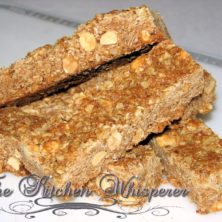
Crunchy Peanut Butter Granola Bars

Simple Italian Marinara

How to roast garlic
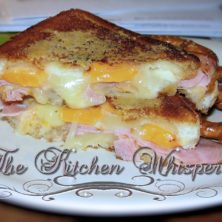
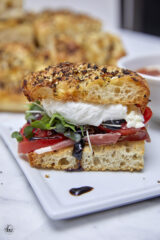
Got cheese??? Stuffed Parmesan Crusted Grilled Ham & Cheese…
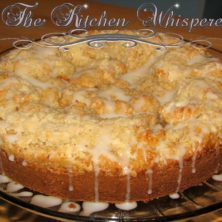
Streusel Fruit Breakfast Cakes
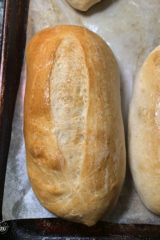
Bakin’ the day away…

Chicken Chimichangas… Ole!

Sarabeth’s Bakery – From My Hands to Yours
See more recipes