tricks
TKW Specialities
Sweets & Treats
Courses/Types
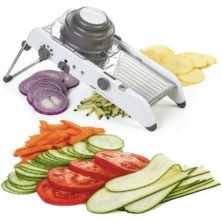
Tuesday’s Tip with The Kitchen Whisperer – Mandoline Slicing
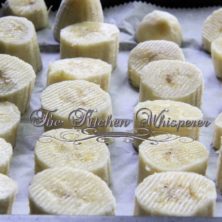
How to freeze bananas

How to make Bread Flour

Just in time for the holidays – Pie Baking tips and tricks!
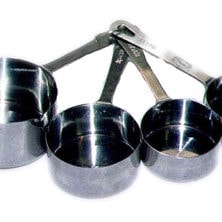
Why are there Dry and Liquid Measuring Cups? What’s the difference?
Dealing with fresh Ginger
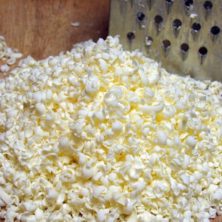
All about butter…

How do I fix that now???

Ya shoulda known better… common kitchen mistakes
How to roast garlic
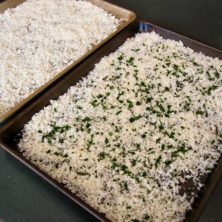
Make your own Panko
See more recipes