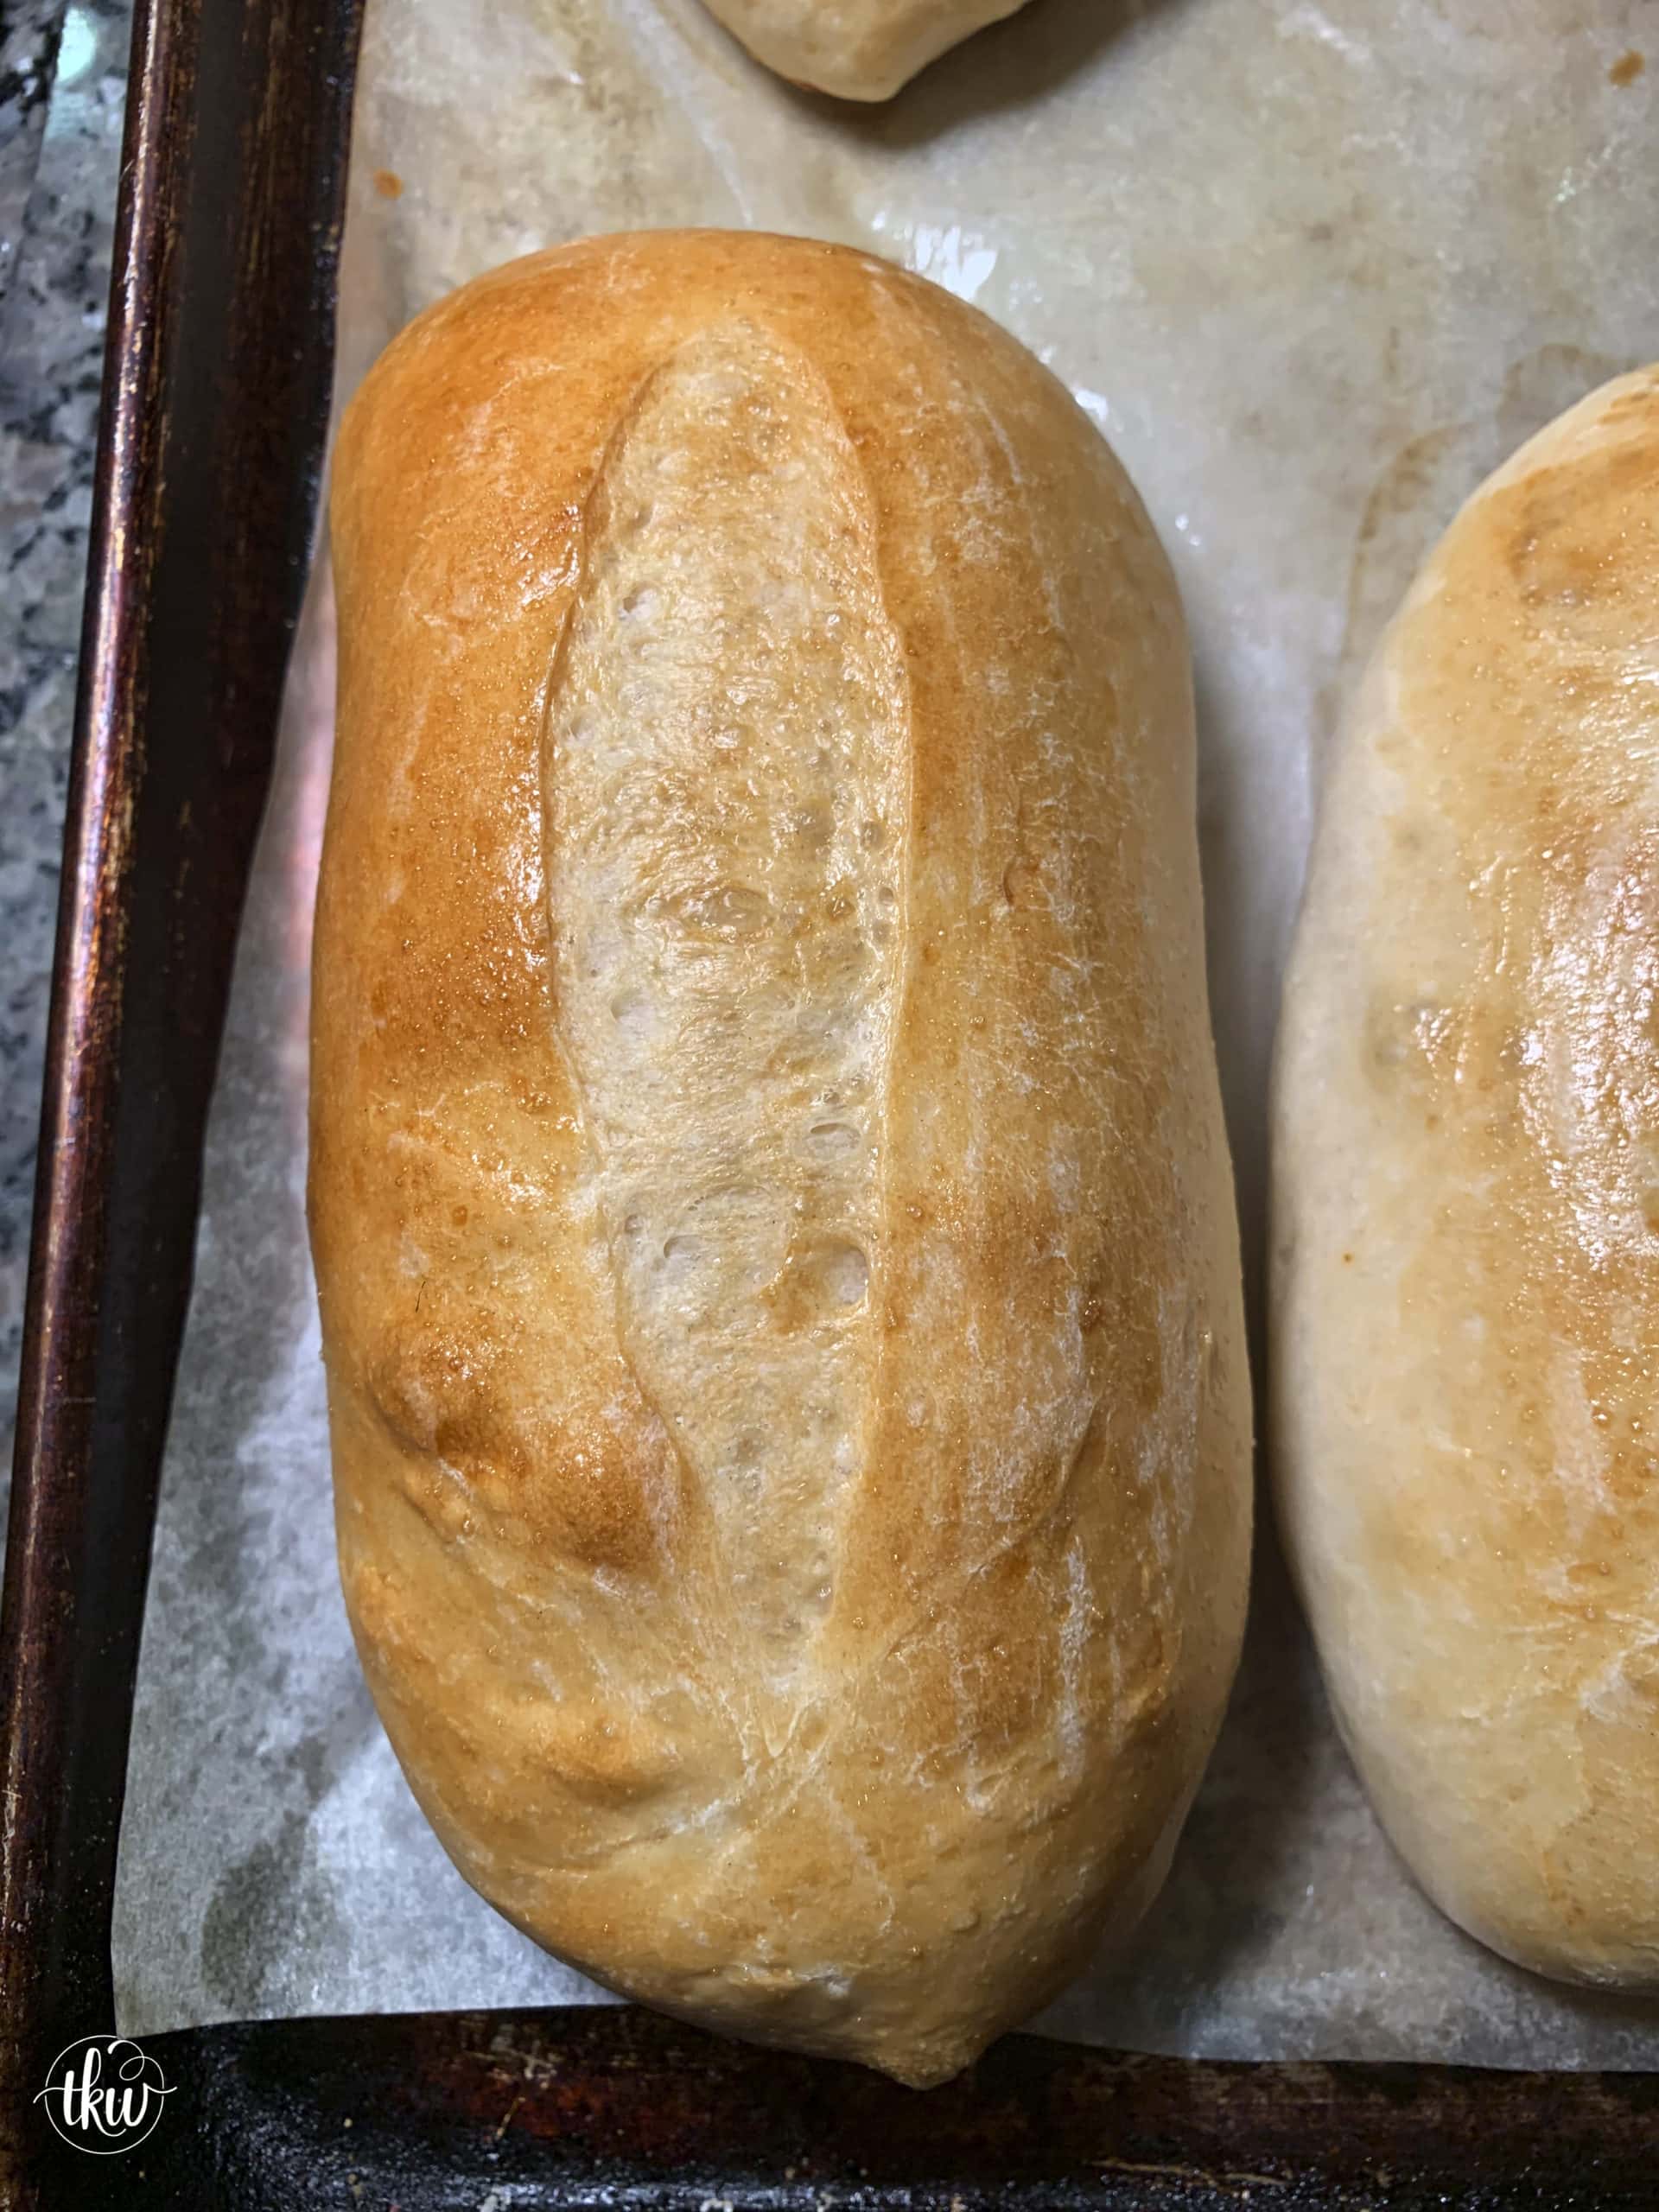
Some days you just want a simple bread boule

Simple Bread Boule

Find more fantabulous recipes, tips and tricks at www.thekitchenwhisperer.net. Also, join our TKW Family on Facebook
Ingredients
- 3 1/3 cups all purpose flour (15 ounces)
- 2 1/4 teaspoons active dry yeast
- 2 tablespoons sugar
- 1 1/2 teaspoons salt
- 1 1/2 cups water at 115F – 125F
- 3 tablespoon melted butter, unsalted
Instructions
Make the Dough
- In a stand mixer, combine the flour, yeast, and sugar. Attach your dough hook and with the mixer set to low, add the water and mix until combined.
- Once all the flour has all mixed in, add in the salt. Turn the mixer to medium and stop every so often to gently scrape down the sides to pick up any excess flour. The dough should be very soft and a little sticky. Mix until the dough is smooth and pulls away from the sides of the bowl for at least 6 minutes. (I usually do 8-10)
- With VERY LITTLE FLOUR, sprinkle some on your counter and scoop the dough out on to that. You don’t want to mix it but rather shape it into a ball. It doesn’t have to be perfectly round, just so it’s evenly distributed. Lightly butter your mixing bowl (providing it’s big enough) or a very large bowl.
Rest Your Dough – The First Rise
- Take the dough and place it, rounded side up in the bowl. Cover with plastic wrap or if your very large bowl has a lid, cover it. When using a bowl you need at least 8-10” of air space between the dough and the lid. Why? CO2 forms while rising and when it’s closed shut, it can cause the lid to pop off and the dough to “explode”. If you’re using plastic wrap, spray the top of the dough with cooking spray so if the dough rises and touches the wrap, it won’t stick to it. You only need to LIGHTLY spray it.
- Set it in a warm space to allow it to double in size. This can take 45 minutes to maybe 1 ½ hours depending on how warm your house is. If, after 4 hours the dough hasn’t risen and it’s not the Arctic tundra in your house, the yeast you used was old and unfortunately you have to start all over.
Shape Your Boule
- Once it’s doubled, take the melted butter and generously grease an 8” round cake pan. You can use 9” but it won’t get as ‘puffy’. Turn the dough out of your pan onto a clean work surface. You won’t need flour. You don’t want to add any more flour to this. The dough will be soft but not sticky.
- Lightly press it to deflate a little and shape it into a 7” wide round circle. Just use your hands to shape it. Don’t overwork it either. It doesn’t have to be perfect but do your best.
- Place the dough into the center of the greased pan, smooth side up.
The Second Rice
- Generously grease the dough with the melted butter – covering the sides and top. You don’t have to use all of it. You just want it covered.
- Let the dough rise, uncovered, in a warm spot until doubled in size. This should take about 25-40 minutes depending on the temperature of your kitchen. The dough will fill the pan and rise at least 1” above the rim. Optimal is when it’s 2” above.
- About 15 minutes before you’re ready to bake the dough, preheat your oven to 375 placing the oven rack in the middle.
- Brush with any remaining melted butter and if you want, with a very sharp straight-edged knife, make slashes on the top of the bread going about a ¼”- ½ ” deep. The cutting is purely for aesthetics.
Bake The Boule
- Bake for about 40 minutes until the internal temperature is 200F. Because of the butter, the Boule will be well browned and sound “hollow” when tapped. Remove from the oven and take the loaf out of the pan. If the bottom is not browned, then place the loaf (minus the pan) directly on the oven rack for 3-5 minutes. Allow to cool 10 minutes before slicing.
Notes
Now with this basic recipe, you can add items to it and make your own – you could add grains, cheese, sesame seeds, herbs…


Leave a Reply