The is the ONLY way to make one of the best New York Strip Steaks at home using your kitchen stove and oven!
So as you all know there is this ongoing bbq battle in my house – going on what 3, maybe 4 years now. I’ve finally given up on getting a new one.. for now. While it’s a nice-to-have-a-new-one it’s not a necessity for me.
Almost everything you make on a bbq, I can make either on the indoor grill (word to the wise, make sure you have a great exhaust fan) or oven. From my baked corn and baked sweet potato to baked russets, I’ve got a good grip on making it just as fabulous, if not more, indoors.
Well the one thing that always besieged me was steaks. Oh, how I truly love a fat juicy steak (with ketchup… yes with ketchup! SHUT IT, don’t judge! I like ketchup!) sadly the steak doesn’t like me. My stomach says “OH HELL NO!”… that’s all I’m gonna say ’bout that.

Now Mr. Fantabulous loves his steak! He’s a true carnivore. Now I always thought an amazing steak could only be had via a grill of sorts.
I tried in the past, numerous times, trying to make it indoors but it never EVER worked out. It was either tough as shoe leather, raw or I would end up smoking us out of the house using the indoor grill. Okay, truth be told, maybe I did make a bit more smoke than normal (I figured if I kept smoking him out of the house that he’d get the hint and we’d go get a new bbq)… sigh.. he just turned on the big exhaust fan and helped fan out the rooms.
It wasn’t until I was watching Hell’s Kitchen a few ago did I actually pay attention while they were making steaks. Pan-seared then in the oven.
So that night, I stopped at our local butcher’s shop and grabbed some gorgeous New York Strip Steaks. I seasoned it, let it rest, and then gave it a shot. When I told Mr. Fantabulous what I was doing he said “um baby, make sure you have the exhaust fans on BEFORE you start cooking.” <not funny>
Well, let me tell you what people. This steak was perfect. No, it was BEYOND PERFECTION! I mean… I would put this up against any restaurant steak. It’s THAT good.

Now I did think maybe I got lucky but I’ve made this dish umpteen times since I first made it and it’s been perfect every single time.
- Add the Worcestershire and seasonings then let sit at room temperature for 30 minutes.

- Once at room temp, pan sear for about 5 minutes. Yes, it will be SMOKY so turn on your exhaust fan.

- Flip (see that gorgeous sear?!), and immediately shut off the burner/flame.

- Add your butter and thyme and pop it into your oven!

Bake to your desired internal temp.
- Very Rare 4-5 minutes
- Rare 5-6 minutes
- Medium Rare 6-8 minutes
- Medium 7-10 minutes
- Well done Not Recommended unless you like to gnaw on rawhide.

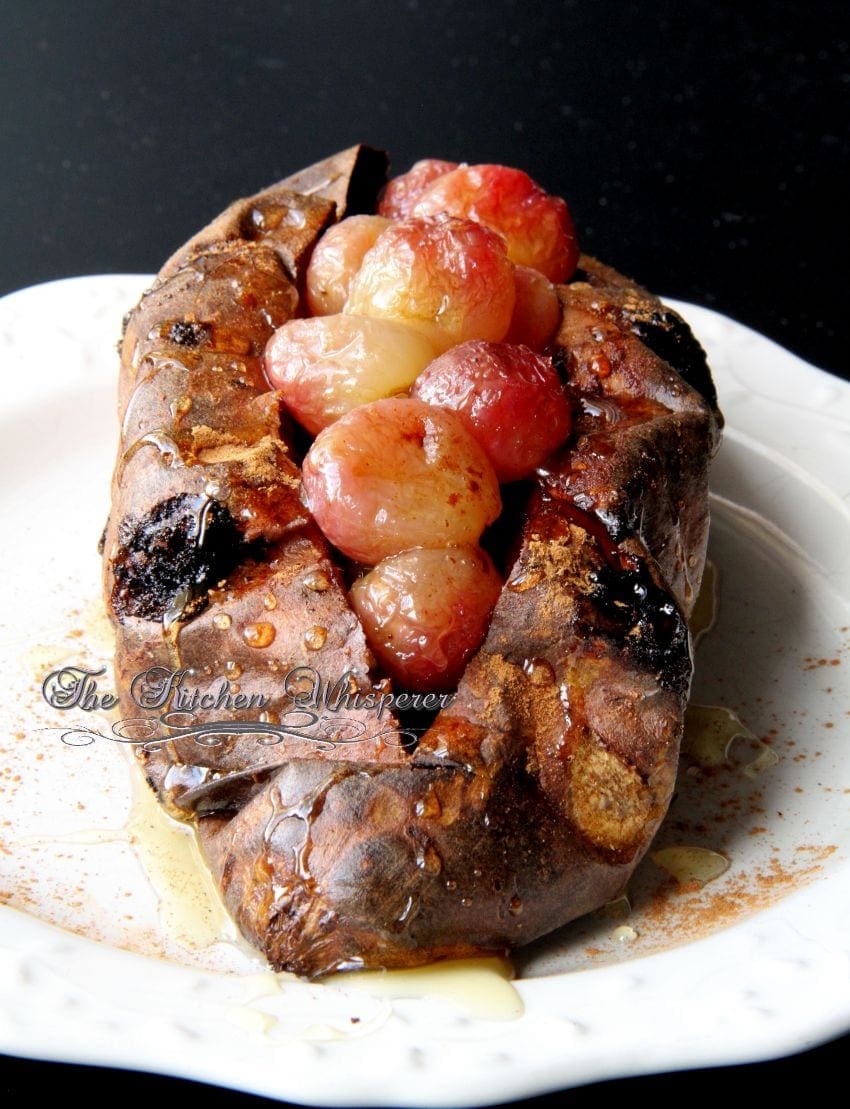
Roasted Sweet Potato with grapes and honey
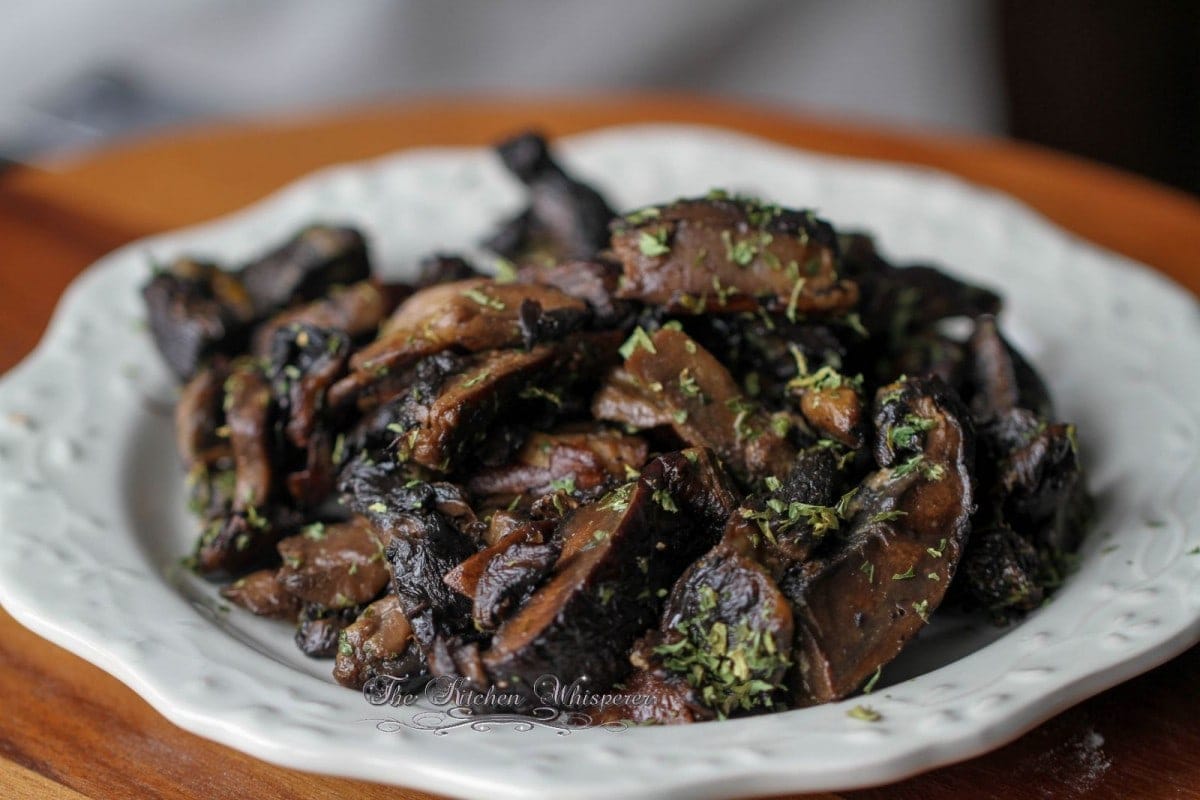
Oven Roasted Garlic Herbed Mushrooms
Better than restaurant quality New York Strip Steaks…

Find more fantabulous recipes, tips and tricks at www.thekitchenwhisperer.net. Also, join our TKW Family on Facebook
Ingredients
- 2 1-1 1/2” thick cuts New York Steak, fat trimmed
- 1 tablespoon Worcestershire
- 1–2 teaspoon Montreal Steak Seasoning
- 2 tablespoon butter, unsalted
- 2 sprigs of fresh thyme
- 1 tablespoon Olive Oil
Instructions
- Pat the steaks dry. Add 1 1/2 teaspoon Worcestershire to the one side. Add half of the seasoning and press down. Flip the steak and add the remaining Worcestershire and seasoning. All to sit at room temperature for 30 minutes.
- Preheat oven to 400f. Place a cast-iron pan or stainless (oven-safe) pan (NOT NON STICK!), over medium-high heat. Drizzle the olive oil onto the steak and flip to get all sides coated.
- When the pan is super hot (add a few drops of water to it. If they dance around and evaporate almost immediately then you’re good!) add the steaks. DO NOT FLIP yet.
- Cook for 4-5 minutes or until a good crust forms.
- Flip over and immediately shut off the heat to the pan. Working fast, add the sprigs of thyme and pats of butter on top. Put the pan into the oven. *NOTE – This step should take you MAYBE 5-10 seconds at most. This is why it says “working fast”.
- Cook per the ‘doneness’ in the Notes field. When done, remove the pan from the oven and plate the steak.
- Allow to rest for 5 minutes before cutting.
Notes
See below for times:
Very Rare 4-5 minutes
Rare 5-6 minutes
Medium Rare 6-8 minutes
Medium 7-10 minutes
Well done Not Recommended
Oh and yes, that was served with a perfectly baked sweet potato!


Leave a Reply