• Skip to primary navigation
  • Skip to header navigation
  • Skip to footer navigation
  • Skip to main content
  • Skip to primary sidebar
  • Work with Me
  • Press/PR
  • Contact
Display Search Bar

The Kitchen Whisperer

  • Home
  • About
  • Recipe Index
  • Shop
  • Weekly Menu
  • Tuesday’s Tips

Sep152012

Grilled Flatbread

Posts may contain affiliate links that help enable me to continue to provide you with free recipes. Please see my Privacy Policy for further details.

Print Recipe

Find the recipe card at the end of the post. Make sure to read the content as it contains chef tips, substitution options, answers to FAQs to help you succeed the first time around!

A few weeks ago while I was supply shopping with my girlfriend, we both bought a package of pre-made frozen grilled flatbreads.  Yeah yeah yeah, I know. shame on me.  Every once in a while I need a break and since I’m the only one that eats these in my house, I’ll give in from time to time and let someone else take the reigns.

Now these weren’t expensive – maybe $7 for 12 but still… 7 bucks is 7 bucks.

Well this bothered me after I got home.. I hate ‘wasting’ money when I know I can make it cheaper and 10 bajillion times better.

So  that Sunday I set out to make my own.  I knew how to make them and had made them before but I only ever did it on a bbq and since Mr. Fantabulous and I HIGHLY disgaree about my getting a new bbq, I quit making these.  Yes.. I protested making something that only *I* eat… yeah, not so genius there, huh? LOL

I mixed up the dough, rolled these puppies out when it was time and then broke out my cast iron indoor griddle pan.  *Seriously LOVE that thing though it’s a PITA to clean!*

As soon as I put the first round of dough on the grill, that smell hit me.  That unmistakable smell of grilled dough.  Lemme tell you what people.. if you’re never smelled it, it’s *almost* as good as bacon… almost.  Nothing beats the smell of bacon… well maybe brown sugared bacon 🙂
Well that smell was like intoxicating as it literally drew Mr. Fantabulous out of his office and into the kitchen sniffing the air followed with a “What’cha making and can I have some?”  LOL Gotta love him!
I ended up making 2 types – Plain and Asiago Ranch
Now  the possibilities you have to flavoring these and then ‘dressing’ them once they are done is endless.
Print

Grilled Flatbread

  • Author: The Kitchen Whisperer

Find more fantabulous recipes, tips and tricks at www.thekitchenwhisperer.net. Also, join our TKW Family on Facebook

Print Recipe
Pin Recipe
★★★★★ 5 from 4 reviews
Did you make this recipe?
Leave a review

Ingredients

Overnight Starter

  • 3/4 cup bread flour
  • 1/2 cup cool water
  • 1/8 teaspoon instant yeast

Dough

  • All of the starter
  • 1 cup warm water
  • 1/2 cup semolina
  • 2 teaspoon instant yeast
  • 3 tbsp olive oil
  • 2 1/4 cups Bread Flour
  • 1 1/2 teaspoon salt
  • olive oil spray for grilling

Instructions

For the Starter

  1. In small bowl, combine the flour, water, and yeast
  2. Cover and let sit at room temperature for at least 8 hours, or overnight

For the Dough

  1. In the bowl of your mixer or the bucket of your bread machine, combine the starter, water, semolina, yeast, and olive oil, stirring until the mixture is smooth
  2. Add the flour, salt, cheese, and parsley, and mix until a soft dough forms. Knead the dough for 6 to 8 minutes until it’s smooth and passes the window pane test.
  3. Place the dough in an oiled bowl, cover with greased plastic wrap, and let rise until doubled, 45 minutes
  4. After the dough has risen, turn it out onto a lightly floured surface and divide it into 16 pieces.

Grill the Bread

  1. Roll each piece into a ball, cover with plastic wrap and let the dough rest for 10 minutes while you heat up the clean grill (can be outdoor grill or indoor grill pan).
  2. Preheat the grill to medium-high heat.
  3. Note: The dough can be covered and refrigerated for up to 3 hours at this point
  4. Roll the balls of dough to any shape as long as it’s about about 1/4″ thick.
  5. Brush one side of the dough lightly with some olive oil, and place it on a medium-hot section of the grill.
  6. Brush the top of the dough with olive oil.
  7. After 2 minutes, give the dough a quarter turn without flipping it over to make nice diamond-shaped grill marks.
  8. Cook another 2 minutes, flip the dough over, and cover with an aluminum pie plate or metal bowl if you have one.
  9. Cook another 2 to 4 minutes, then remove from the grill and serve. Repeat with the remaining pieces of dough

Notes

Options:
1 1/2 cups freshly grated Asiago cheese
2 tbsp dried parsley, or 1/4 cup chopped fresh

1 1/2 cups freshly grated Asiago cheese
2 teaspoon Buttermilk Ranch Seasoning

2 tablespoon roasted garlic
1 1/2 cups freshly grated Parmesan cheese
1 teaspoon oregano

Made this Recipe?

Tag @thekitchenwhisperer on Instagram and hashtag it #thekitchenwhisperer
Recipe Card powered byTasty Recipes

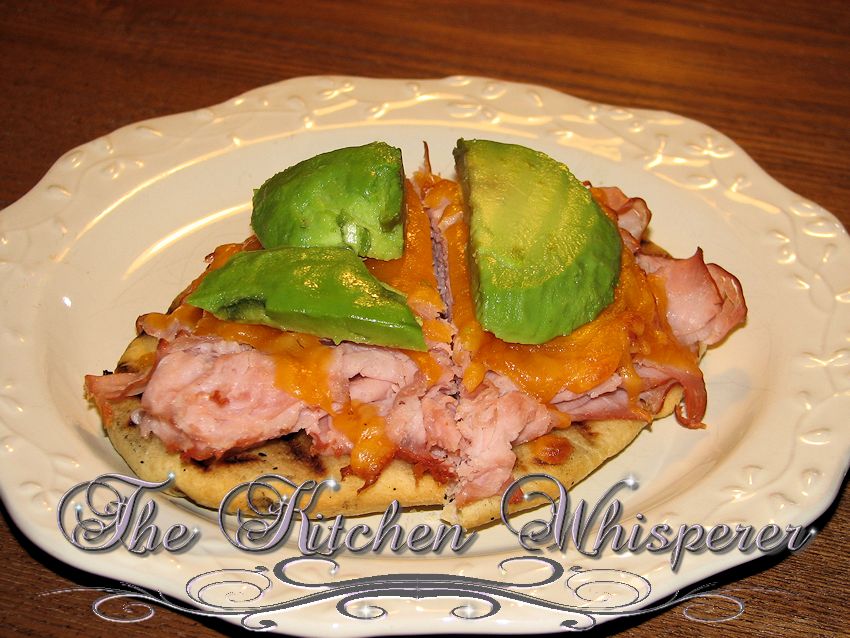
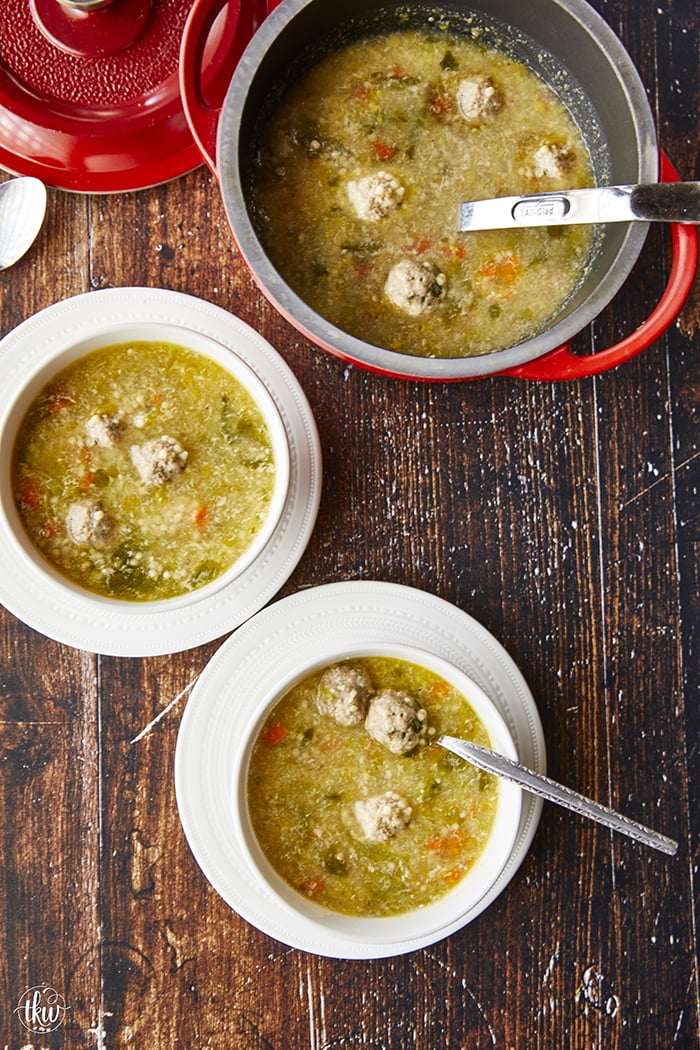
Check out a few things I’ve made with these since grilling them…

Smoked Ham Spinach Tomato Basil and Cheese
Ham, Smoked Cheddar and Avocado
Grilled Flatbread Pizzas

Sharing is caring!

Previous Post
Next Post

Reader Interactions

View Comments

Recipe Reviews & Comments

  1. The Herbal Chef says

    August 23, 2014 at 7:51 am

    The grilled flatbread pictued looks absolutely wonderful. For the starter, are you using bread flour or AP flour? The recipe does not specify.

    Reply
    • TKWAdmin says

      August 23, 2014 at 3:39 pm

      Hi! It’s Bread Flour – I’ve updated that accordingly! Thanks a bunch for catching it!

      Best Kitchen Wishes!

      ★★★★★

      Reply
  2. Lou says

    April 7, 2013 at 12:45 pm

    question? I have a 42 year old sourdough starter, and would like to make your grilled flatbread recipe, but I’d like to substitute my starter in place of the 3/4 cup flour,1/2 cup cool water, and the 1/8 tsp instant yeast. (which is actually called a biga. can I do this? If so, do I add extra flour to my starter, or use it in the same exact measurement as the ‘biga in your recipe??

    Reply
    • TKWAdmin says

      April 7, 2013 at 1:56 pm

      Hi Lou,

      Wow, 42 years is AWESOME for a sourdough starter!

      Yes, you can use your own ‘fed starter’ in place of the overnight starter. I would use 1 1/2 cups of your fed starter and add that to the rest of the dough ingredients. Because the ‘dough’ calls for additional yeast you won’t need to add anything to your own sourdough starter (i.e., more yeast or flour).

      Best Kitchen Wishes!

      ★★★★★

      Reply
      • Lou says

        April 9, 2013 at 7:43 am

        I made it as the recipe states for my first time. I always follow a recipe exactly before making changes.. But now I have another question.. it was soooo wonderful at dinner last nite, but this morning it has kind of a rubbery texture. What caused this, and how do I avoid it in the future??

        Reply
        • TKWAdmin says

          April 9, 2013 at 12:30 pm

          Lou,

          How did you store the flatbreads? With Sourdough, I find you can’t put it in a bag or container and seal it. It tends to turn rubbery (at least it does for me). If it feels weird not bagging it place it in a bag, paper or plastic, but don’t seal it up; sealing will turn the crust rubbery.

          If I only make a few, I will put them in a empty bread bag and just loosely fold the ends under ensuring that it’s not sealed. Or I’ll just wrap them up and put them in the freezer.

          To use or eat, I simply toast for a few and if I’m going to make a pizza, top them and finish baking.

          Let me know how that works for you.

          Best Kitchen Wishes!

          ★★★★★

          Reply
          • Lou says

            April 9, 2013 at 2:54 pm

            Thanks for the info.. my husband and I said this morning, “wonder if they need to be stored differently?” We put them in a plastic bowl with the lid sealed.. Thanks.. again. I can’t wait to do this again. We did discover that by putting the one or two we wish to use in a none stick pan over high heat and turning frequently, for about a period of 1 minute, it restored most of the original texture.

            Reply
            • TKWAdmin says

              April 9, 2013 at 5:15 pm

              You are most welcome 🙂 That’s a great tip to know how you restored them back to the yummy texture!

              Did you flavor them? If you add some garlic powder and oregano in the mix and then make pizzas out of them they are fabulous! Just cheese, sauce and fresh basil. My favorite!

              Best Kitchen Wishes!

              ★★★★★

              Reply
Newer Comments »

Leave a Comment & Review Cancel reply

Made it?
Recipe rating ★☆ ★☆ ★☆ ★☆ ★☆

Primary Sidebar

let’s be friends

Subscribe for delicious new recipes, kitchen tips & weekly menus

Yeah!!! I'm so happy you are joining the TKW Family! You will get an immediate email asking you to confirm your subscription. If it's not in your inbox check your SPAM or JUNK folders. If you do not confirm it, you won't receive my newsletters.

What's Trending on TKW

Creamy Butternut Squash Soup
Authentic Chicken Tortilla Soup
Instant Pot Homemade Cheesy Hamburger Helper
Chips & Dips Chipcuterie Grazing Board
Instant Pot Mexican Pulled Chicken
Baked Sheet Pan Lemon Dijon Salmon and Veggies
Cheesy Spaghetti Squash Pizza – Keto Friendly & Gluten Free
Chunky Portabella Mushroom Veggie Burgers
The Best Super Soft and Chewy Hoagie Bread Rolls
Back to Top
  • Recipe Index
  • instagram
  • Contact
  • Terms & Conditions
  • Privacy Policy
Site CreditsDesigned by Melissa Rose Design.Developed by Once Coupled.
999 shares