Oh Halloween how I love thee! Now mind you I am a UBER wuss and HATE to be scared but I love the non-scary things about Halloween (i.e., candy and food) LOL Plus I love costumes (no clowns… ever!), parties and the pranks. Yes in my house the pranks have begun as my darling Mr. Fantabulous threw the first one by placing this fake spider under my pillow the other night. Yeah I jumped and said a few curse words but no worries, I will get him back and win… I always do.
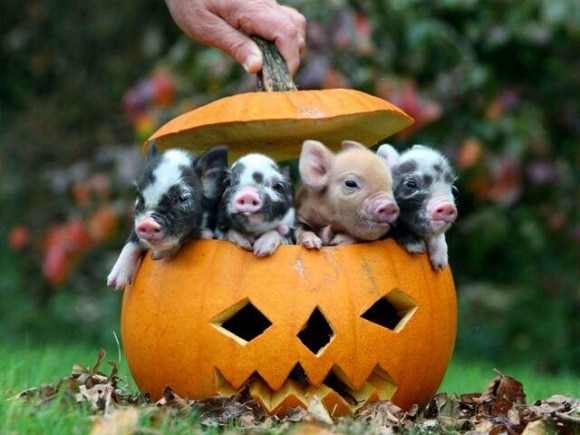
Several years ago Mr. Fantabulous and I decided to carve pumpkins. Now truth be told I don’t ever recall as a child carving one. I mean we had them but I never did one myself. So when he found this out he decided we were going to carve pumpkins… and have a contest. Everything is a contest with that man (but in a fun way). While he made the tools we needed – yes, made. That’s one thing about living with an engineer, they will invent or design whatever they need to get the job done. My job was to buy the carving pumpkins.
→ Choose a pumpkin that’s firm and has its stem intact. A sturdy stem indicates a healthy pumpkin. Pumpkins that were stressed for water or nutrients have a stem that is brittle and breaks off easily
→ Squeezing the pumpkin can tell you how long it’s going to sit on your porch — any soft spots and it won’t last long.
→ Don’t pick a pumpkin with any brown spots. Even spots as small as a pencil eraser mean bugs have been chewing on the pumpkin and may have burrowed into it. Bug infestation can quickly diminish a pumpkin’s shelf life.
→ For the pumpkin shell, you want one with a shell that is hard enough to protect it, but still allows you to get a knife through. You don’t want one whose shell is as hard as a piece of wood are very difficult, and dangerous, to slice into.
→ Tap the pumpkin gently. You want to listen for a slightly hollow sound. In addition, pick it up. The heavier the pumpkin, the thicker the walls. Thick walls block the candle light and carving details will be lost.
→ The funkier the shape (tall and oblong-shaped varieties) tend to be stringier inside, making it difficult to make precise cuts.
→ Go for pumpkins that have a flat bottom base as that’ll make it easier to keep them from rolling all around.
Pumpkin Tips
→ Never pick up or carry a pumpkin by its stem. It is not a handle. The stem can break off very easily, leaving the pumpkin with an open wound that invites infection and rot.
→ White pumpkins, like ‘Lumina’ give a spooky look to your jack-o’-lantern. They can also be painted more easily.
→ Scrape the inside of your pumpkin thoroughly. This will remove all of the gooey parts that are prone to mold and decay. Using tools sold specifically for pumpkin-carving won’t necessarily extend the life of your pumpkin, but tools that are very sharp will create cleaner cuts that will help it last longer. Ragged edges provide more surface area for decay-causing bacteria to settle in, and too much unnecessary sawing will bruise and soften the pumpkin.
→ Once carved, keep your carved pumpkins in a cool, dry area.
→ To preserve your carved pumpkin as long as possible, place it in a tub or large bowl filled with cold water, carved side down. Let it absorb the water for at least 1 hour; however, you can leave it in for up to 8 hours. This will create a firmer pumpkin that will resist dehydration for longer than an untreated pumpkin. Dry the pumpkin completely after soaking.
→ Rub the raw edges of your pumpkin with a thin layer of petroleum jelly. This works best when done right after the pumpkin has been soaked, since it helps seal in moisture. If the pumpkin starts to become dehydrated and shriveled-looking, soak it in cold water again and repeat the application of petroleum jelly. Pumpkins can be soaked for up to 8 hours. Vegetable oil can be substituted for petroleum jelly. Either way, know that this is a method that has received mixed reviews.


Leave a Reply