When those autmun vibes hit and you have all of the fall-vibes you need to make this no-knead bread. Not only is it beginner-friendly, but it’s one of the best breads you’ll make this season!

TKW Family Love
Wow! That’s all I can say! Just bought a bread dome and this was my first attempt
At making rustic type bread. It came out perfect, and so delicious! Sweet, with hints of cinnamon- perfect for fall with tea or coffee! So easy to make! Everyone will love this simple bread!


Okay, yes, I know I said I refused to jump on the pumpkin spice bandwagon this year, but this just happened. It’s not that I don’t like pumpkin or pumpkin spice, as I actually love the stuff, but everything seems to be going pumpkin spice. I mean, when my cereal goes pumpkin spice, then there is a problem. Too much of a good thing can ruin it folks.
So, how did this happen then? As you know, we’ve been undertaking a major remodel of our downstairs area for about eight years now. And since we’re doing it ourselves, I’m often left with moving stuff from one place to another. Well, in one of my moves to get things out of the way, I came across a can of pumpkin that, honestly, I forgot about.
That night, after dinner, I spied the can sitting on my counter while I was cleaning up. I had no idea what to do with it. Since time is something of a rarity for me these days, I decided to go with simplicity and something that I didn’t really have to think about – no-knead bread! This is honestly the easiest thing to make when you’re unsure how to work with bread dough or even shape it. You don’t have to worry about “slack”, gluten, loaf shaping or even breaking out a stand mixer.
As I threw in the pumpkin and spices, I realized that by leaving it as-is, it had somewhat of a pumpkin pie flavor. While that’s great, I wanted to add a bit more depth. Into the cupboards my head poked until I found a bag of cinnamon chips. Those would give the bread such a significant flavor enhancement and also little pseudo-melty cinnamon pockets of awesomeness. Into the dough they went, a few quick mixes with the wooden spoon, out came the plastic wrap and into the corner of my counter to rest over night.
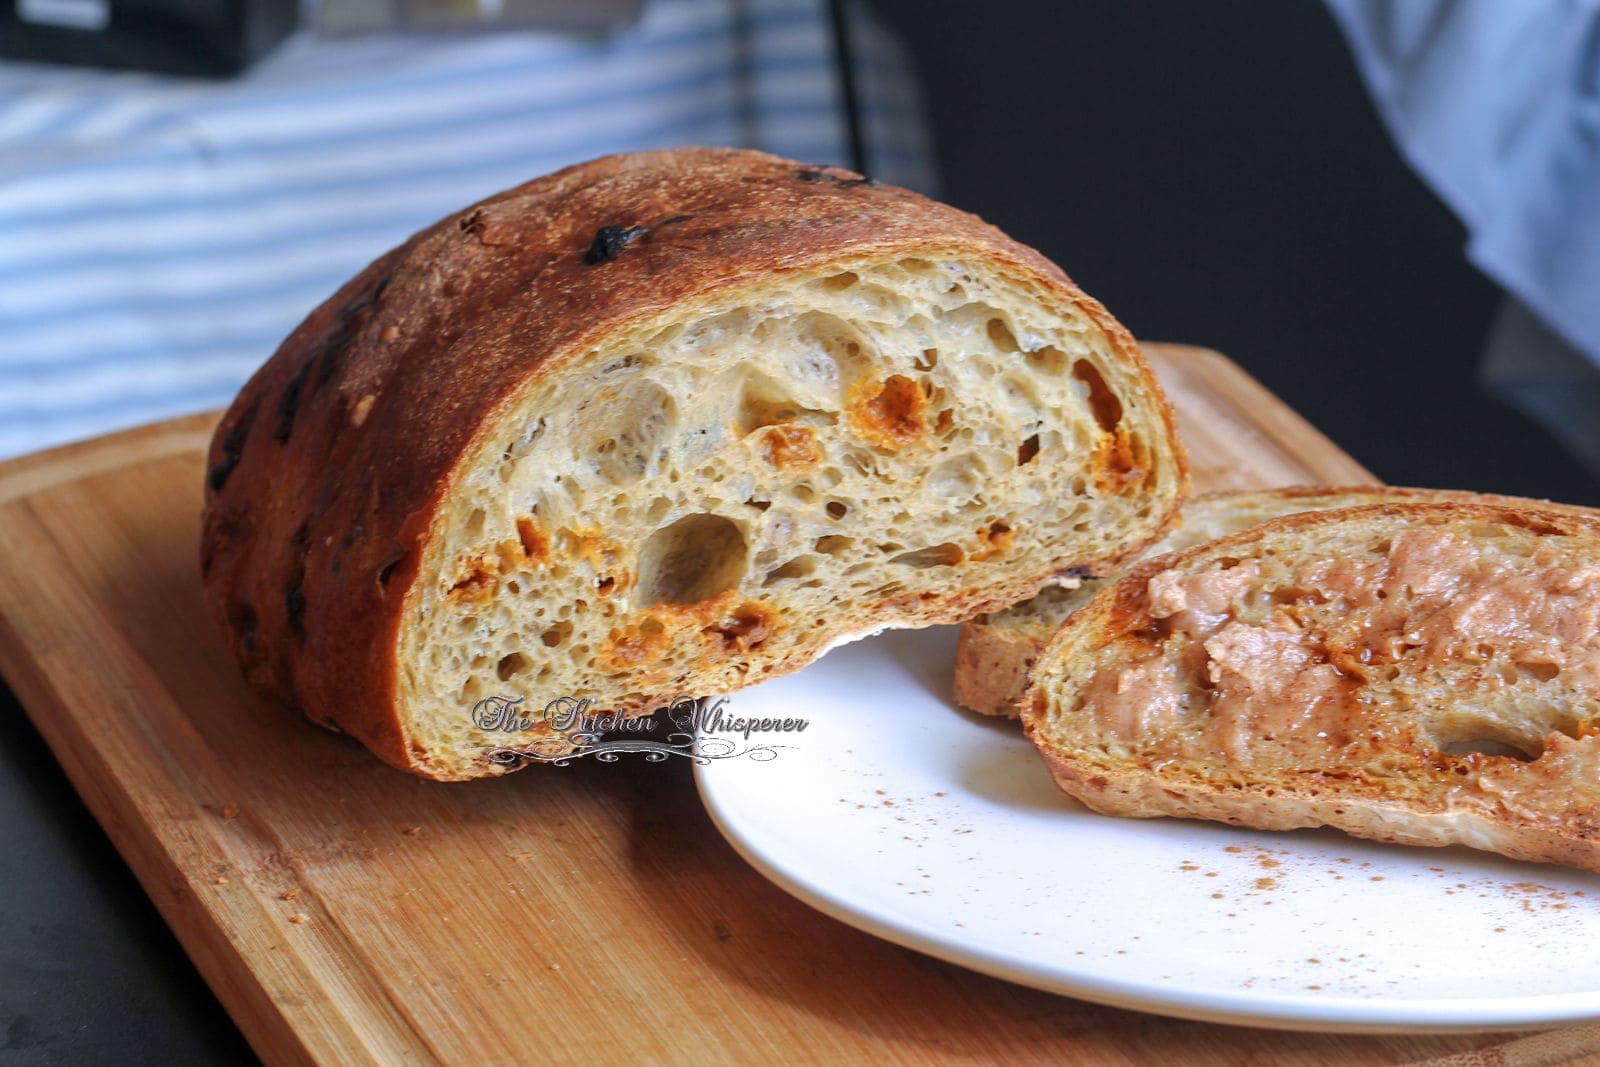
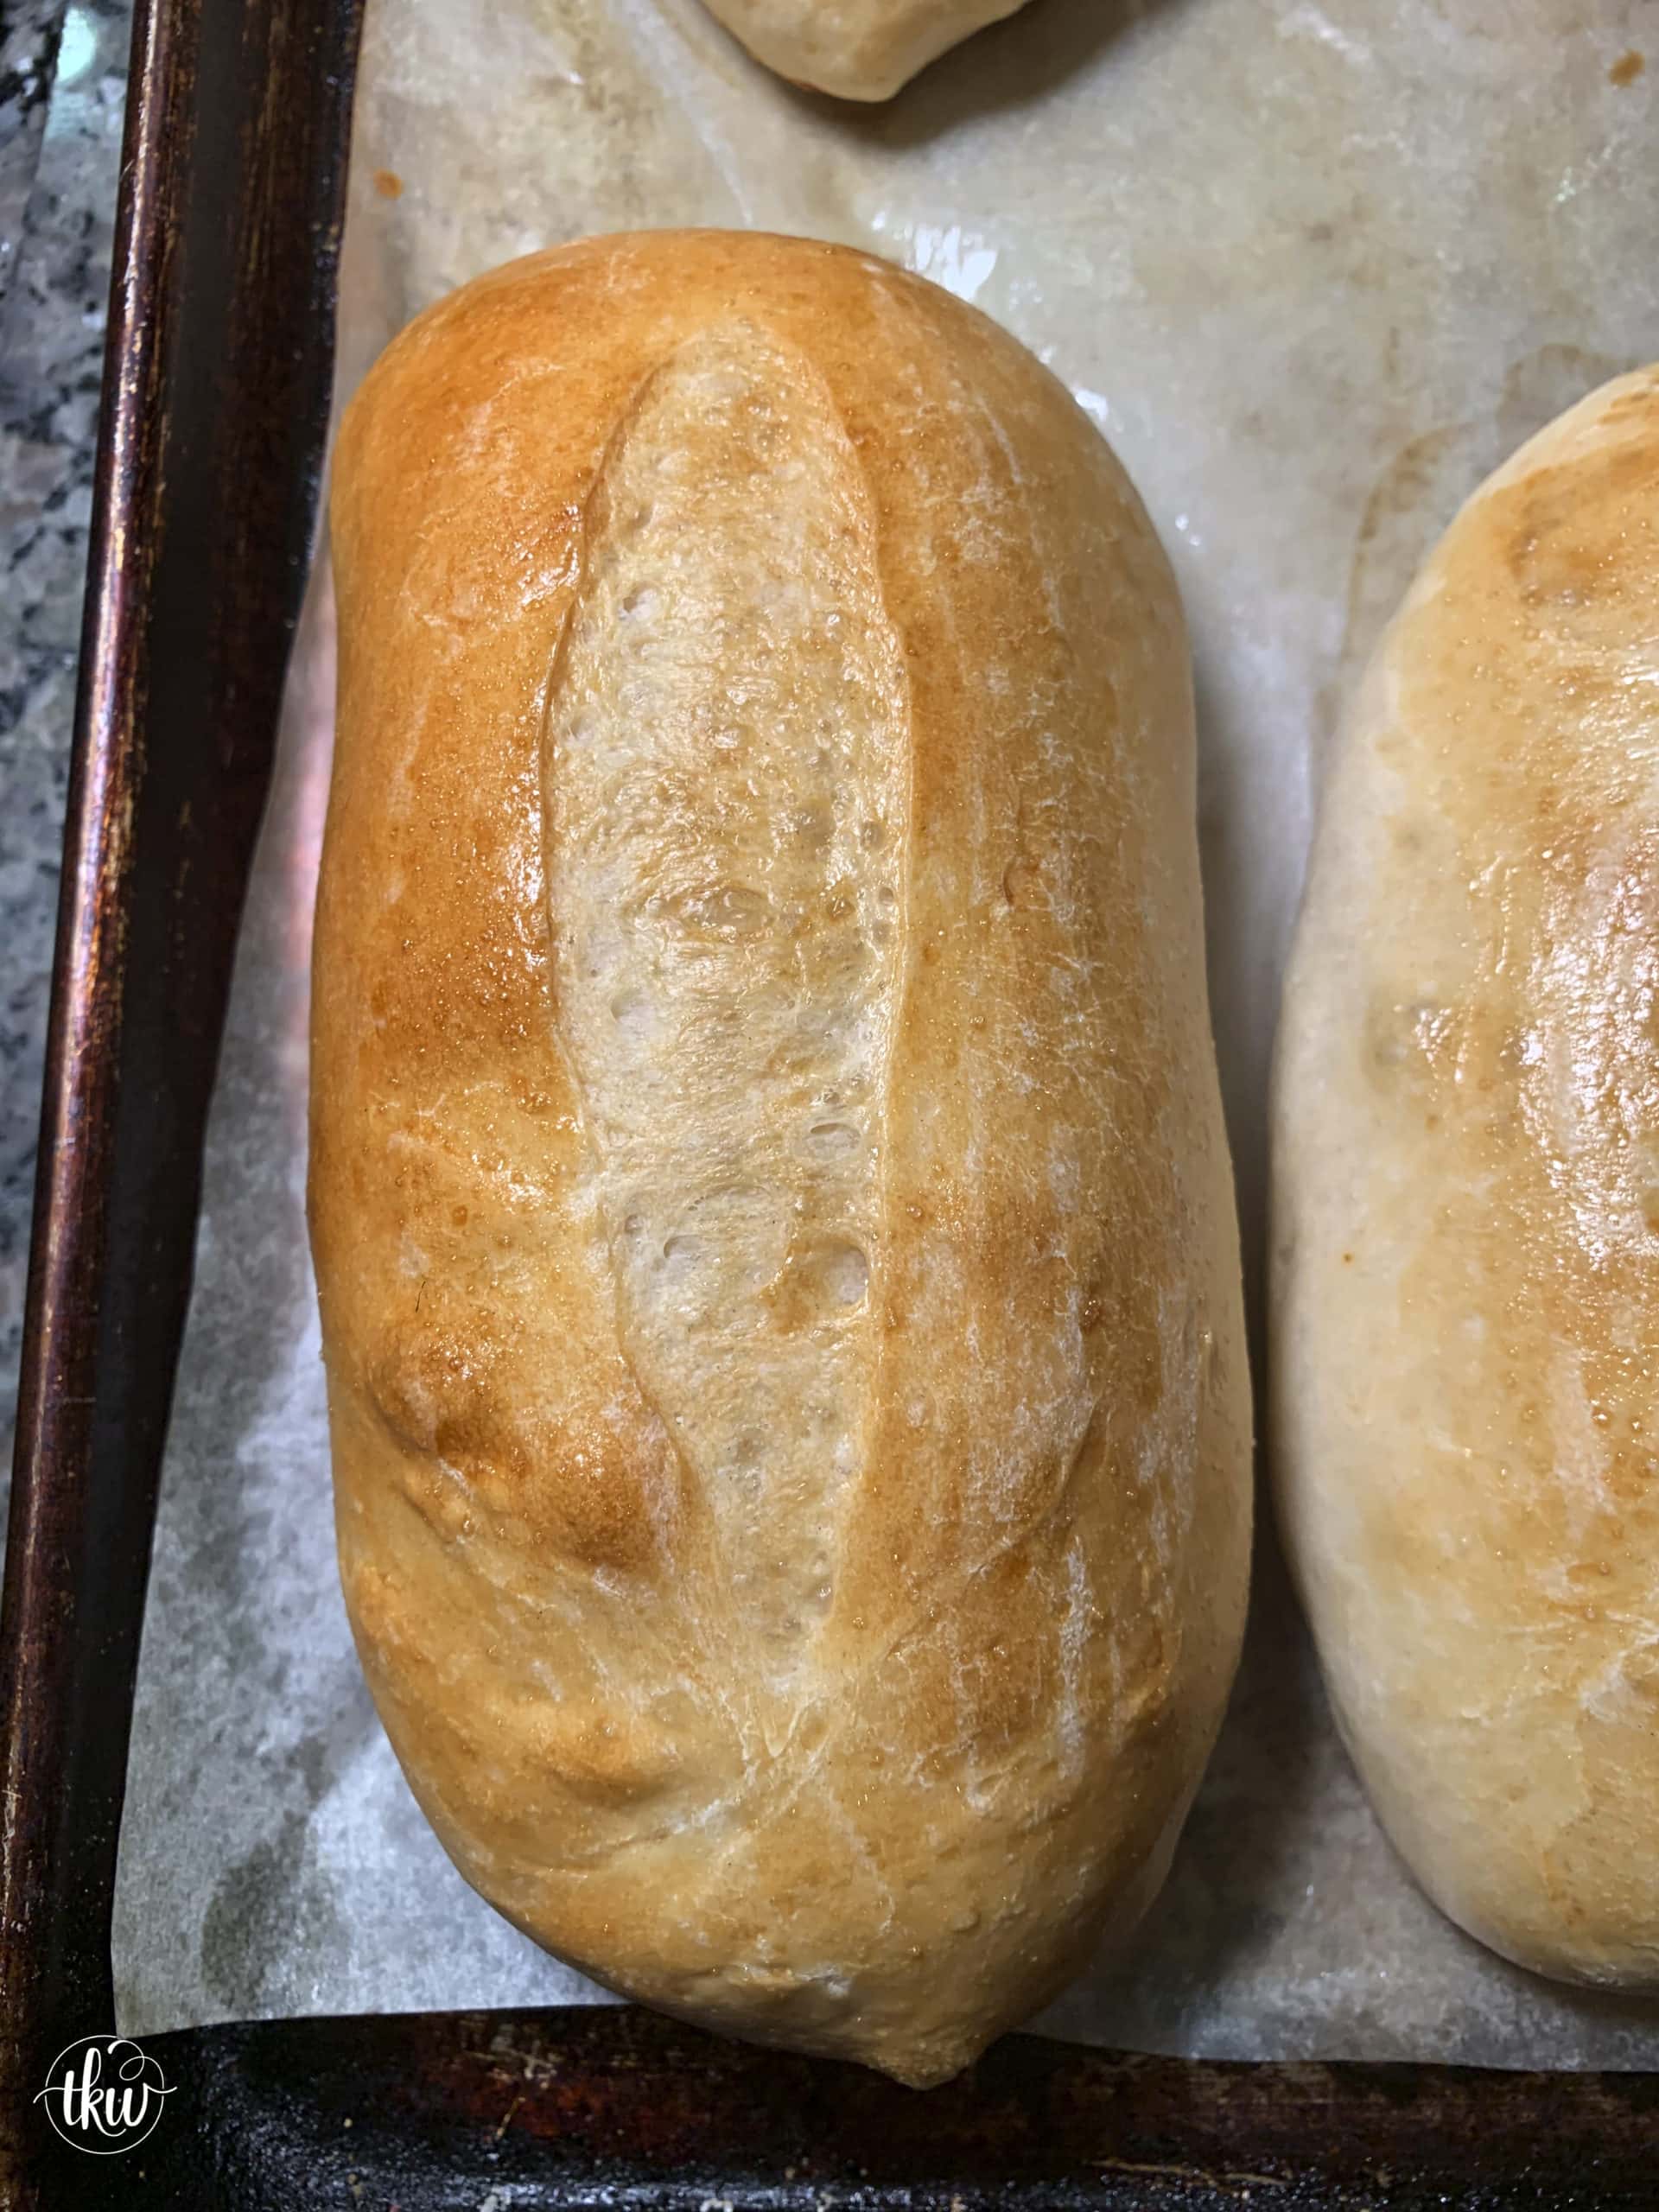
The next morning, when I went into the kitchen, I could smell the dough and the warmness of the cinnamon chips. The spices tinted the dough to a light umber tone, which I knew once it baked, it would get so brown and almost caramel in color.
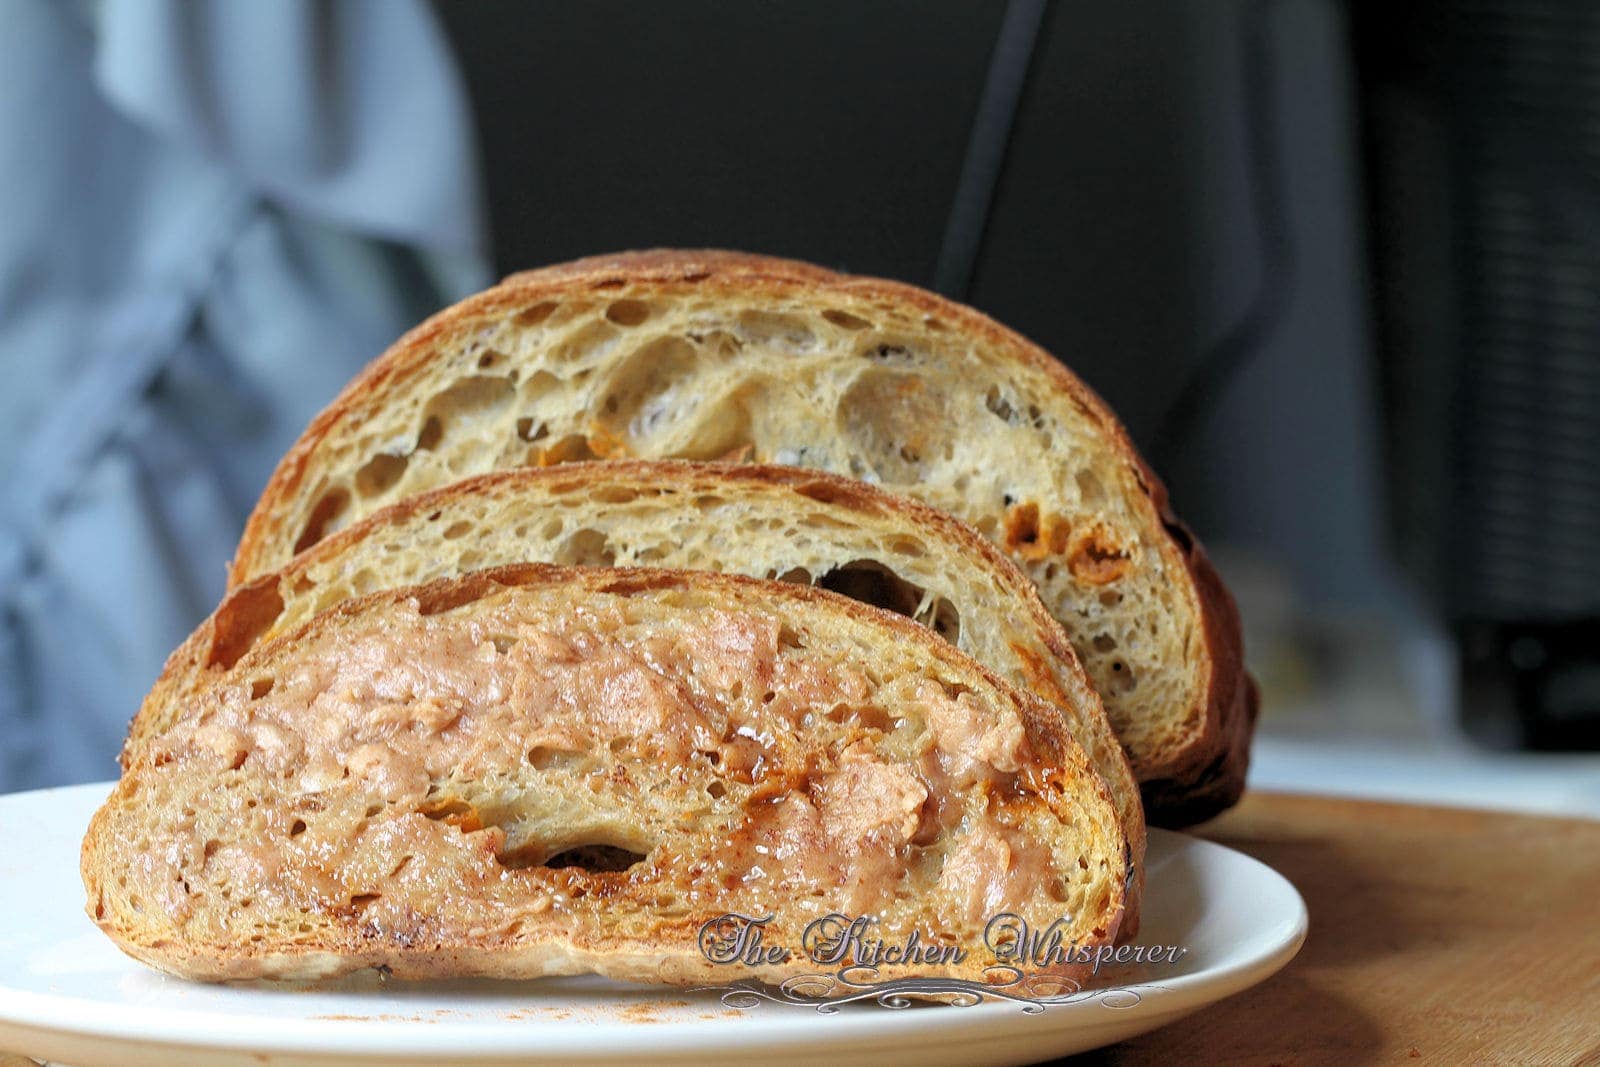
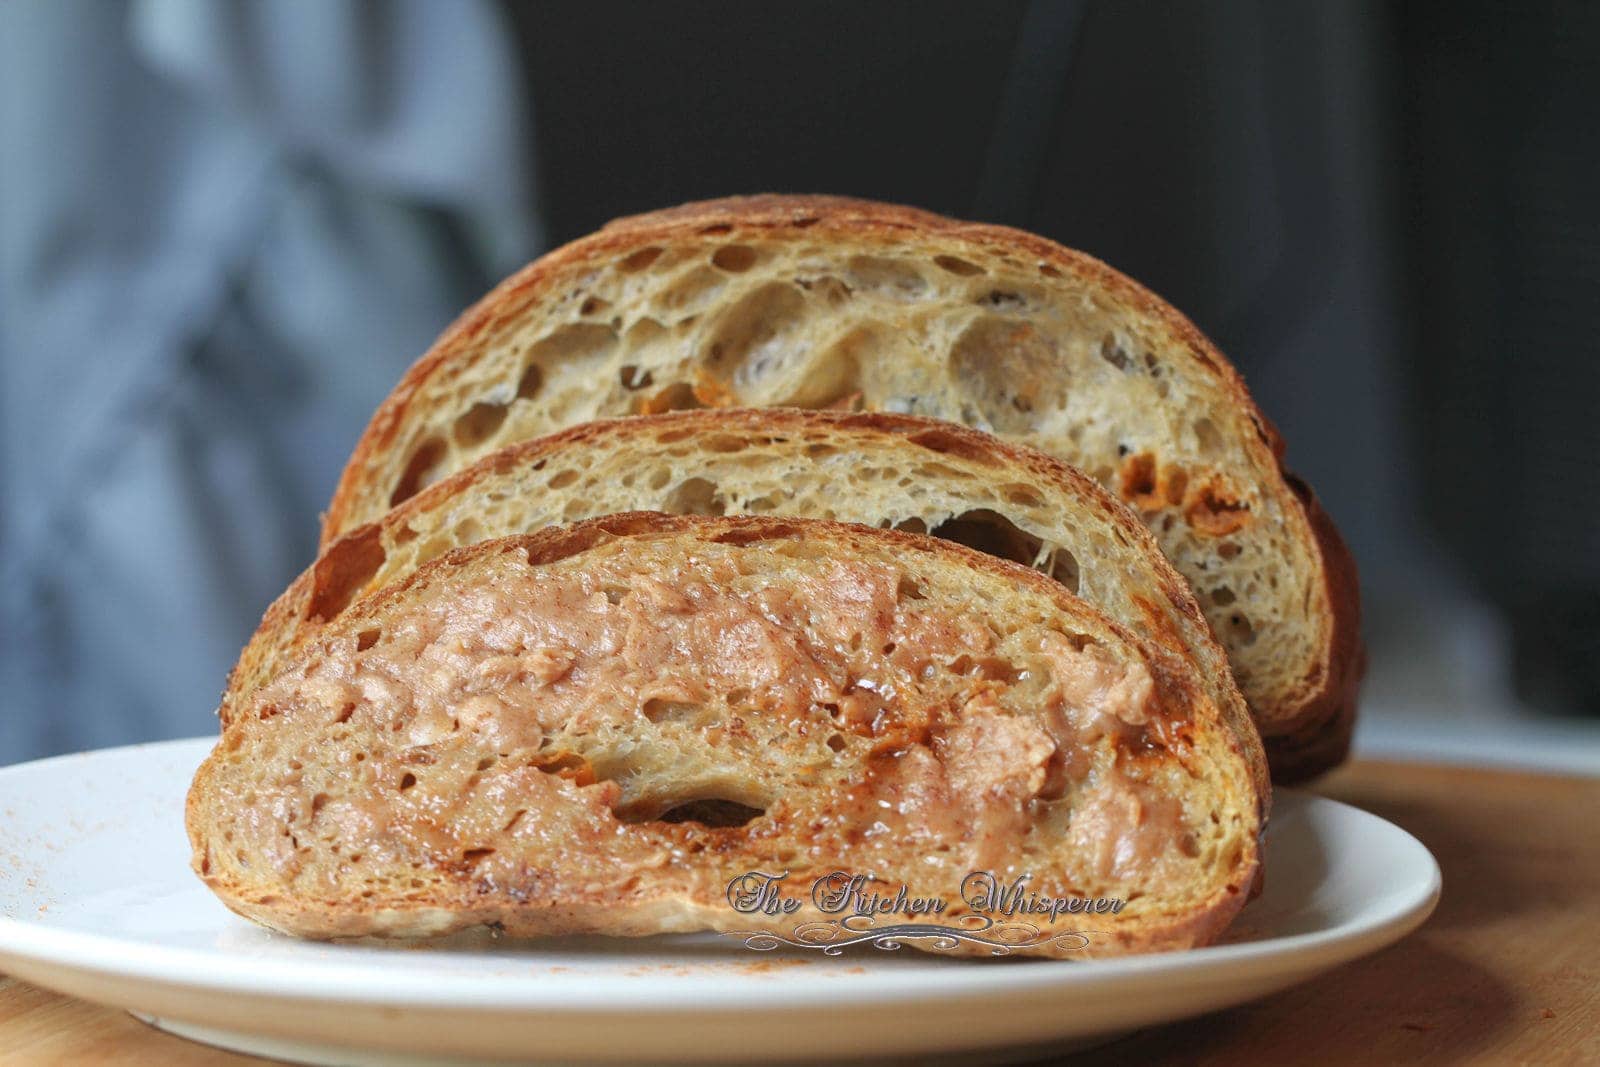
So once the bread was cool enough to cut I whipped up a batch of cinnamon honey butter as I thought that would be perfect on the warm bread and got out the bread knife. For me, the crust/heel is the best part of freshly baked bread. You get that crusty hard shell with that soft, billowy center. Now before I put the butter on it, I wanted to taste it naked (the bread, not me … geesh, perv much? LOL).
Seriously, that flavor was so amazing. It was warm tasting (from the spices) and pumpkin-y. And those cinnamon chips.. PERFECT addition! We’re talking you didn’t need butter on this thing as it is that good! But butter is well, like bacon and awesome. A good helping of that cinnamon honey butter went on and as I spread it on, it was melting into the crevices.
Literally this was LOVE AT FIRST BITE! I honestly had to refrain from slicing more of this and inhaling the entire loaf. So let’s talk about storing fresh baked bread. How do you store yours? Let me guess, you buy it and either store it in a plastic bag or a paper bag, right? Most bakers I know, as well as myself, do not use plastic bags. It tends to soften the bread (when it should not be soft).
Once you slice off what you are going to eat invert the cut end and place it down on the table or cutting board. This method allows the crust to breathe and evolve as it sits. The crust will stay hard while the inside stays soft and chewy (provided that it’s already soft and chewy). The next best thing is store in a closed paper bag. It’ll protect your bread while still giving it air circulation which means the crust will still stay hard.
The big test for this bread was Mr. Fantabulous’ response. See he’s not a big fan of pumpkin, unless you count pumpkin pie. As I set a slice in front him he looked at it, looked at me and raised a brow. Here is our exact conversation.
Mr. Fantabulous: “What is this? Why does it look different from your other breads?”
TKW: “It’s pumpkin cinnamon chip crusty bread. Just try a piece. You’ll like it.”
Mr. Fantabulous: “Um, you know I don’t like pumpkin. Why do you always have to go and make funky things? Why can’t you just make normal stuff that I like?”
TKW: “Honey, not everything is about you. I like pumpkin and part of my job is to create new recipes.”
Mr. Fantabulous: <insert look of shock as I said not everything is about him> “Um, well I’m not going to like it and yes, it should be about me. I mean I HAVE to eat this stuff.”TKW: “Um, no you don’t as I’m more than happy eating it myself.” <removes the bread from his plate and bites his slice just because I’m that evil>
Mr. Fantabulous: “HEYYYYYYYYYY WTH are you doing? Gimme that!” <takes a HUGE bite and chews>
… and then his eyes got huge and a smile formed… oh yeah, I did good!
Mr. Fantabulous: “Wow, this is really, really good! WOW, I really like this!”
… and in that instant he took the slice off of my plate and double fisted the slices of bread – both mine and his! LOL
Yeah this bread so rocks! So get over your fears of making bread from scratch and make this! You’ll LOVE LOVE LOVE it and love how easy it is!
PrintMost Awesomest No Knead Pumpkin Cinnamon Bread

Find more fantabulous recipes, tips and tricks at www.thekitchenwhisperer.net. Also, join our TKW Family on Facebook
Ingredients
- 5 1/4 cups bread flour
- 1 tablespoon Vital Wheat Gluten (optional but it adds to the chewiness)
- 1/2 teaspoon instant yeast
- 1/4 cup brown sugar
- 1 teaspoon table salt
- 1 teaspoon cinnamon
- 3/4 teaspoon ground ginger
- 1/2 teaspoon fresh ground nutmeg
- 3/4 cup canned pumpkin (not pie filling!)
- 1 3/4 cups water (room temp)
- 3/4 cup Cinnamon Chips
Instructions
- In a large bowl add in the flour, yeast, brown sugar, cinnamon, salt, ginger and nutmeg. You need to make sure the bowl is at least 2 times the size as this will easily double in volume.
- Whisk to combine.
- In a separate bowl mix together the pumpkin and the water just to combine.
- Dump in the pumpkin mixture and mix with a wooden spoon – do NOT use a stand mixer.
- Mix it until it’s combined and forms a ‘shaggy’, almost wet-looking dough. Just make sure that all the flour is incorporated. It will not be perfectly smooth – that’s how it’s supposed to be.
- Add in the cinnamon chips and just mix to combine evenly.
- Cover with plastic wrap and set in a warm place overnight for at least 12 hours but no more than 24.
- When you’re ready to bake, put the rack in the middle and preheat to 450F.
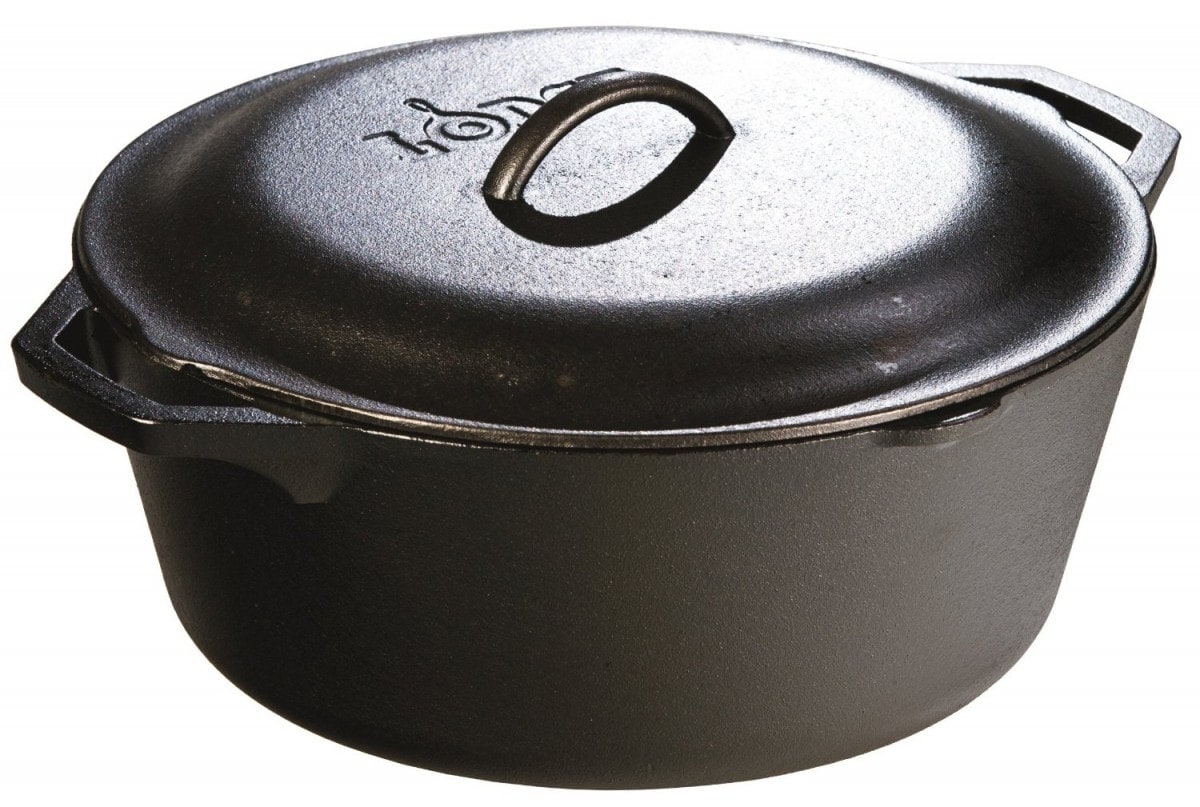
- When the oven reaches temp, put your Dutch Oven (cast iron or heavy ceramic {check to see that your ceramic can handle 450F temp first!}) in the oven WITH THE LID on.
- Let it heat up for 30 minutes.
- While that’s heating up, use a dough scraper and scrape your dough onto a heavily floured surface (or you can flour parchment paper and put it on there). *See note
- Shape into a ball, tucking the sides under. It will be sticky but that’s good.
- Cover lightly with sprayed plastic until the 30 minutes is up.
- Remove the pot from the oven and plop the ball down in. Or if you transferred it to a floured parchment paper, you can place the whole thing inside (try to remove the excess flour).
- Replace the lid and bake for 30 minutes. No peaking!
- Remove the lid and bake for another 10-15 minutes or until the bread, when you knock on it has a hollow sound.
- Remove from the oven and using tongs remove the bread and cool on cooling rack.
- Allow to cool slightly before slicing.
Notes
I love this Dutch Oven .
This recipe makes one huge loaf so you may want to split it up into 2 separate loves using 2 pots or after the first loaf is done and the bread is removed, bake the 2nd loaf. Allow for the pan to get hot again in the oven prior to making the 2nd loaf.
If you’re not comfortable with shaping the dough, when you remove the pot from the oven after 30 minutes you can carefully just pour the dough into the pot. It won’t be a perfectly round bread loaf but that’s okay – it’s just rustic. If you do pour it in, just jostle the pan around to kind of even out the dough before putting the lid on. But practice with shaping the dough. You can’t screw it up.
Don’t have a dutch oven or clay pot? Never fear! Grab your cast iron pan instead! If you don’t have a cast iron pan, you can use the following:
Clay pots with lids, Pizza stone with a bowl to cover the bread, insert from a crockpot, pyrex baking dish with a lid, stainless steel pot with a lid, baking dish covered with aluminum foil, old cast iron dutch oven. Essentially ANYTHING that can withstand the oven heat and time!
1. Take a 12″ round cast iron pan (with preferably a 2-3″ side wall) and place that into your 450F degree oven (just like the directions on the site). This pan will go on the middle rack.
2. WHILE you are heating that up, place a metal pan on the lowest shelf/rung in the oven at the same time. I just use an old cake pan that has seen better days.
3. When you remove the VERY HOT skillet from the oven and put your dough in it (have the dough resting on parchment paper so the bottom doesn’t get that ‘black’ color from the pan).
4. AND as soon as you put it in the oven put about 3 cups of ice cubes in the hot baking pan. DO THIS FAST as you want to trap the steam in the oven!
5. This will create steam (just like a dutch oven).
6. After 30-35 minutes check the bread. It should be done but if it’s not cook for 10-15 min more. If at 30 minutes it’s getting dark but not done (will sound hollow when tapped), just tent some foil over top for about 10 minutes.
7. Cool as normal.
Things you’ll need to make this bread:
Dexter-Russell Sani-Safe Scalloped Bread Knife, Carbon Steel Blade


Leave a Reply