Posts may contain affiliate links that help enable me to continue to provide you with free recipes. As an Amazon Associate, I earn from qualifying purchases. Please see my Privacy Policy for further details.
So Sunday’s in my house was a pot roast kinda day. I can remember getting up super early watching, then eventually helping, Mom make her to-die-for white bread and rolls. She’d then grab 10-15 pounds of chuck roast, throw it into her big pot along with tons of potatoes, carrots, onions and seasonings. She’d then let it cook all day long on the lowest heat. The smell was so rich and inviting that you could literally smell pot roast as you walked up our walkway. Sunday’s were always my favorite day as I loved my Mom’s pot roast. Now granted I’d scoff at eating carrots but I’d end up just mashing them up super small and adding enough butter on them that Paula Deen would be impressed with.
Now even though Mom had whole potatoes in the pot she always made her creamy (and lumpy because that was my favorite and I was Mom’s favorite – regardless of what my siblings said) mashed potatoes. The only downfall of her dish was that it was cooked low and slow ALL DAY LONG. Let’s face it, in today’s world we are ridiculously busy and free time is something we just don’t have that luxury of. Plus if you’re like me you often aren’t home for 8-10 hours straight while the oven is on. I know I’m not. It’s sad as I’m away from my house longer per day than I am in it. It’s the troubles of working really far from the office.
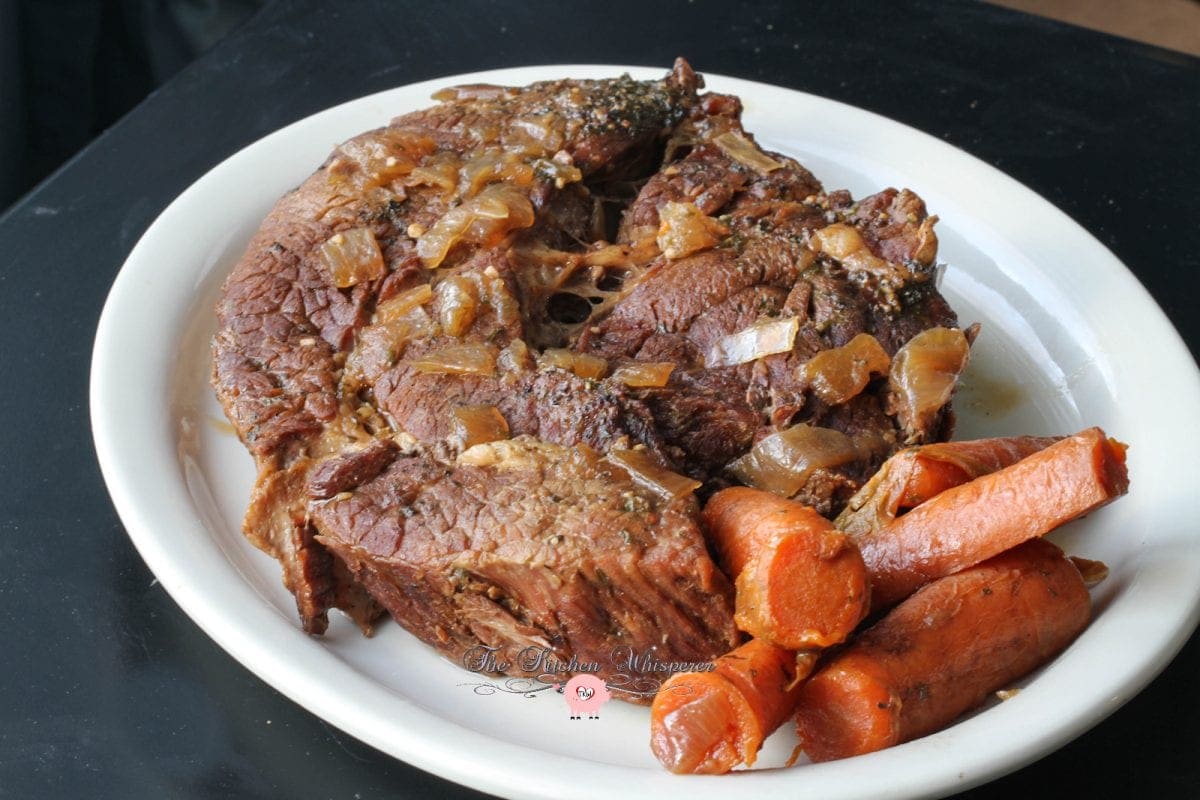
I’d say for the past few years I’ve really grown in my passion for pressure cooking. I conquered that fear Mom put in me that “OMG it’ll explode in your face and you’ll lose an eye” thought she ingrained my brain. One thing I hadn’t tried yet in my pressure cooker was to recreate her phenomenal pot roast recipe but without having to wait all day long for it to cook. However, the day had come for me to attempt it because I was so craving it.
Earlier that morning I was at the butcher’s shop when I spied some of the most gorgeous chuck roasts. They were on sale (bonus!) and the marbling on them was stunning… that is, stunning how meat goes. You see when you would normally slow bake these you need a good bit of marbling as that it what allows the meat to become tender, juicy and flavorful. And I’m sorry but if you make me a pot roast I better not need a knife. It should be fork-tender and pretty much just fall apart if you look at it.
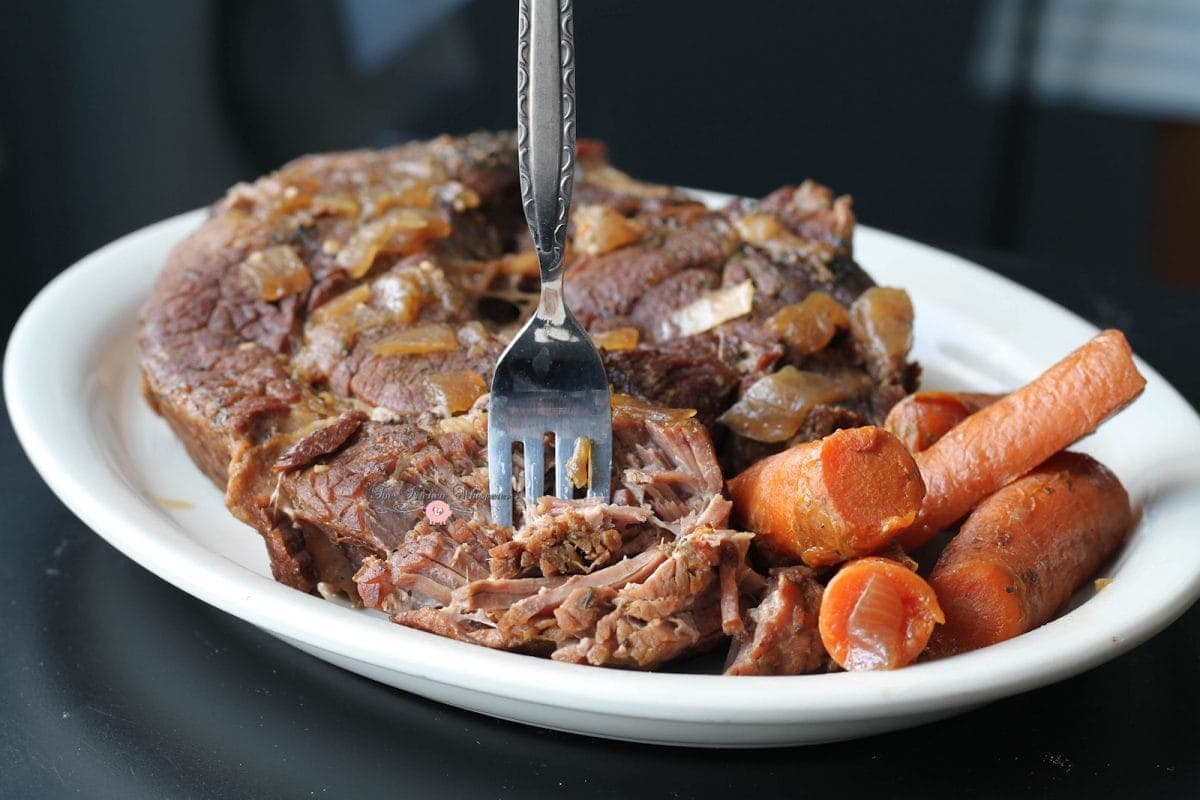
As you can see by these pictures, I accomplished this in the pressure cooker annnnnnnnnnnnnnnnnnnddddd it didn’t have to cook all day. In fact, it was done in 90 minutes once it was up to pressure. However, the proof is in the pudding er um, in the pot roast. But I’ll get to the taste later on. Let’s dish about this dish a bit more. Have you jumped on board the pressure cooker train? No? OMG why not? I have 2 – one that is gas operated and one is electric operated. I’m still on the fence of which one I prefer more. They both are awesome and I’ve yet to find faults with either. The BEST Gas Pressure cooker out there is the All-Clad PC8. Not only is it stunningly beautiful, but it’s also a true workhorse. For an electric on I love my Emeril by T-fal CY4000 Nonstick Dishwasher Safe Electric Pressure Cooker. It was my first one and well you know how it goes, your first will always hold a special place in your heart. Another popular electric one that has also got rave reviews is the Instant Pot IP-DUO60 7-in-1 Multi-Functional Pressure Cooker.
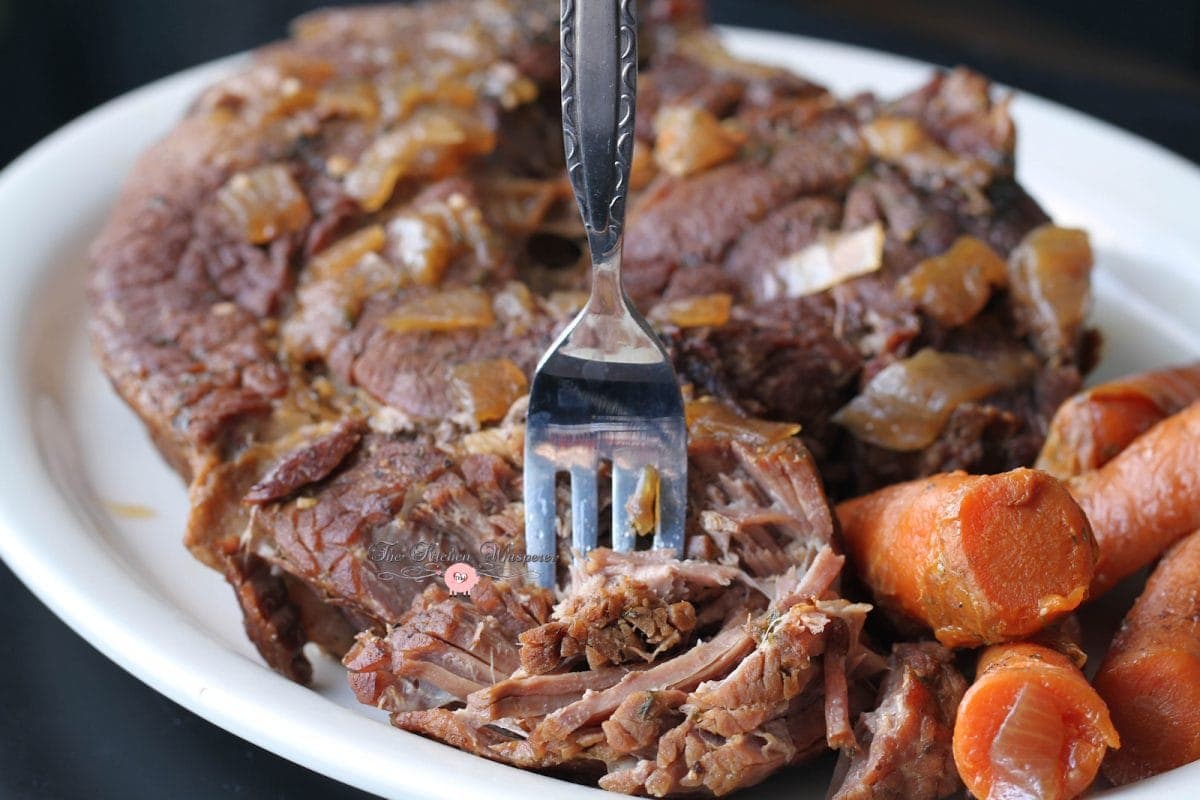
Next, let’s dish about the cut of meat. Pot roast is not a cut of beef. When it comes to pot roast you want to buy the tougher, often cheaper cuts of beef that come from the cow’s extremities. You would never use a filet or steak cut in a pot roast. No, you want those tougher, more muscle-laden cuts of beef. You see the more muscle the cut of meat has the more flavor it will produce. Sure it’s tougher meat initially but when you slow roast it, or in this case, pressure cook it, all that muscle fiber and connective tissue begin to break down and the flavors to release thus producing one of the most tender pieces of beef.
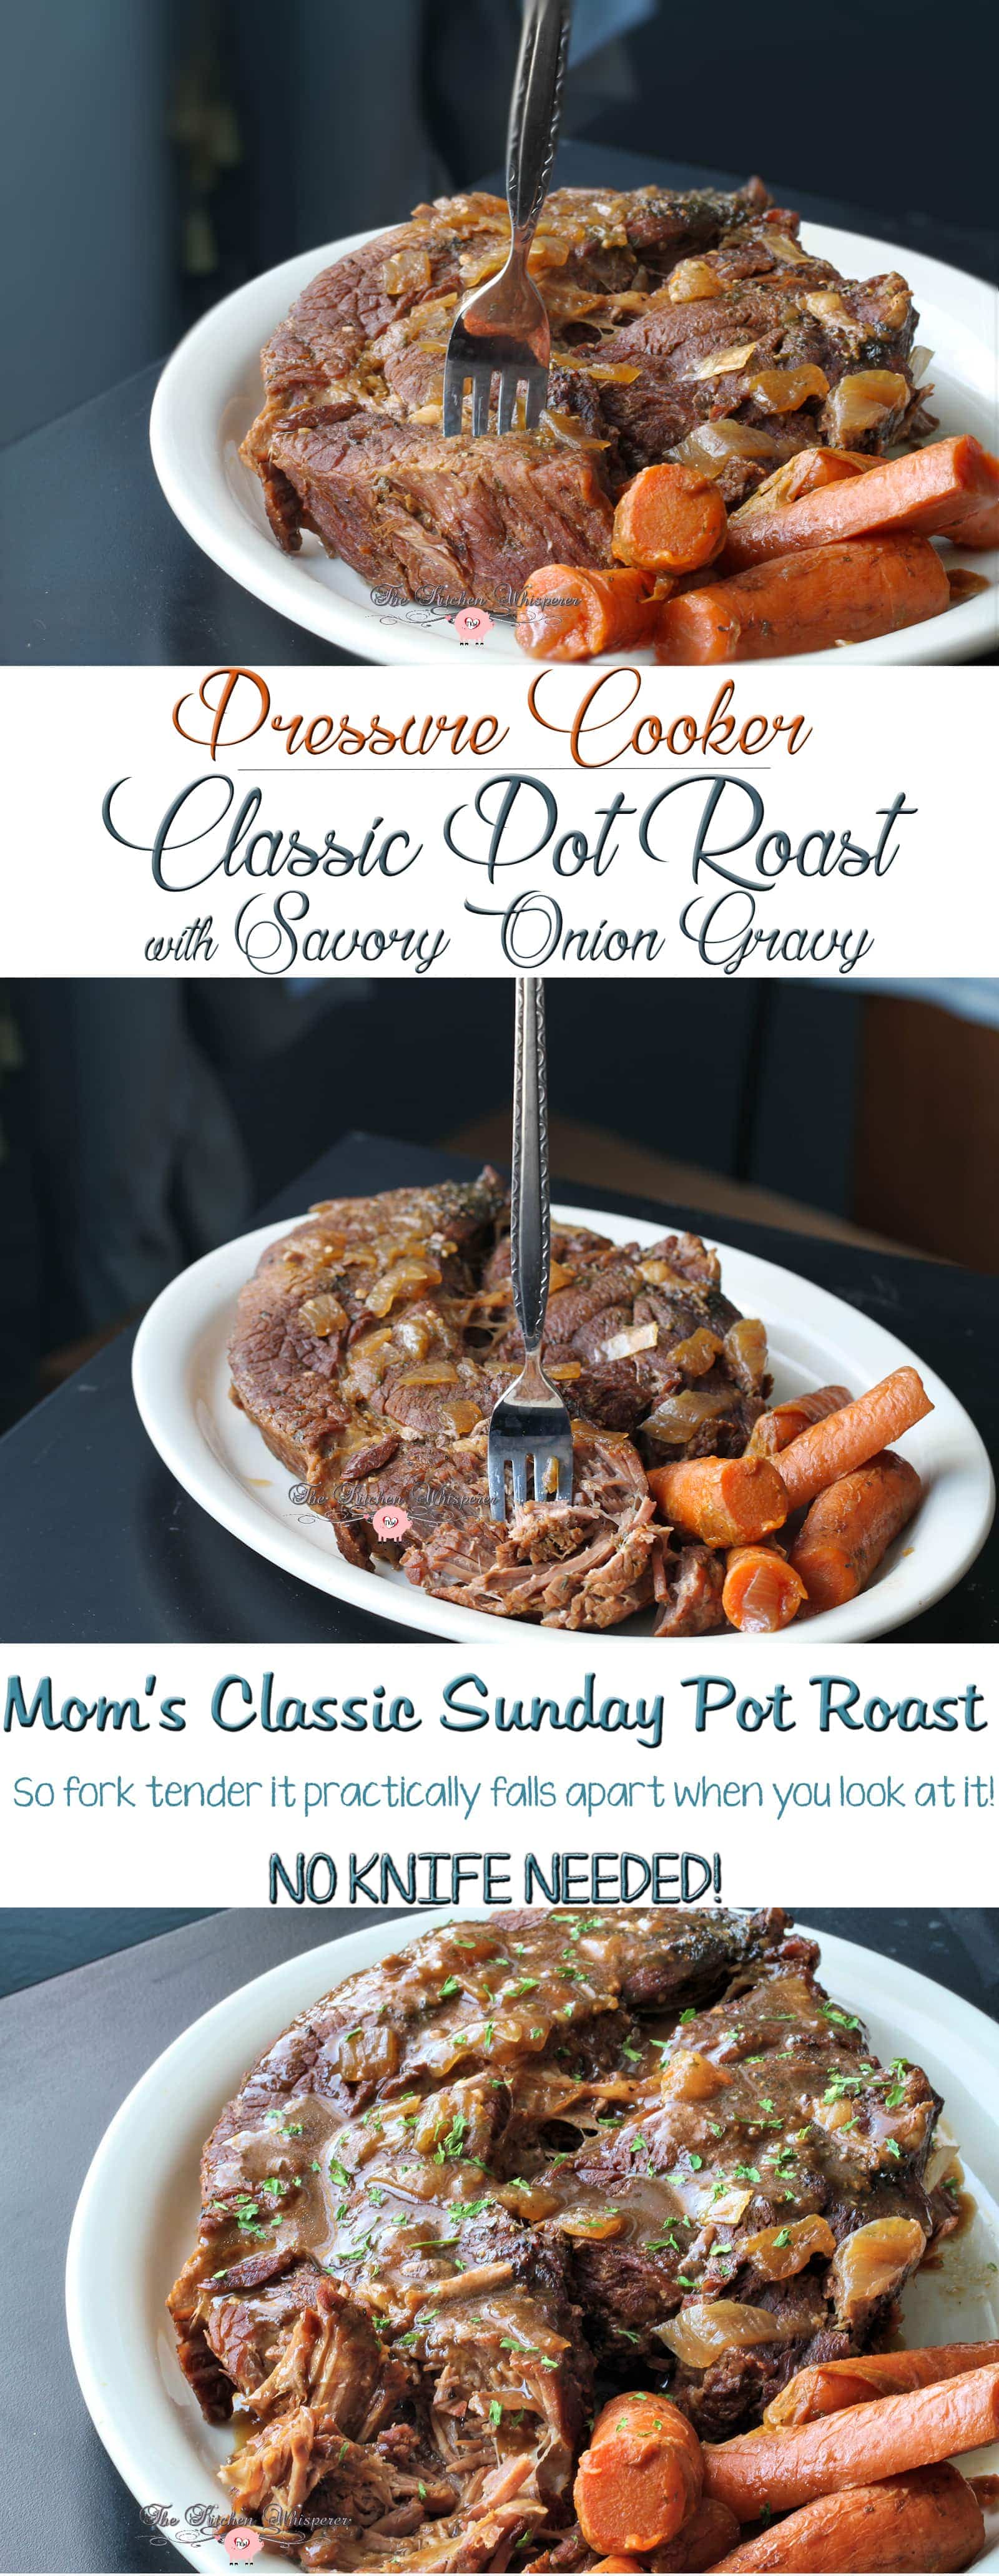
To get started I did a simple sear of the beef in the pressure cooker. Why sear the beef? It doesn’t “seal in the juices or flavor”. Nope, doesn’t do that. Instead, you’re building up incredible depths of flavor instead. Plus it adds to the color of the dish. And as I’ve said for years, we do eat with our eyes as well. Once the beef was seared on all sides the beef is removed and it’s time to “assemble” the pot. Layering flavors is important in pressure cooking just like regular cooking. When I have potatoes, carrots or the like to a dish like this I always put those veggies on the bottom and then the meat on top. As the dish cooks, those veggies get infused with the flavors of the meat.
Next, add the meat back in and make sure to pour in any of the juices that escaped from the beef onto the plate. Don’t pitch that, that’s flavor right there folks! Lastly, mix together the herbs and liquid, seal up the cooker and set the timer.
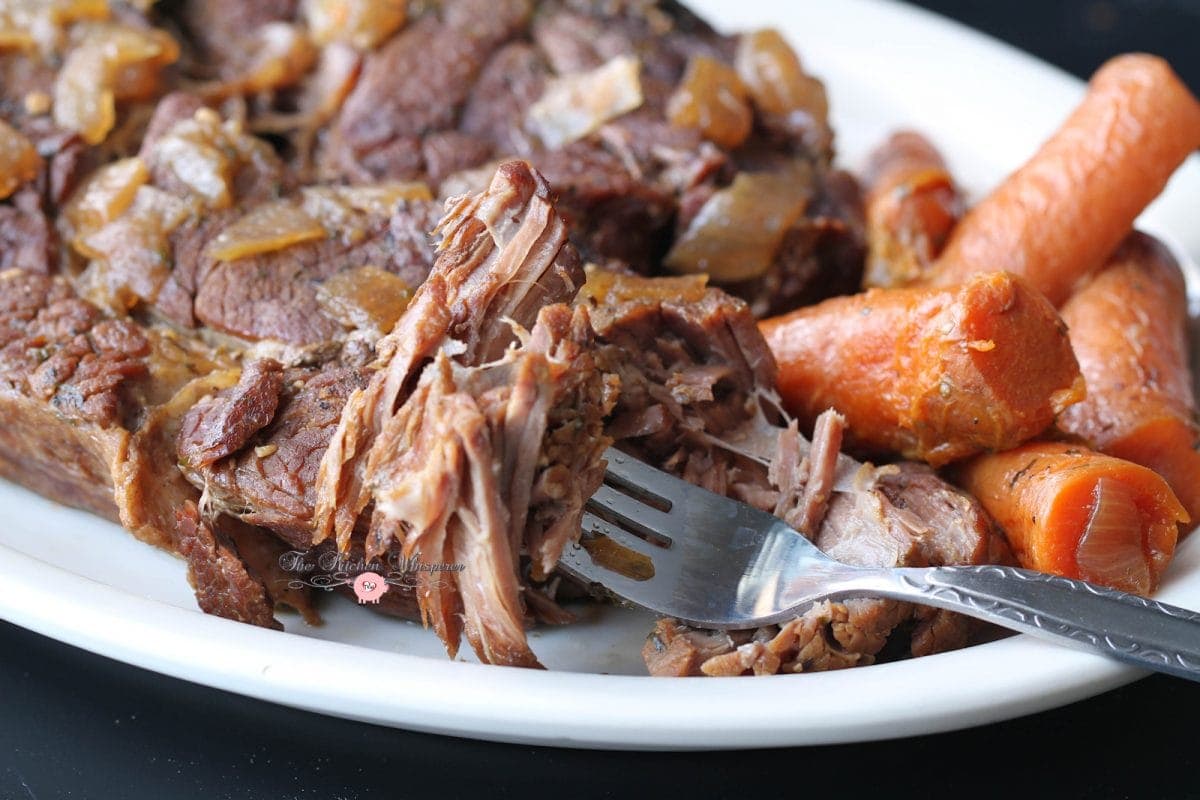
In the 90 minutes while this was cooking I managed to get 2 loads of laundry done, the dishes washed, beds made and even had time to play around on Instagram. As I walked towards the kitchen that smell hit me in the face and I actually stopped for a minute, closed my eyes and immediately I was transferred back to when I was 8 years old. I can do vividly remember this now and it’s honestly because of this smell. It was a Sunday in the summer. I had been sent to ‘play outside’ all day (and not like kids today who I swear don’t see the outdoors until it’s on tv or in a video game). I was swinging on my swing set when I hear Mom holler from the kitchen door “Lori Ann, dinner’s ready. Come wash up.”
Just like any kid I tried to get in a few last swings before I had to go inside and I thought I was smart and tried to jump off of the swing while it was halfway up in the air. Being a chubby kid I didn’t propel very far. In fact as I jumped off of the seat somehow the back of my foot swung up and got caught on the seat. BOOM! SPLAT! I went face down into a pile of dirt, grass, and rocks. I laid there wailing as someone had just stabbed me 42 times. Mom and her ninja speed flew out the door (apron wrapped around her) and by my side in seconds. She helped me up and even though she kept a smile trying to soothe me I could see in her eyes I was cut pretty bad. She wiped my face with her spit-kissed apron, told me for dessert we could have ice cream (I immediately stopped crying…fat kids love ice cream) and we walked up to the house.
I can remember holding her hand and as we walked up the brick sidewalk I could smell her pot roast, warm bread, and gravy.
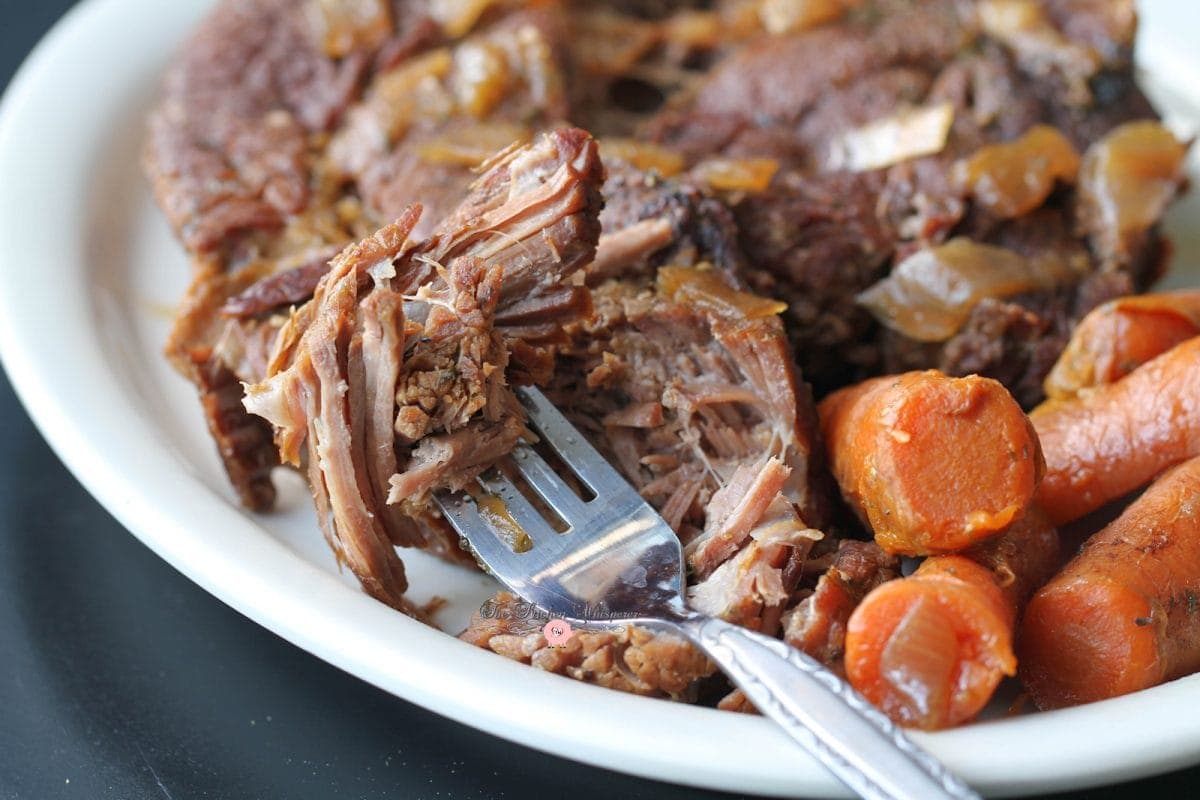
God, I haven’t thought about that since I was little. Isn’t it funny how food triggers memories?
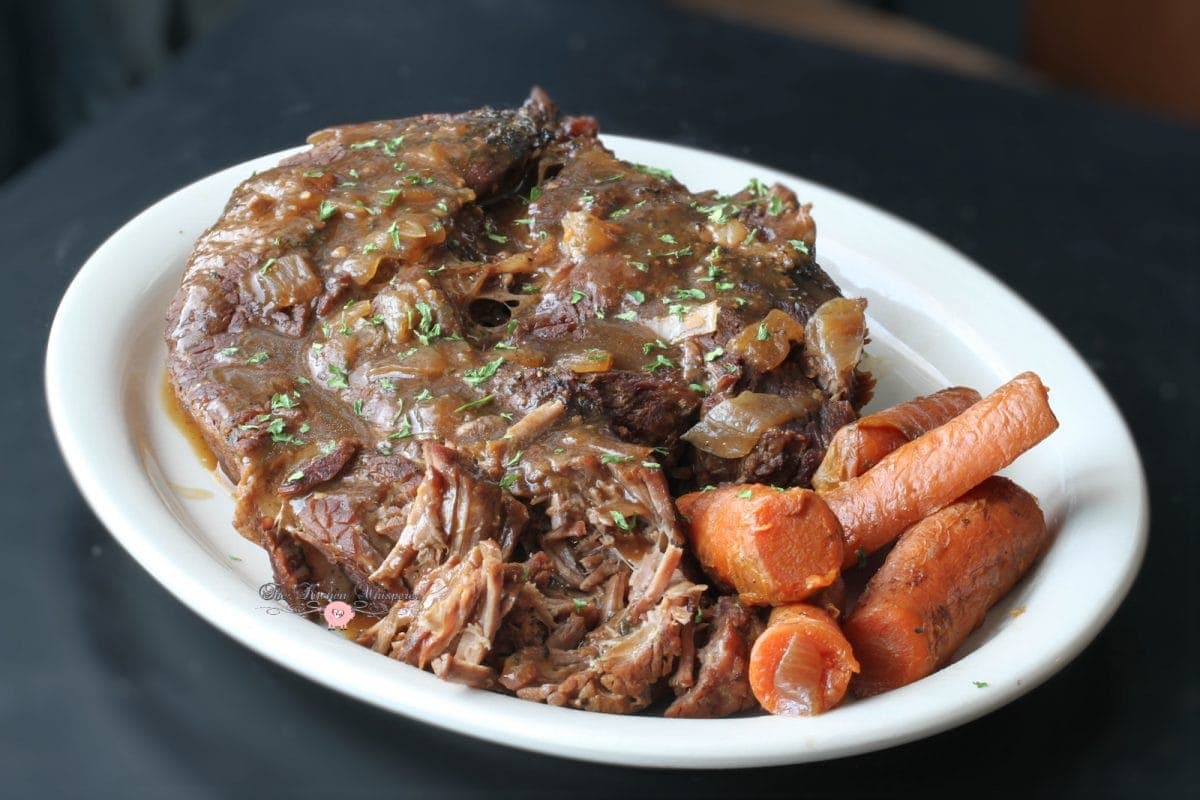
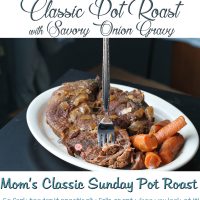
So back to this pot roast…once I did the natural release and took the lid off, OMG the smell was amazing! Like this was exactly my Mom’s kitchen on Sunday smells. I couldn’t help but grin from ear to ear! The roast… OMG, I needed to large slotted spoons to help pull it out and keep it intact as it was literally falling apart it was so tender. Next out came the super tender carrots which, yes I still put loads of butter on them. I just am not a huge fan of cooked carrots – even when they are infused with this amazing flavor.
Growing up I never ate the gravy. Why? Onions… I didn’t do chunks. But as I grew up and learned to respect them and then eventually grow to love them in recipes. Now okay sure, I will not eat a raw onion on a sandwich…omg I’d die! but if they are cooked, roasted or whatever. I’m all for it. So yeah growing up when it came to roasts or steaks I was a *ducking as she says this…* I was a ketchup girl. Yes, I smothered my steaks and roasts in ketchup. And okay fine, if I eat a steak today I still smother it in ketchup. I can’t help it. Yes I know you’re probably scoffing at the thought of it but I’m a ketchup-o-holic!
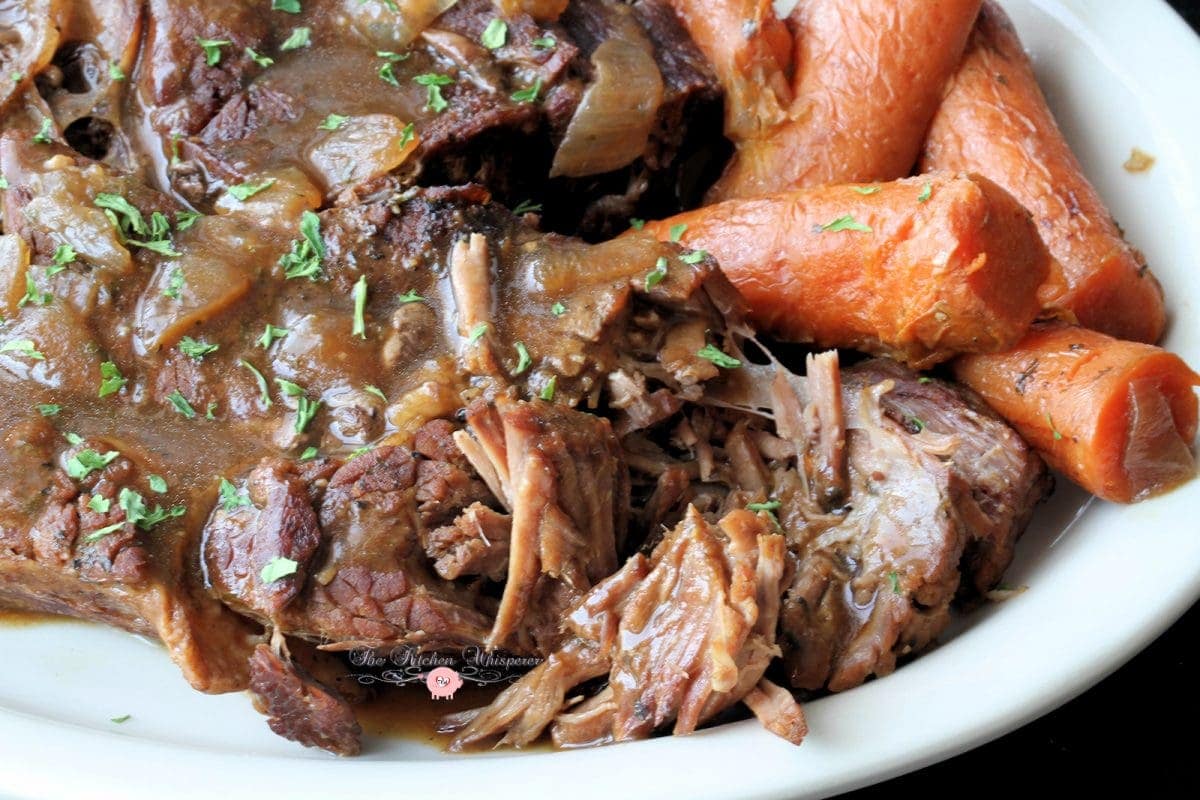
But for this, I kept the gravy and made the onion gravy truly savory.

Now I still kept in Mom’s style with the carrots and creamy mashed potatoes. God, I love mashed taters!

But I also wanted to step up my game and go with one of my FAVORITE sides – Bacon Wrapped Brussels Sprouts with Maple Dijon Glaze. Plus to be honest, it was the only veggie I had in my fridge since I hadn’t been grocery shopping for veggies in a bit. Annnnnnnnnnnnnnnnd there’s bacon involved so anytime I can incorporate that into a dinner I’m game!

As you can tell by these mouthwatering pics, dinner was an EPIC SUCCESS! This literally was my Mom’s Sunday pot roast but made in a fraction of the time. I do wish she was here with me to taste this. I feel like this is the dish that I could serve her and say “Mom you cooked for us all those years. Because of your guidance, you can now relax, hang up your apron and let me take over.” Mom would have been proud of me.
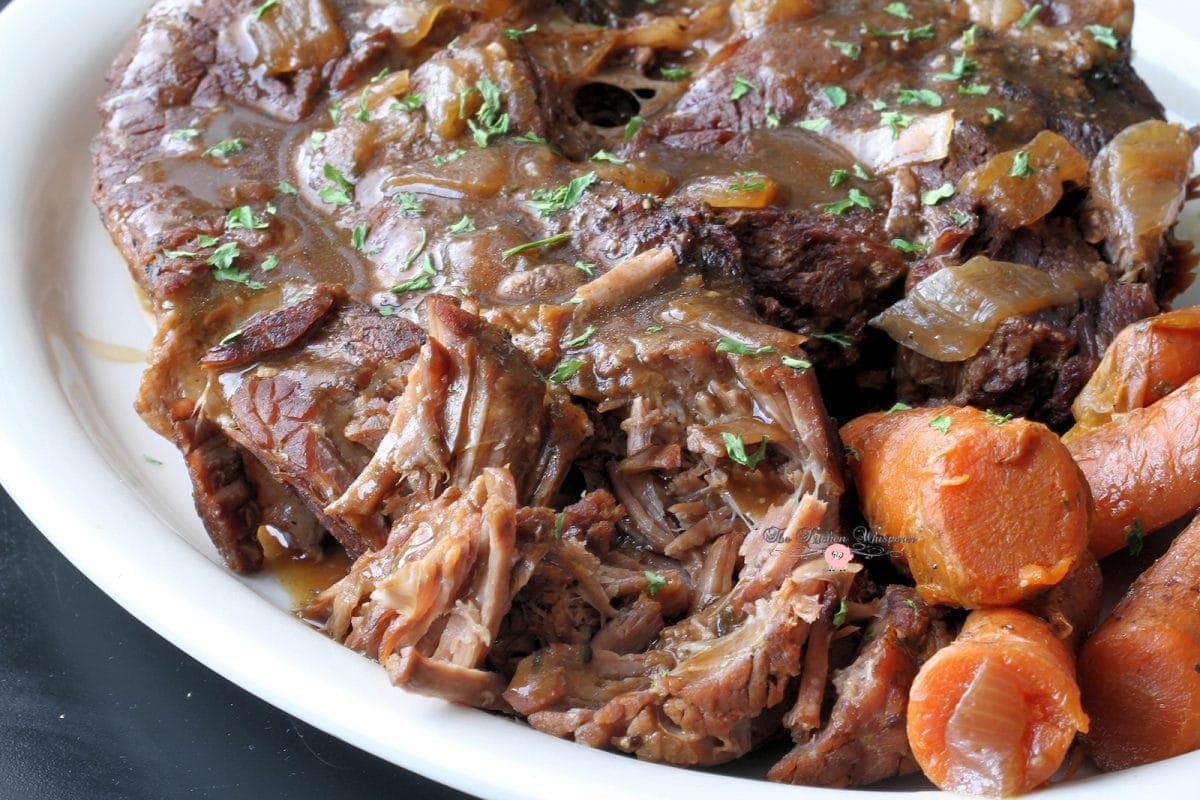
Pressure Cooker Mom’s Classic Pot Roast with Savory Onion Gravy
- Prep Time: 30
- Cook Time: 90
- Total Time: 1.5 hours
- Category: Beef
- Method: Pressure Cooking
- Cuisine: Comfort Food
Mom’s classic Sunday pot roast. So fork tender it practically falls apart when you look at it! No knife needed!
Ingredients
- 3–4lb chuck roast *See notes for 3 pound roast
- 1 large yellow onion, chopped small, about 1 1/2 – 2 cups
- 4 whole carrots, cut into 3” sections
- 1 tablespoon minced garlic, fresh
- 3 cups beef stock
- 2 tablespoon Worcestershire sauce
- 2 teaspoon kosher salt
- 1 teaspoon black pepper
- 1 tablespoon parsley, dried
- 1 teaspoon thyme, dried
- 1 tablespoon olive oil
- 2 tablespoon corn starch
- 2 tablespoon water
Instructions
- Coat the chuck roast with 1 teaspoon of salt on all sides. In your pressure cooker either over high heat or on the browning stage, add the oil. Once the oil is shimmering carefully place the roast in the pot searing for 6-9 minutes on each side. Each side should have a dark caramelized crust. Once seared, remove the meat from the pot and set aside.If using a gas pressure cooker, reduce the heat to low. If using an electric pressure cooker, shut the system off.
- Next, in order, place the onions, carrots and garlic. *Note – if you like a more firm carrot, leave them out. See the note about cooking the carrots to have a more firm consistency. On top of the vegetables place the seared meat and any juices that were on the plate.
- In a bowl whisk together the stock, Worcestershire sauce, remaining salt, pepper, thyme and parsley. Pour this over the meat.
- Place the pressure cooker lid on the pot and seal. For a gas pressure cooker, turn the heat to high, set the dial to meat/poultry and the timer to 60 minutes. When the unit reaches temperature (mine chirps to notify me) reduce the heat to low. My unit only goes up to 59 minutes however this roast needs 90 (for a smaller 3lb size see notes as this only needs 70 minutes total) minutes to cook. When it chirps that it’s done simply reset the timer by adding another 30 minutes.For an electric pressure cooker, set it to high and the time to 90 minutes.
- After 90 minutes release the pressure in either pressure cooker using the natural release method. Carefully remove the lid and using large slotted spoons gently remove the roast and set on a serving platter to rest. It should be fall-apart tender. Next, remove the carrots and set aside.
- To make gravy strain any fat off and place the juice back into the pot. Bring the liquid to a boil (electric pressure cooker you’d set it to browning). In a small bowl stir together the cornstarch and water until blended. Whisk in the cornstarch slurry into the pot. Reduce the heat to medium and stir occasionally until desired consistency. Taste the gravy for seasoning – additional salt and or pepper.
Notes
For a 3lb roast, go with a total cook time of 70 minutes. If, after 70 minutes, it’s not fork tender, go with another 5-10 minutes under pressure.
More firm carrots – So I like a super soft carrot but if you do not, follow these instructions. Set the timer for 65 minutes WITHOUT the carrots in the pot. At the end of 65 minutes, do a quick release, add the carrots into the pot then cook on high pressure for 15 minutes. Once done, follow the rest of the recipe for with a natural release.










This is my go to pot roast recipe! It always turns out amazing! Thanks!
Hi, awesome recipe!!! My roast was under 3 lbs, I added quarter potatoes, celery, to help with volume. I also deglazed the the instant pot to get any juicy bits off bottom with red wine, before I put in my vegetable mix. Added beef stock mixture, seared beef , a little more red wine, for a little more yummy.
I did the 70 minutes, totally perfect 👍👍