Posts may contain affiliate links that help enable me to continue to provide you with free recipes. As an Amazon Associate, I earn from qualifying purchases. Please see my Privacy Policy for further details.
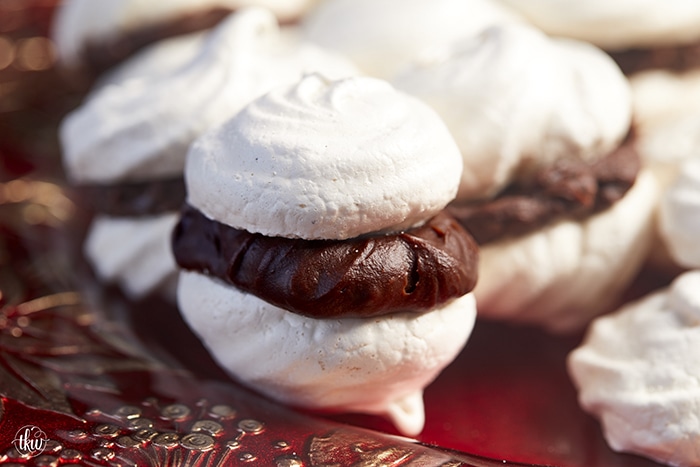
These French Vanilla Meringue Sandwich Cookies with Ganache filling are cloud-like treats that melt in your mouth with a slightly crisp outer shell, a slightly chewy center, and a decadent chocolate ganache filling.
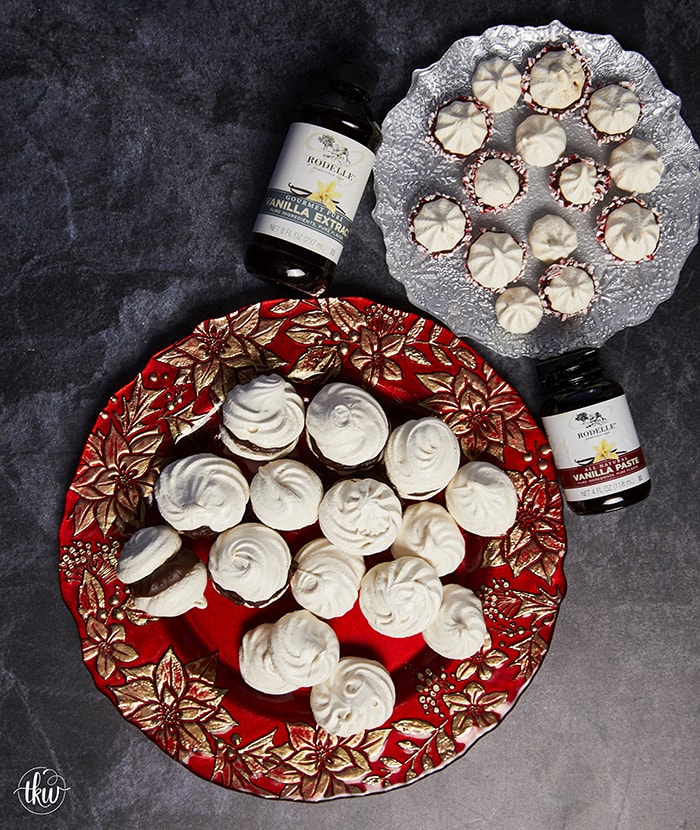
This post is being sponsored by my friends at Rodelle Inc. to showcase two of FAVORITE products from them – Rodelle Gourmet Gourmet Pure Vanilla AND their Rodelle Vanilla Bean Paste. As always, all opinions my own. Thank you for supporting partnerships with brands I trust and believe in.
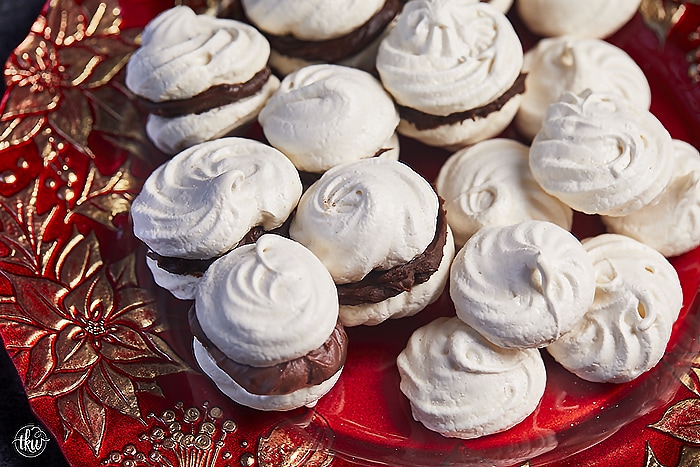
I love these cookies. Seriously, these are like eating little crunchy/chewy/melt-in-your-mouth bites of deliciousness that just so happen to have decadent chocolate ganache in the middle.
They are really easy to make but they do take patience. You just need to take your time when whisking the egg whites and go slow in adding the ingredients but trust me, it’s worth it!
When you want a show-stopping cookie, make these!
These cookies are a true show stopper. When I used to do catering these were always on the dessert table – regardless of the time of year, these were a must-have. So light and billowy you can’t stop with eating just one.
When I was making these, Mr. Fantabulous came into the kitchen asking what I was up to. Once he saw that I was piping these onto the tray he seriously got stupid giddy. These have such a unique texture that, when made right (and my recipe) just melt into the most amazing mouth-feel of the cookie.
Of course, he stood there asking how long until they were done. I just smiled, told him a couple of hours and asked him to help. He did… by dipping a spoon into his bowl of ganache telling me I’m the best wife ever.
Yes – whenever I make ganache I have to make a “Husband Bowl” as he LOVES the stuff. He’ll take a spoonful and walk around the house licking the spoon like a sucker. Oh, dear husband, how I love you!
But first a $200+ Rodelle Supply Baking Challenge for you to enter!
As I’ve been preaching for years, I LOVE Rodelle! I’ve been using them for decades and am fortunate now that I’m one of their Brand Ambassadors. It’s a company and product that I believe in and trust. I’m super excited to share their latest Baking Challenge with you guys. We want to see you recreate this recipe and post it to Instagram!
What do you have to do?
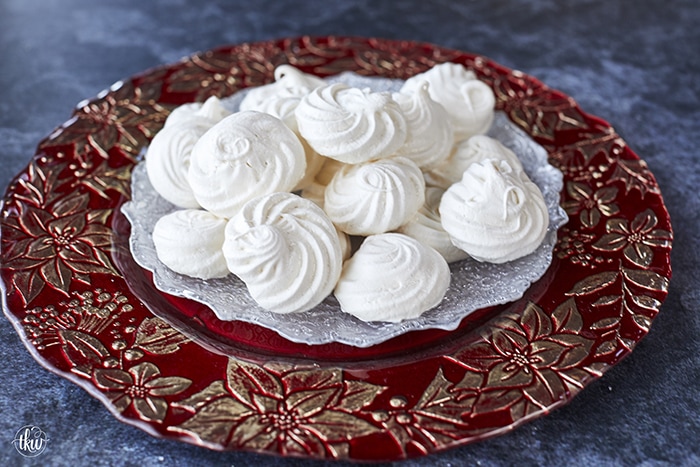
Easy – make my recipe and post it to Instagram! Well okay, you have to do a little more to enter but seriously it’s super easy and well worth it! I mean seriously, LOOK at these cookies!
They are really easy, heck you don’t even have to pipe them if you didn’t want to. Just bake, cool and spread on delicious ganache!
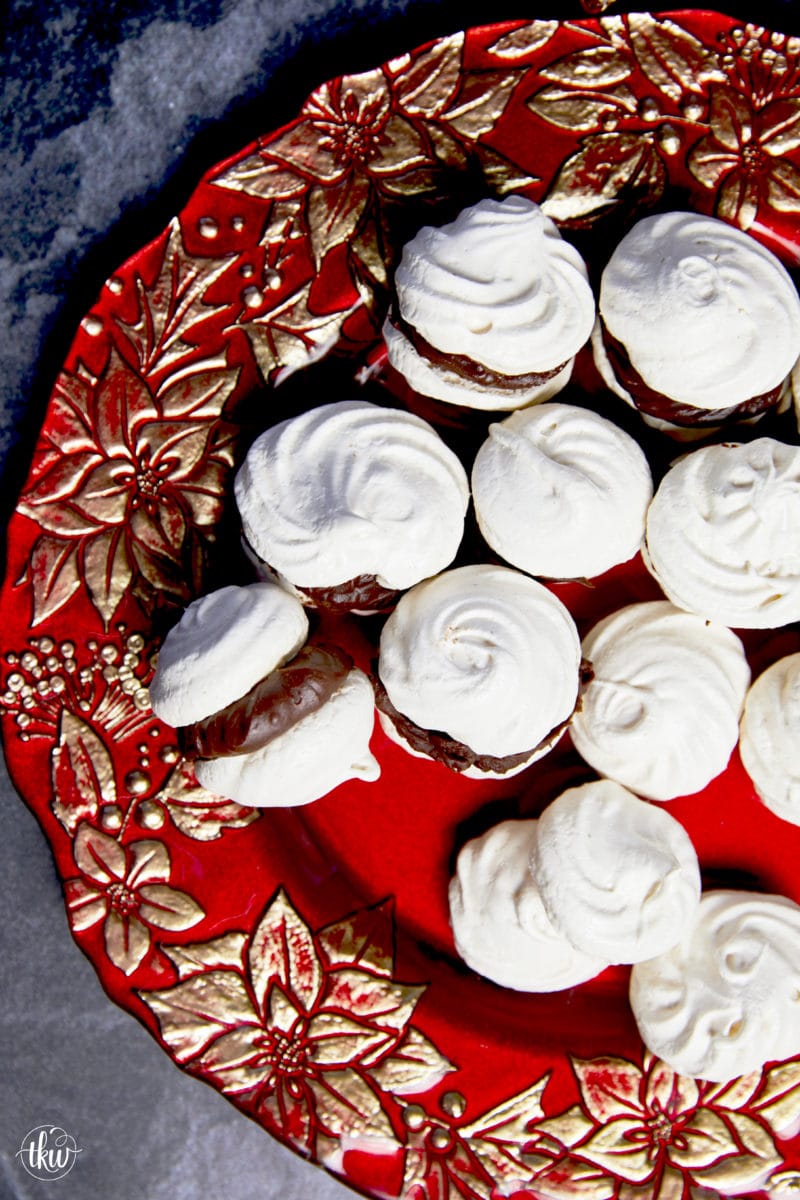
Grab your phone, snap a pic and post it to Instagram. I mean you’re on there already! And I know you make my recipes (which I’m super grateful for). You should enter to win! It would seriously make my day if one of my TKW Family members won!!!
- Follow @RodelleVanilla and me @thekitchenwhisperer on Instagram
- Post your recreation of this recipe and Tag @thekitchenwhisperer and @RodelleVanilla on Instagram
- Use hashtag #RodelleBakingChallenge
- Want a bonus entry? Leave a comment below!
Check out all the Holiday Baking Challenge Rules!
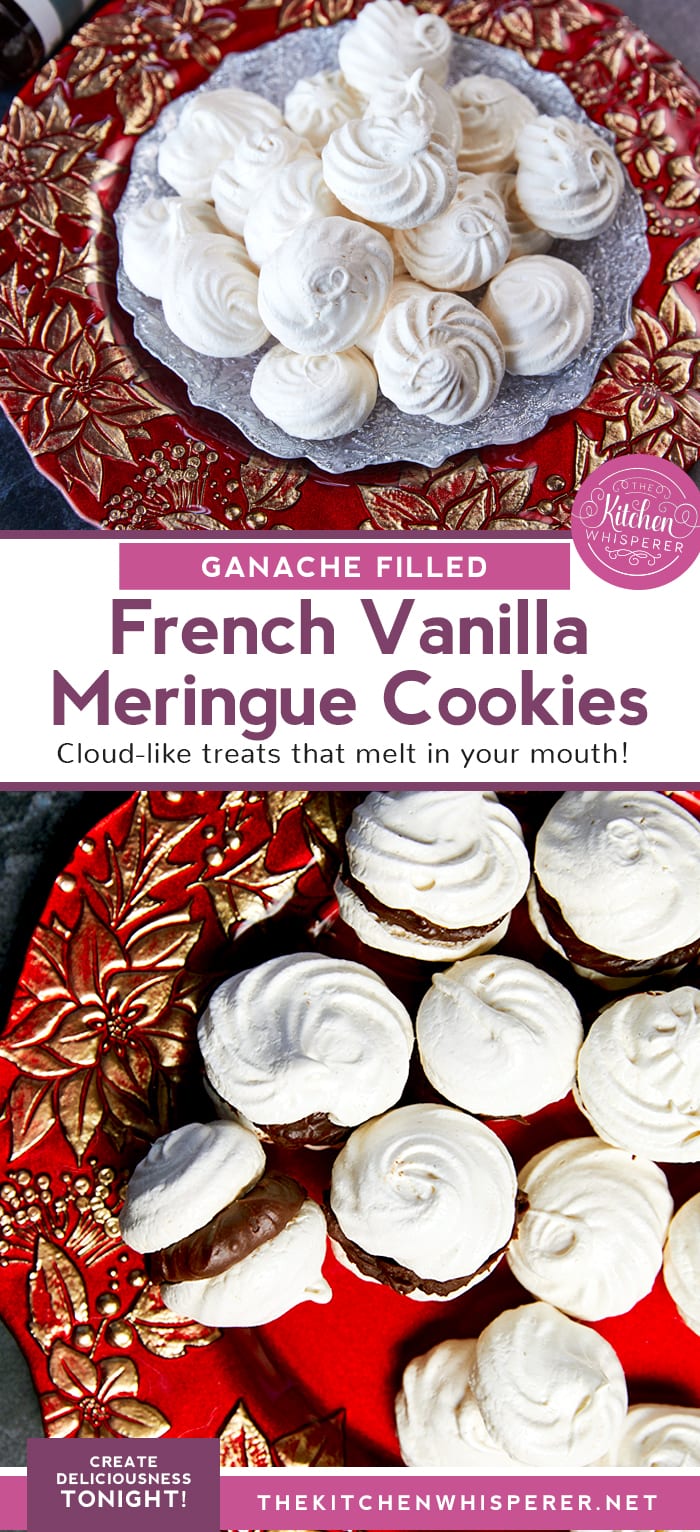
Ingredients needed to make this Meringue Cookie recipe
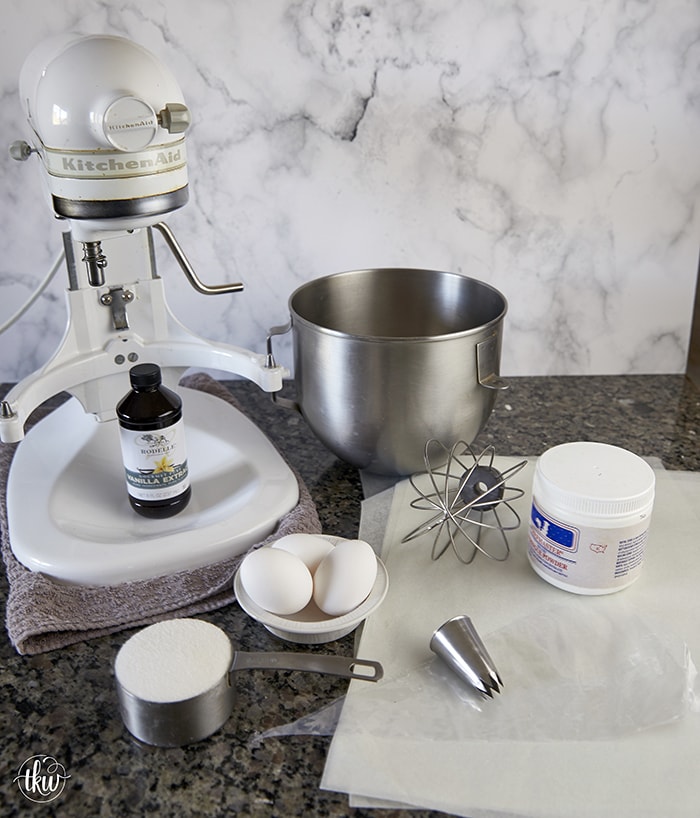
This recipe and list of ingredients are truly pretty simple. You only need a handful of ingredients:
- room temperature egg whites (this is critical)
- granulated sugar
- Rodelle Gourmet Gourmet Pure Vanilla AND their Rodelle Vanilla Bean Paste
- Meringue Powder (or you can use cream of tartar if your powder does not have a stabilizer in it)
Meringue powder is simply powdered egg whites (that may or may not have a stabilizer added to it). If your meringue powder does not have a stabilizer in it then use Cream of tartar.
Cream of tartar acts makes for a sturdier meringue that is less prone to weeping. It will keep it stiffer, longer. Kind of like when you make stabilized whipped cream. When you add gelatin to it, you’re stabilizing it so it doesn’t get all soggy or start to weep. The acid in the cream of tartar does the same thing here.
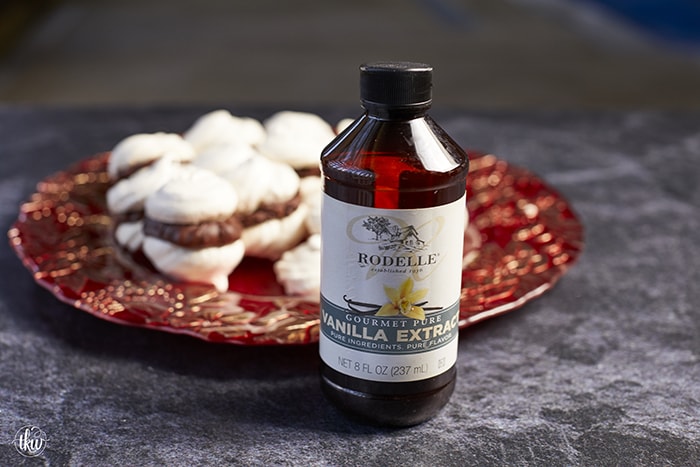
Let’s talk egg whites and what’s critical
So I can’t implore just how important our egg whites must be yolk-free and at room temperature. If egg whites are cold they will almost “seize” and not whip up to high heights.
My best advice is once you let the eggs sit at room temperature and then separate them from the yolks, let them sit in a clean bowl at room temp for 30 minutes.
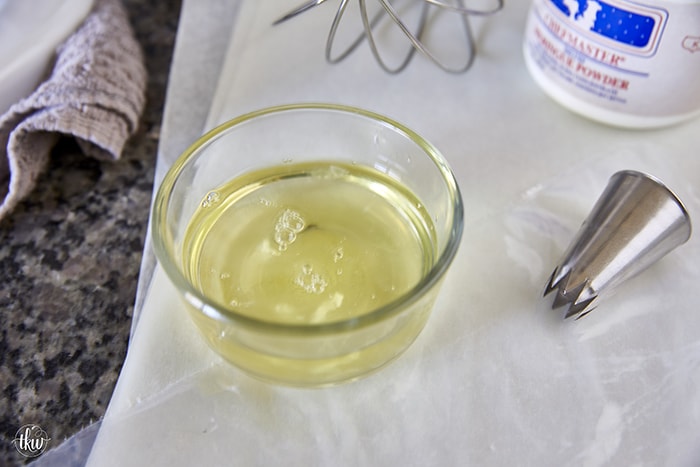
What to do if you get yolk in your egg whites?
It depends – if you broke the egg and the whole yolk went in, it’s best to use that egg for something else. It’s near impossible to get it all out.
If it’s just a little bit of yolk, still fish it out. A teensy drip shouldn’t keep your whites from whipping but I wouldn’t chance it.
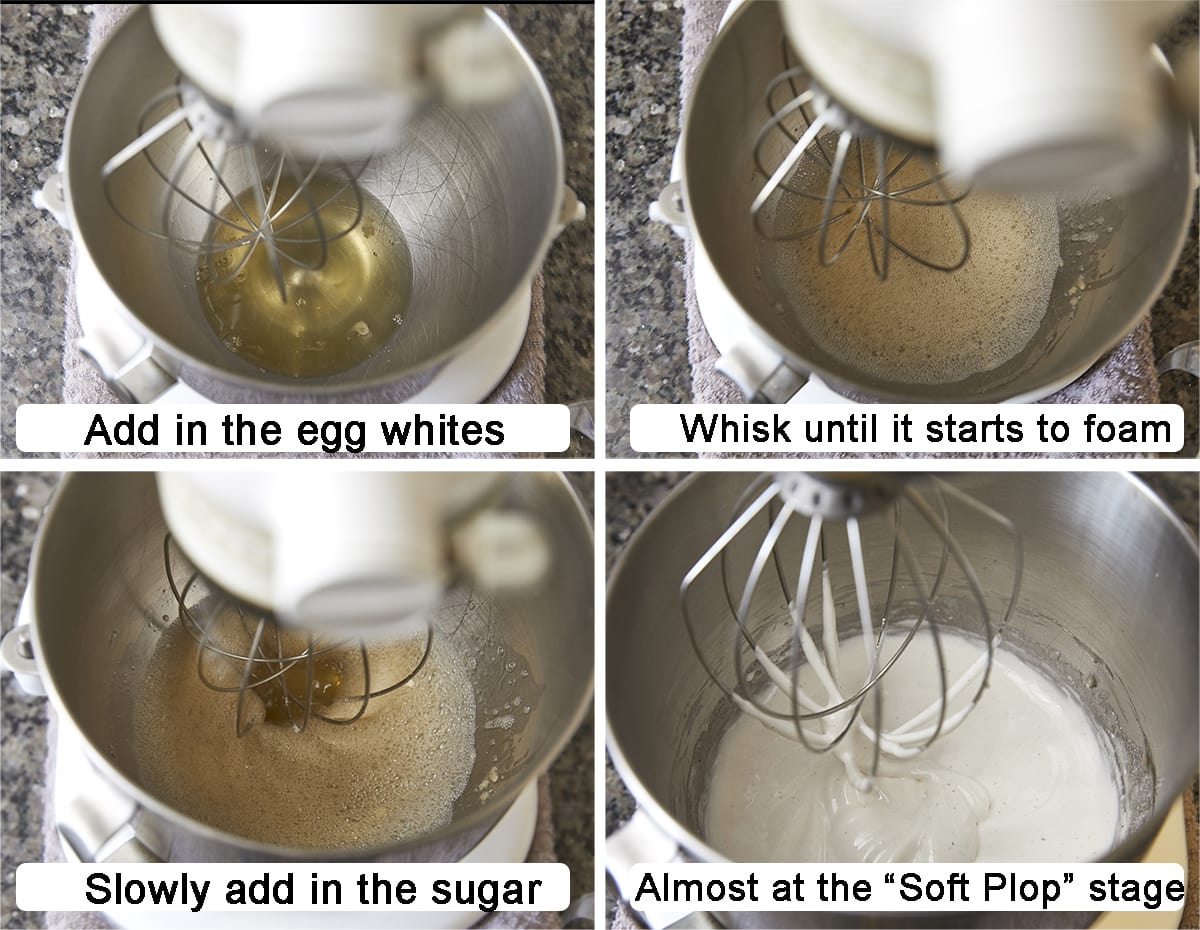
If you look in the above picture (bottom right) you can see the flecks of vanilla bean. This is from the vanilla bean paste. I LOVE seeing the flecks!
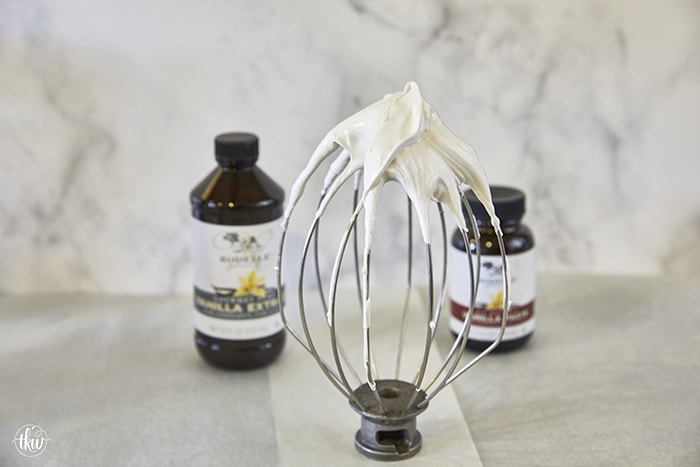
Soft Plop Egg White Stage
So the Soft Plop stage is right before the Soft Peak stage. Essentially this is where the meringue starts to turn opaque and thicker BUT if you were to take it out of the mixer, no soft peak would hold. As you can see below it’s all slumped over and will start to melt back into the rest of the meringue.
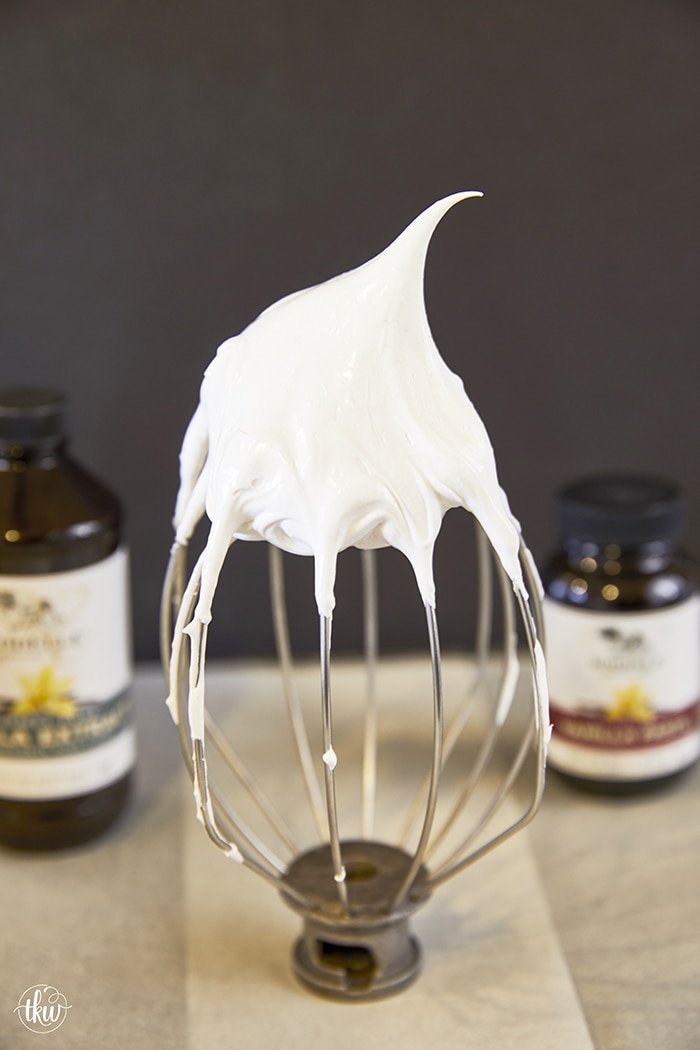
Stiff Peaks – why it’s important!
As you’re mixing the egg whites, you must whip these until stiff, glossy peaks form. It’s a simple test. Lift the whisk out of the meringue (I removed mine). Stand it up and set the whisk down (if you can). You want to be sure that the tip stays stiff and doesn’t flop over.
When you move the bowl, the egg whites should not slide nor should you see any watery egg. What I do is will use a spatula, scrape down the side and bottom and whisk for another minute to ensure that it’s all stiff.
Also, pinch some of the meringue mixture between your fingers. It should feel silky and smooth.
Piping Meringue Cookies
Now, this is the part when you need to act fast. This is why it’s important to have your baking pans and piping bag/tip ready. The longer you let the meringue sit, the more it will sink and sag – even with a stabilizer, it can happen.
So don’t make the meringue and then go for a walk!
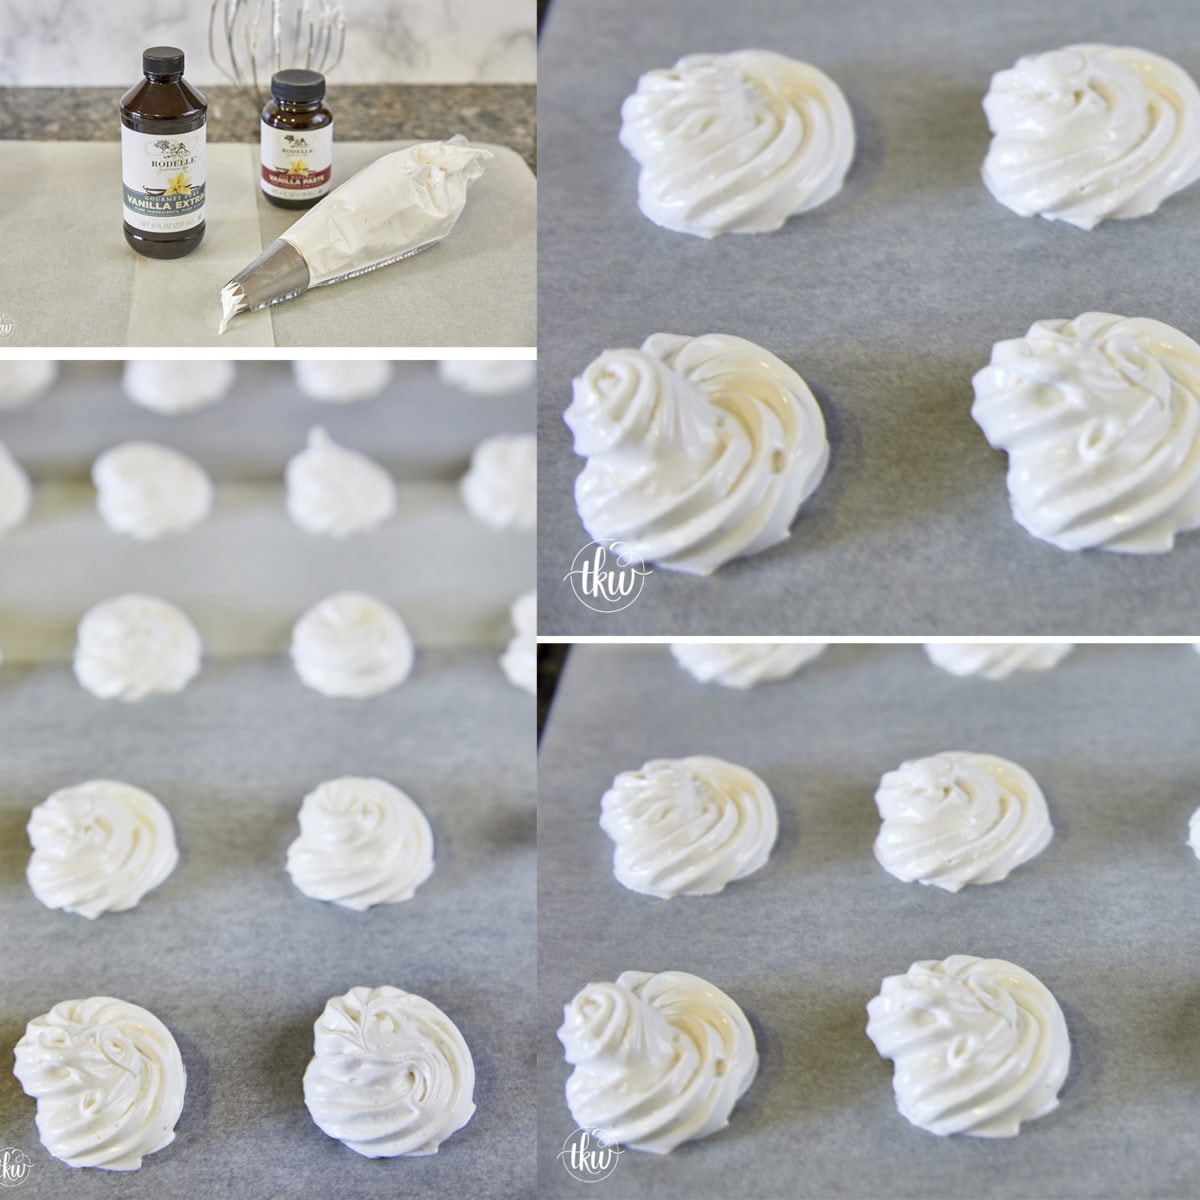
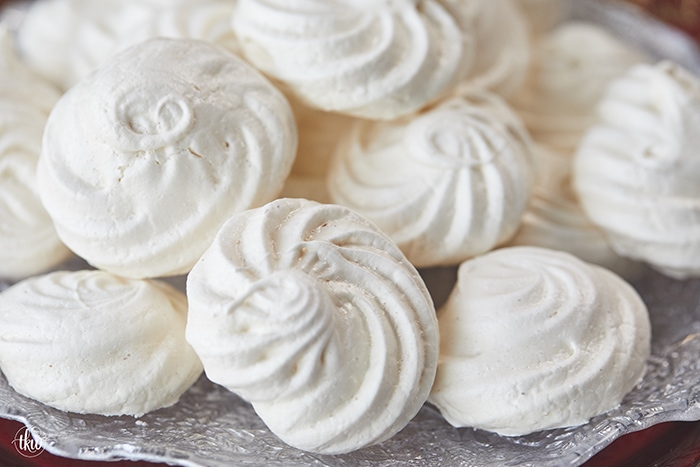
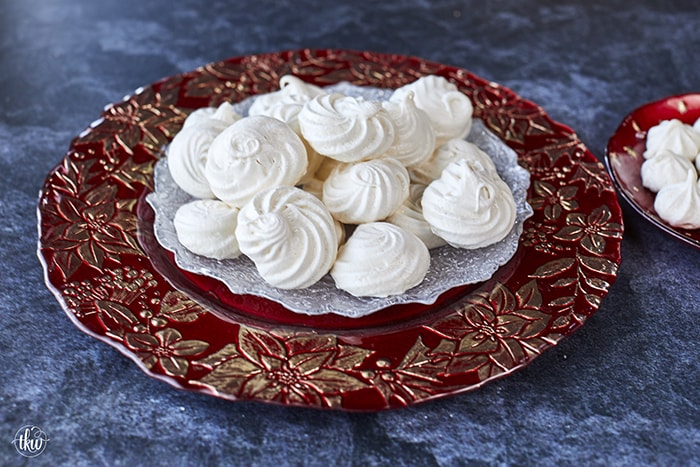
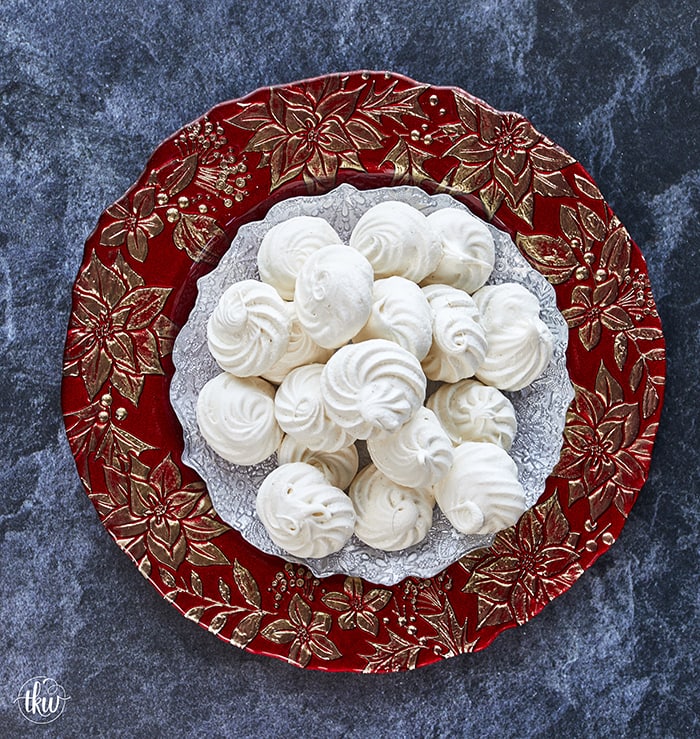
Once they are baked you can see they keep their shape and barely spread
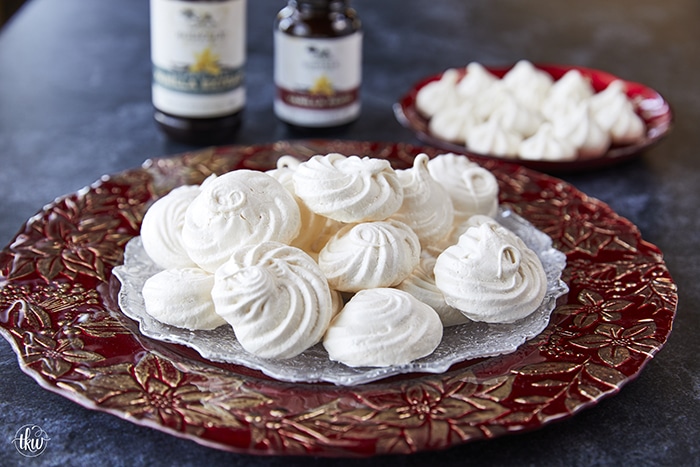
Bags and Tips I use
I like using the 18″ Ateco 4718 Disposable Decorating Bags, Pack of 100
Tips
A great entry-level set of tips are these by Ateco 783 783-55 Cake Decorating Set, Includes 52 Tubes, 1 Standard Coupler, 2 Flower Nails in Hinged Storage Box,
Now if you wanted to go even fancier check out these Russian Piping tips! They are PHENOMENAL!
Patience is a virtue when making meringue cookies
Important Tips and What To Avoid When Making Meringue
These items are critical for success.
- Egg whites MUST BE AT ROOM TEMPERATURE
- There must be no yolk present at all.
- Your mixing bowl and whisk must be completely clean with zero residual greases or fat. This is can prohibit the meringue from forming and becoming stiff.
- Make sure your oven accurately reads at 215F. If it runs hot it will bake too fast and cause the meringues to crack or brown. These meringue cookies should be very light, almost white in hue.
- TAKE YOUR TIME. Don’t rush adding in the sugar or going from zero to turbo on whipping it. Add the sugar in a tablespoon at a time. *This is where patience comes into play.
- And lastly, the weather. If it’s humid or rainy out, you will have a tough time with these as they will absorb moisture and becomes sticky/limp. They are still delicious but won’t get that same crunchy shell with the chewy interior.
Ganache – doesn’t get much better than this!
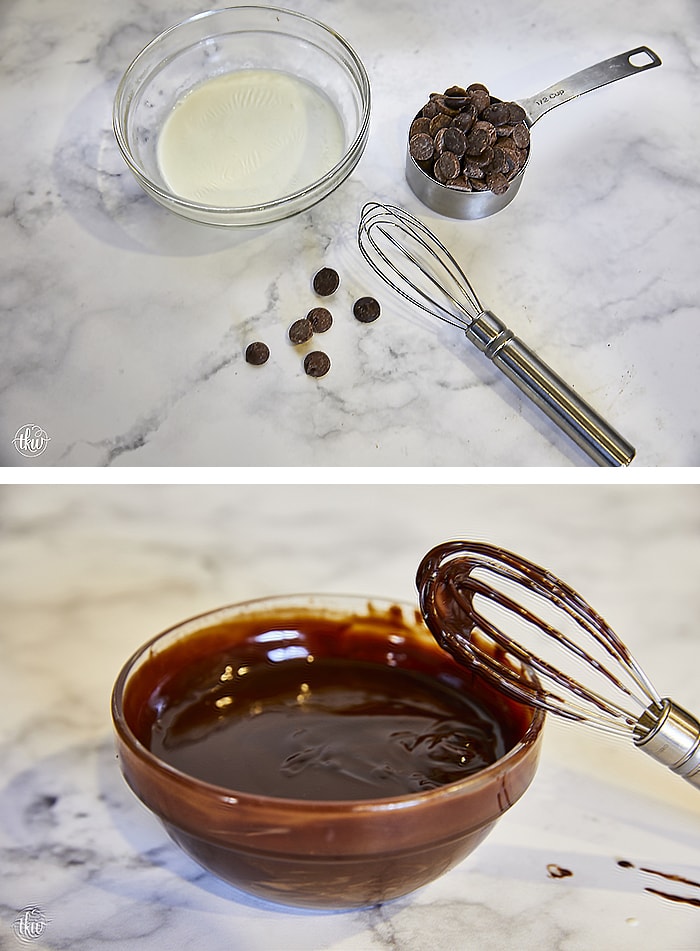
Ganache is nothing more than heavy cream and chopped chocolate. You can use chopped chocolate blocks or really good chocolate chips.
- To make it simply heat the cream over a double boiler until it starts to bubble around the edges. Do not boil it. If you don’t want to do that, you can microwave the cream in 10-15 second increments.
- Once the cream is heated through, add the chocolate and, this is important, LET IT SIT. You do not want to stir it. Let it sit for 5 minutes before you whisk … slowly!
- Slowly whisk together the chocolate and cream until it’s smooth and silky. Now, set it off to the side and let it cool until it’s soft but spreadable. You don’t want it to be liquidy.
- If, when you go to add this to your cookie and it’s too hard, just microwave for 5 seconds and stir.
The Assembly
First, try not to eat them all before you slather the ganache on. I’ll share a little secret with you about what I do when I make these cookies. I will pipe a few little ones on a separate pan for snacking while I make the rest for clients, family, friends.
- When it comes to assembling them you want the ganache thick but still spreadable. You do not want it runny at all. It should smear like peanut butter. If you can’t smear it, heat it in 5-second increments.
- While the ganache is reheating find a match for each cookie – you want the same size.
- One one side of the cookie smear about 2 tablespoon (or more if you love ganache) over the bottom of the meringue cookie. Place the 2nd cookie on top of the ganache and form a sandwich. Repeat until all of your sandwiches are made.
- It’s that easy!
Adding flavors to the ganache
Since these are vanilla meringues, I kept the flavors very straight forward – strong vanilla flavor with a decadent chocolate ganache.
If you wanted you could flavor the ganache with various oils/extracts. A SMALL amount of cinnamon oil, peppermint oil, Irish Cream, bourbon.. the flavor combinations are endless. But just make sure to not add a ton of it. You only want to flavor it, not make it runny.
Storing French Vanilla Meringue Cookies
They must be kept in a dry, air-tight container. They will last about 3 days. If air or cold hits them they will turn chewy and lose that crispiness. They are still delicious and will still melt in your mouth.
If you want to give these out, package them in cellophane packages and seal tightly. Due to how delicate they are, I wouldn’t advise putting them in packages to ship. While I would love nothing more than to ship these to family, friends, and clients, they are so delicate that they could crack and break.
Now, go enter the baking challenge!
- Follow @RodelleVanilla and me @thekitchenwhisperer on Instagram
- Post your recreation of this recipe and Tag @thekitchenwhisperer and @RodelleVanilla on Instagram
- Use hashtag #RodelleBakingChallenge
- Don’t forget about a bonus entry by leaving a comment below!
What other ways could you decorate your meringue cookies?
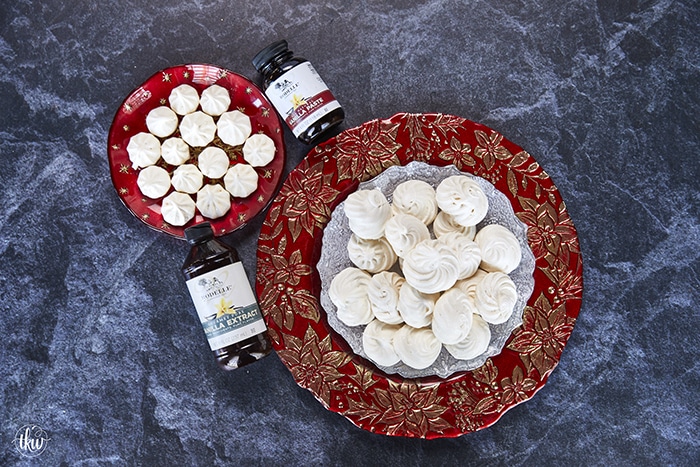
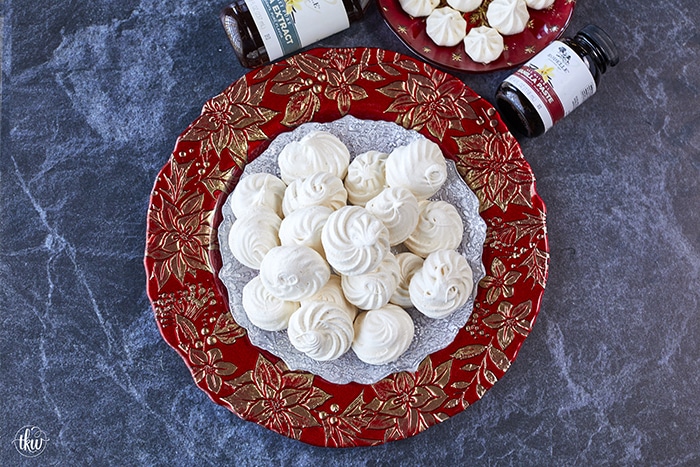
*Points to the pic below* – I made little peppermint kiss meringue cookies. Don’t worry, I’m sharing that recipe soon. It’s an easy swap of vanilla for peppermint extract plus adding some chocolate and crushed candy canes.
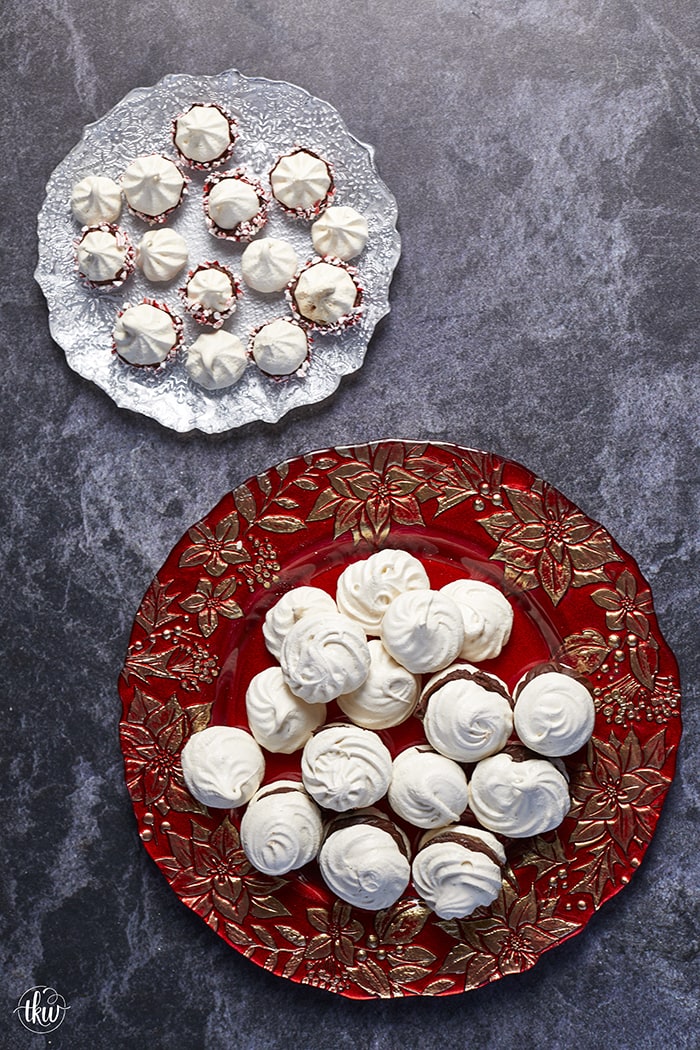
French Vanilla Meringue Sandwich Cookies with Ganache filling
- Prep Time: 20 minutes
- Cook Time: 2 hours
- Total Time: 2-3 hours
- Yield: ~2 dozen cookies
- Category: Cookies
- Method: Baking
- Cuisine: Sweets
These French Vanilla Meringue Sandwich Cookies with Ganache filling are cloud-like treats that melt in your mouth with a slightly crisp outer shell, a slightly chewy center, and a decadent chocolate ganache filling.

Ingredients
Cookies
- 3 xl egg whites, at room temperature *This is critical!
- 3/4 cup granulated sugar
- 3/4 teaspoon stablized meringue powder *see note
- 1 teaspoon Rodelle Gourmet Pure Vanilla Extract
- 1/2 teaspoon Rodelle Vanilla Bean Paste
- 1/4 teaspoon of kosher salt
Ganache
- 1/2 cup heavy cream
- 3/4 cup chopped chocolate (I like 60% dark and 40% milk)
Instructions
Prepare the ganache
- In a glass bowl of a double boiler, heat the cream until bubbles form along the edges. Remove the bowl from the double boiler, add in the chocolate and allow to rest undisturbed for 5 minutes. After 5 minutes, slowly start to whisk the chocolate and cream together until it is smooth and creamy. Set aside to cool.
Prepare the cookies
- Preheat the oven to 215F. Line 1-2 baking sheets with parchment and set aside.
- In a very clean bowl of the stand mixer fitted with the whisk attachment, add the egg whites and turn on medium low. After a minute, stop the mixer and whisk in the meringue powder, vanilla and salt just to break up any meringue clumps. Turn the mixer back on and increase the speed to medium.
- When the mixture starts to foam (~5-6 minutes) very slowing add in the sugar a little bit at a time. Reserve about a third of the sugar back until you reach the “soft plop” stage. Essentially, it’ll be very soft (no peaks even) but the mixture will start to tighten up more and the whites will start to turn opaque. At this point, turn the mixer on and up to medium high slowing adding in the rest of the sugar until soft peaks form.
- At this point, turn the mixer off, give it a scrape down and turn it back on slowly. Take the mixer back to medium-high/high until they form stiff peaks. This can take anywhere from 5-12 minutes depending on the power of your mixer.
- While the cookies are mixing, prep your piping bag with a star tip. Fill it only 1/2-3/4 way full as it’ll be easier to handle. Spoon some of the mixture into the piping bag being careful not to deflate the egg whites.
- Pipe out small 1 ½” round circles onto the parchment paper. They can be about a 1/2” apart as they shouldn’t spread much or at all (they would only spread IF they were not at a stiff peak). You may need to use 2 trays.
- Bake for 90 minutes (though check after 80 minutes). You want the outside to be crisp and the inside dry. They will fill hollow and very light. A quick test is to slide a thin blade spatula underneath. If it pops off the tray with ease they are done. Shut off the oven, leave the pans in the oven with the door cracked until they have cooled completely (~1-2 hours).
Assemble the sandwich cookies
- Stir the ganache. It should be smooth but thick. You do not want it to be runny. You should be able to spread it on. If it’s too firm, microwave in 5 second increments. Spread on 1-1 1/2 tablespoon of ganache on the flat part of a cookie. Grab a like-size cookie and complete the sandwich.
Storing Meringue Cookies
- These must remain stored in an air tight container at room temperature for 2-3 days.
Notes
Note:
If you do not have meringue powder you can use 1/2 teaspoon of cream of tartar



These French Vanilla Meringue Sandwich Cookies with Ganache filling look like the perfect treat to add to a holiday cookie box (and keep a batch on hand at home, of course!). Can’t wait to bite into one of these beauties!
These look so incredible! I could eat a whole plate of these as meringue cookies are one of my favorite! The ganache just takes it to another level.
Thank you Jamie! The ganache is seriously the perfect finishing touch to an already amazing cookie!
Best Kitchen Wishes!