So yesterday was one of those days where I had an abundance of very ripe bananas and the LAST thing I wanted to do was freeze ’em or make yet again more banana muffins or banana bread. I wanted something simple as I had 998765436800987554123 things to get done. I opted to go with a tart, maybe banana cream. However I wanted more depth to it. Plus banana cream tarts, I prefer actually less ripe ‘naners (well let me take that back.. the bananas I had were black and SQUISHY! Like the kind you really can’t peel but rather you cut the end off and ‘squeeze’ the banana out – that ripe!). As I stood there staring into my pantry I found some coconut and knew those flavors marry well but I need a trifecta. I thought about a berry in it but I wanted something rich to counter the sweetness of the banana and coconut. That’s when it hit me… CARAMEL! PERFECT!
I got to making the crust using my never fail perfectly flaky pie crust and making the filling. I made one 4″ round tart for Mr. Fantabulous and I to split … wait! HA HA HA… HIM share a dessert and actually split it in half with me??!!! Um yeah, that’s funny 🙂 I got “A” bite of this; yes A bite! The rest of it I made into a 9″ round deep dish tart that is now quietly sleeping in my freezer snug as a bug. The smaller tarts took about 25-30 minutes and the large tart took 40-50.
I’m telling you what folks, the smell of these baking were so amazing. OMG, you could just smell the sugars in it caramelizing. When it came out of the oven, kinda jiggly (ha.. a tad like me!) and lightly toasty brown (unlike me – I’m pale as a ghost!) it was all I could do to keep Mr. Fantabulous away from them! Alas they had to cool. So I let them come to room temp and stuck them in the fridge for after dinner.
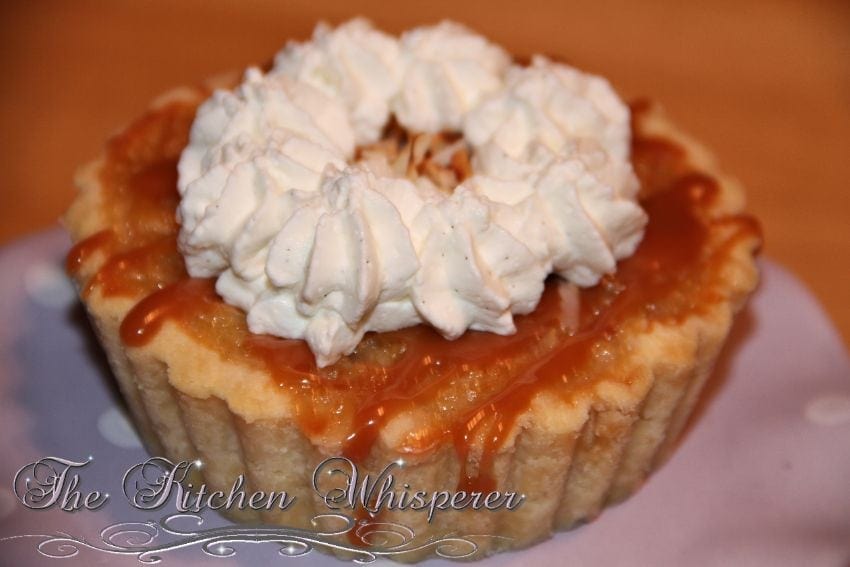
As I was prepping dinner I decided the tart needed prettied up. Plus I think the fact that it was National Whipped Cream day I opted to make a vanilla bean stabilized whipped cream. Now I’ll be honest, I’m not a fan of whipped cream per se (like the stuff in the can or the frozen tubs of stuff) however there is something magical about homemade whipped cream. When I had the whipped cream to the consistency I wanted I tasted it…and tasted it again…and tasted it again. I mean any good cook SHOULD taste their end product, right? Well apparently I tasted it too much (is that possible?) and I may or may not have had to make up another half batch *blush*.
Next time you find yourself with really ripe bananas and you want a change from the normal banana bread or banana muffins, make these either as individual ones or as one large tart. These are super yummy!
PrintBanana Caramel Coconut Tart

Find more fantabulous recipes, tips and tricks at www.thekitchenwhisperer.net. Also, join our TKW Family on Facebook
Ingredients
- 1 Flaky Pie Crust
- 1/4 cup unsalted butter, softened
- 1/2 cup sugar
- 1 large egg, slightly beaten
- 1/2 cup milk
- 2 ripe bananas, mashed and peeled
- 1 1/2 cups sweetened shredded coconut
- 1/2 cup Luscious Caramel Sauce
- plus extra for drizzle
- 2–3 cups Stabilized Whipped Cream
Instructions
- Preheat the oven to 350⁰F.
Make the Filling
- In a medium-size bowl, beat the butter and sugar together until light and creamy.
- Beat in the egg, milk and banana until smooth.
- Stir in 1 cup of the coconut.
Assemble the Tart
- On a lightly floured surface, roll out the dough until 1/8” thick and about 1 inch larger than the tart pan you’ll be using. I HIGHLY recommend using a tart pan with a removable bottom. You can also use a spring form pan too!
- Line the pan with the circle of dough and trim the edges even with the top of the pan.
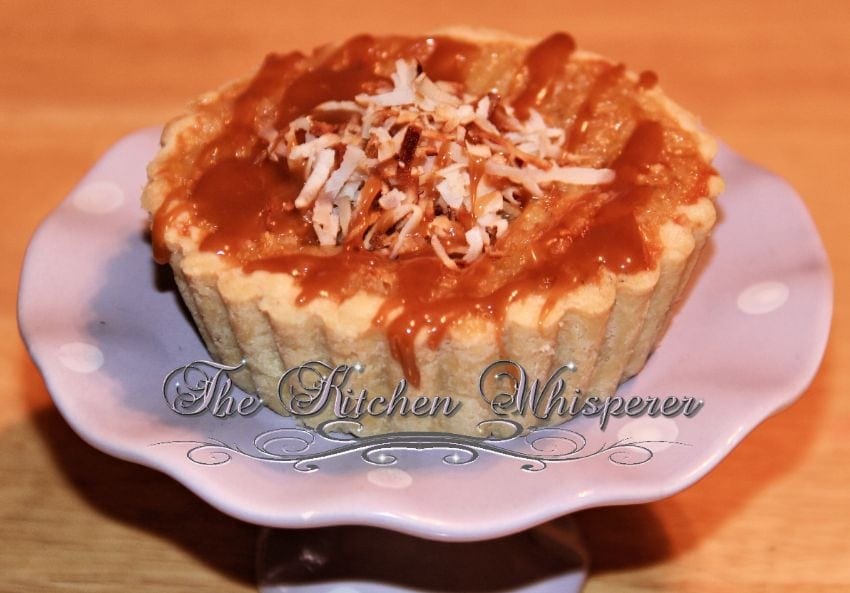
- Spread the caramel sauce on the bottom of the tart.
- Spoon the filling into the shell and bake until the tart is a light toasty brown, about 20 minutes.
- During the last 5 minutes of baking time, sprinkle the remaining ½ cup coconut on a cookie sheet.
- Put in the oven with the tart and let brown, watching so it doesn’t burn.
- When the coconut is toasted, about 5 minutes, take out of the oven.
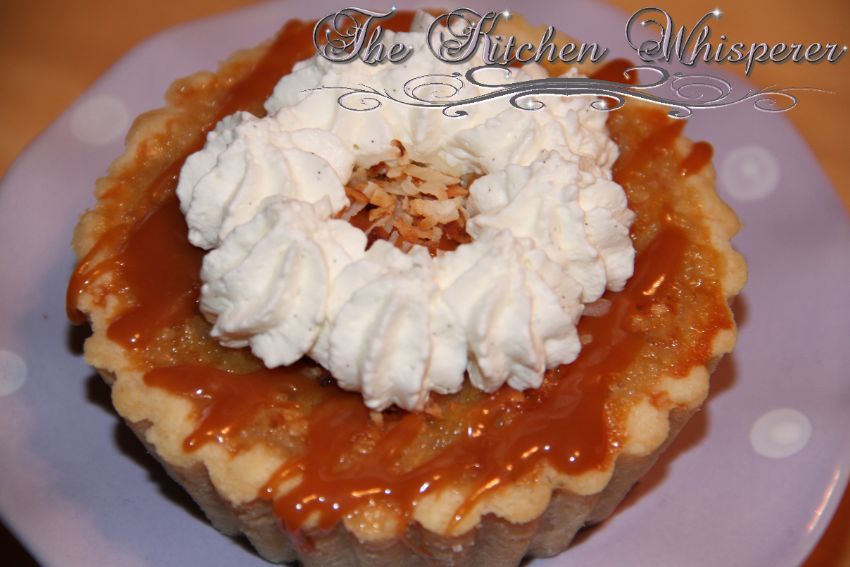
- Take the tarts out of the oven and sprinkle the toasted coconut on top.
- Let cool completely on a wire rack before serving.
- Chill for at least 2 hours.
- Garnish with the whipped cream and serve.


Leave a Reply