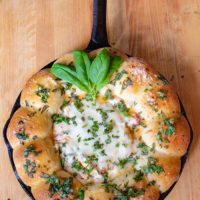
This Skillet baked Cheesy Tomato Basil Caprese dip nestled in the middle of a ring Pull-Apart Rolls is the perfect tailgating/homegating/just-because-it’s-Wednesday-night dip!
Oh hello Fall! Hello hoodie weather and hello tailgating! Whether you tailgate (and homegate) for football, soccer, cheer competition (hey trust me, I’ve seen cheer Mom rock the tailgating scene) this is the recipe you all need! It is so easy with just a few basic ingredients – cheeses, seasoning, basil, frozen dinner rolls and Redpack Tomatoes!! Deliciousness is yours in no time!
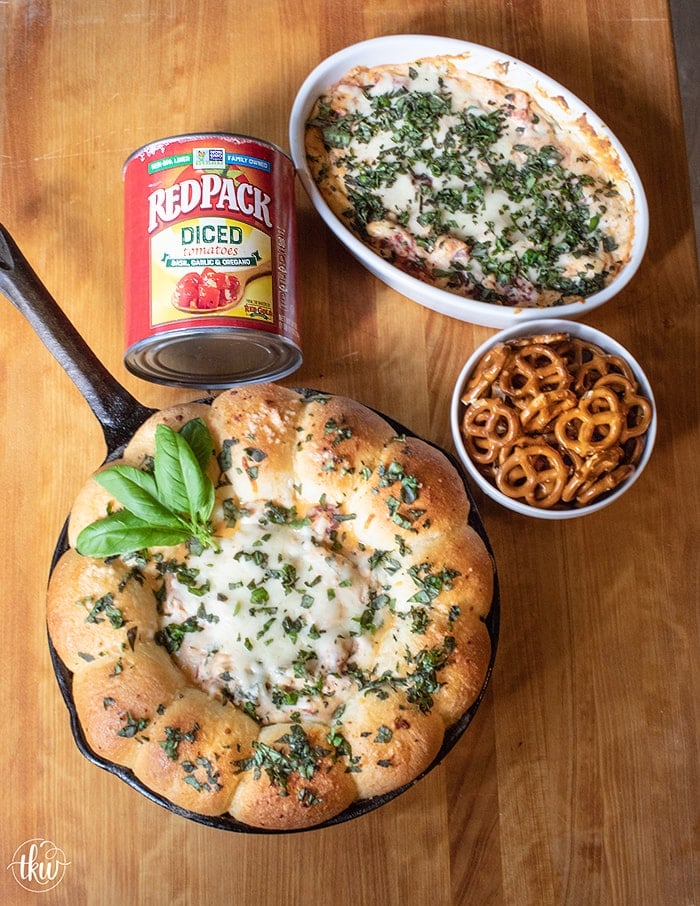
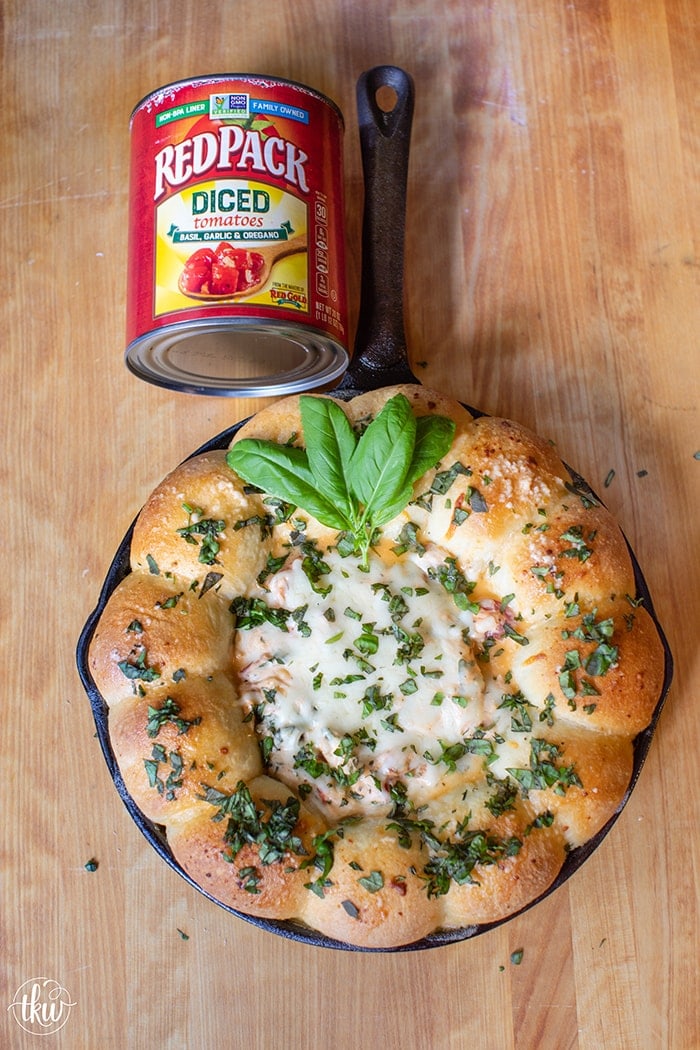
Today I’m teaming up again with Redpack Tomatoes to show you how a single can of Redpack Tomatoes Diced Tomatoes with Basil, Garlic and Oregano can create this fall’s most requested/shared/loved/pinned recipe! This recipe is going to be the recipe that every home serves for the big game. You can make it in the oven or on the grill. If you can grill/bake bread you can make this!
Generations
For those of you that don’t know, Redpack Tomatoes is actually one of the brands in the Red Gold Brands family. For Four Generations the Red Gold family has focused on one thing – tomatoes. They want to grow and produce the world’s best tomatoes. If you ask me, they’ve perfected this! For more than 75 years, this family-owned company has helped families turn everyday meals into delicious and memorable moments. What started out as simply a father and daughter growing tomatoes to help their country has grown to a full-time operation with over 45 partnerships with Midwestern growers.
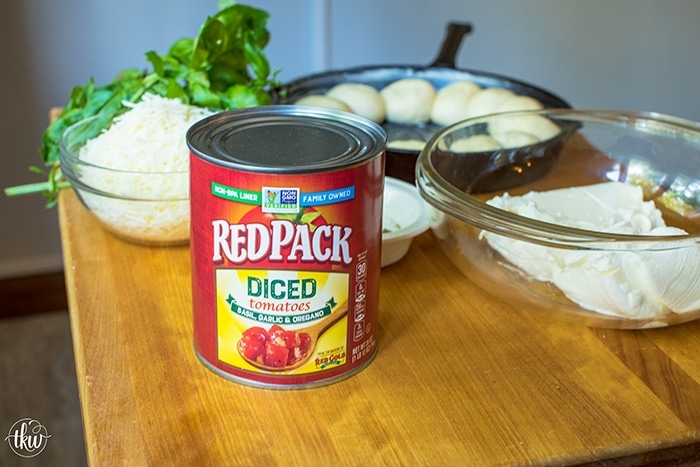
Quality First
With me as you know, quality matters. And call me old-fashioned but I want a company that I can trust and have faith in. Redpack Tomatoes is that company! If you look at the cans you’ll see the official Butterfly Logo. This means your family can trust that their family has taken the steps necessary to ensure your safety. This means that only the best, naturally derived ingredients go into their recipes. Their tomatoes are picked when they are absolutely vine ripe red thus eliminating the need to add artificial flavors, colors or preservatives in their cans.
Additionally, they’ve even taken further actions to ensure that your family is kept in mind. Their products are packed in non-BPA/BPS lined cans as well! Plus, they are Certified Kosher, Sustainably Produced, Gluten Free, Made in the USA, Vegan, Cholesterol & Fat-Free and Allergy Friendly towards the 8 most common food allergies.
Are all canned tomatoes created equally?
Absolutely NOT! Epicurious, who we all know and love, voted their Whole peeled tomatoes as the “Best Canned Tomatoes”. And rightly so! Just buy a can of Redpack and another brand and compare the difference yourself. Redpack Whole Peeled Plum tomatoes are the reddest tomato color. There are no oranges or yellows. Those oranges and yellow coloring in the other brand means those tomatoes aren’t ripe or picked at their peak of freshness! Next, you get actual WHOLE tomatoes. Not bits and pieces that are all mashed up. Next, NO PEELS! I cannot stand when you open up a can of whole tomatoes and there peels all throughout. Thankfully Redpack has me covered! I never have a peel, any mushy tomatoes, and no off colored tomatoes. I get beautiful, whole, peel-less tomatoes each and every time! They truly have the highest-quality, best-tasting tomatoes! When it comes to Redpack Tomatoes I never have to worry as they truly create the best product out there.
Easy Cheesy
This recipe is crazy easy. I’ve given you some short cuts by using pre-made frozen bread rolls however you could certainly make homemade bread dough or pizza dough and roll it out into small balls. This definitely is packed with cheese and lots of fresh basil but honestly the star of the dish are the Redpack Tomatoes Diced Tomatoes with Basil, Garlic and Oregano. It’s so packed with flavor and amazing fresh tomato taste.
The biggest thing I need you to pay attention to is draining the tomatoes. Seriously drain them for about 30 minutes and use a soft spatula to gently press the liquid out a bit. The reason being is you don’t want the dip to turn watery when it bakes. However save that juice! Trust me! That’s liquid gold! Plus you actually do need to save some to help with the butter cheese basting you need to give those buns. What you have leftover, use that when you make pasta, soup or rice. It’s an amazing flavor. Or if you’re not using it anytime soon, freeze it! It’s about no waste people!
Sustainability
Speaking of no waste, did you know that Red Gold doesn’t just recycle cans? They recycle everything – right down to the parts of the tomatoes that they don’t use. The discarded tomato peels and seeds are turned into animal feed, and some are even used as fertilizer to grow a whole new set of crops. In fact, they are so committed to the concept of reusing that they plan to achieve a ‘zero landfill status’!
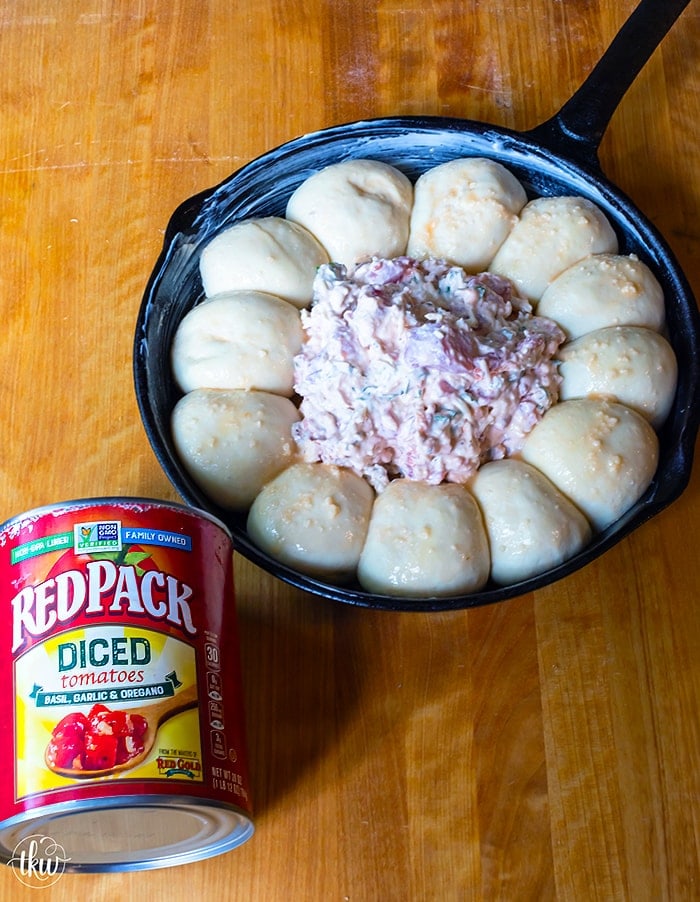
Now this recipe makes enough for 2-10″ skillets or you can make what I made – one skillet and one casserole dish. You could make one gluten free and one not. This way for those folks that want gluten free, give them veggies to dip in the dip!
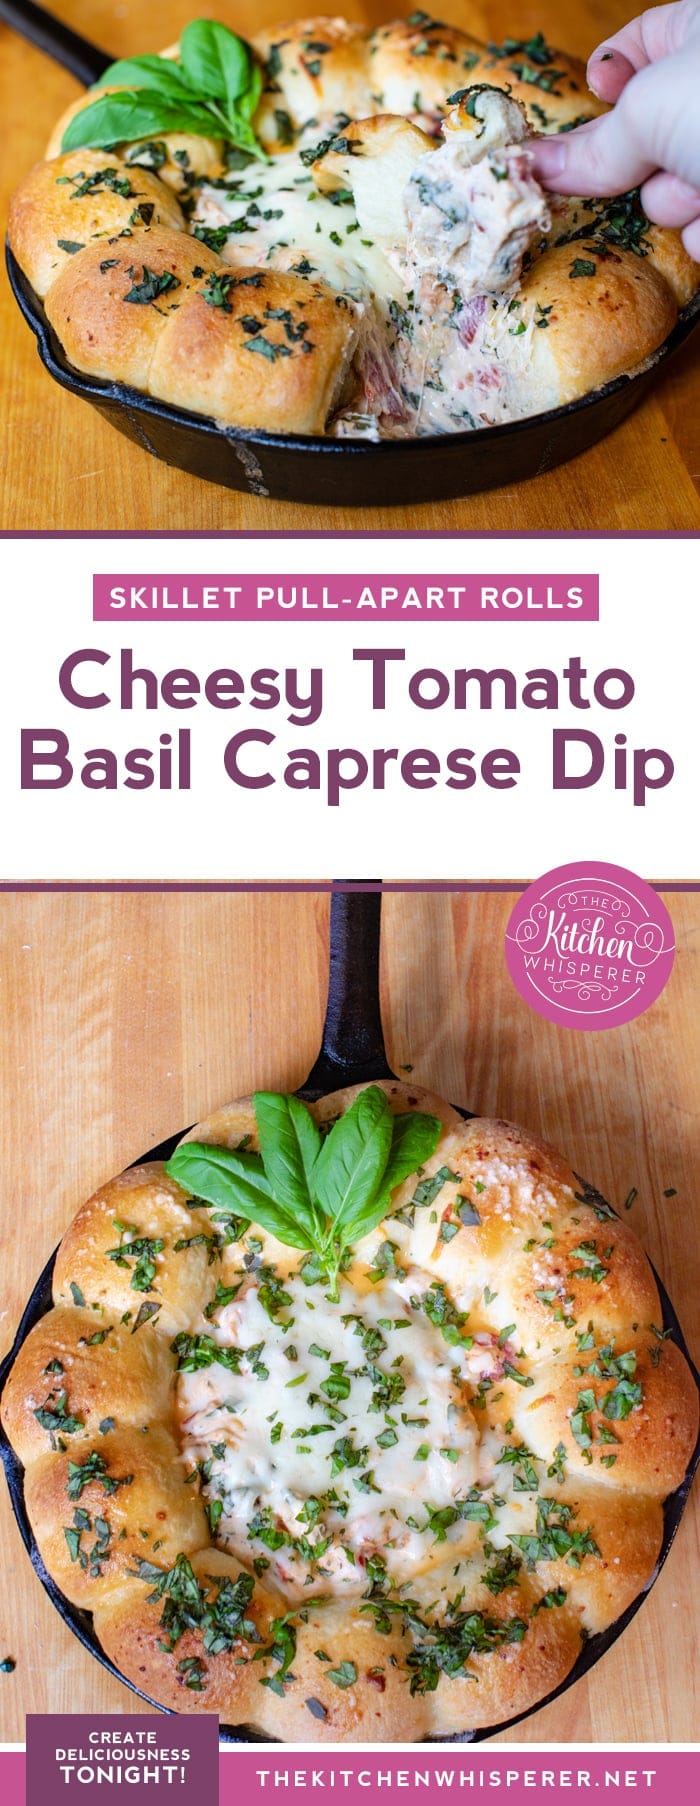
When I opened up the oven door to pull out this pan IMMEDIATELY I was hit with such an intense “Italian” smell of tomatoes, basil and cheese. Parmesan cheese floated through the air all the while that smell of warm bread comforted me. This dish is homey but elegant. This is a dish Mom would have made growing up though hers, honestly, would be made in our 24″ cast iron pan than weighed like 30 pounds and you needed 2 people to pull it out of the oven. That fed a crowd easily. If you have a pan that big then you can easily make this dish in that pan but you may want to pump some iron first to lift it or get a spotter! LOL
As I set this on the board to rest; yes you HAVE to give it 10 minutes to rest before you dig in otherwise you will burn the heck out of mouth with that molten-lava cheese. Trust me on this, wait 10 minutes – go wash some dishes, pet the dog or kiss the baby for a bit then dig in. Your mouth (and guests) will thank you for waiting and not burning the inside of their mouths.
The Dip
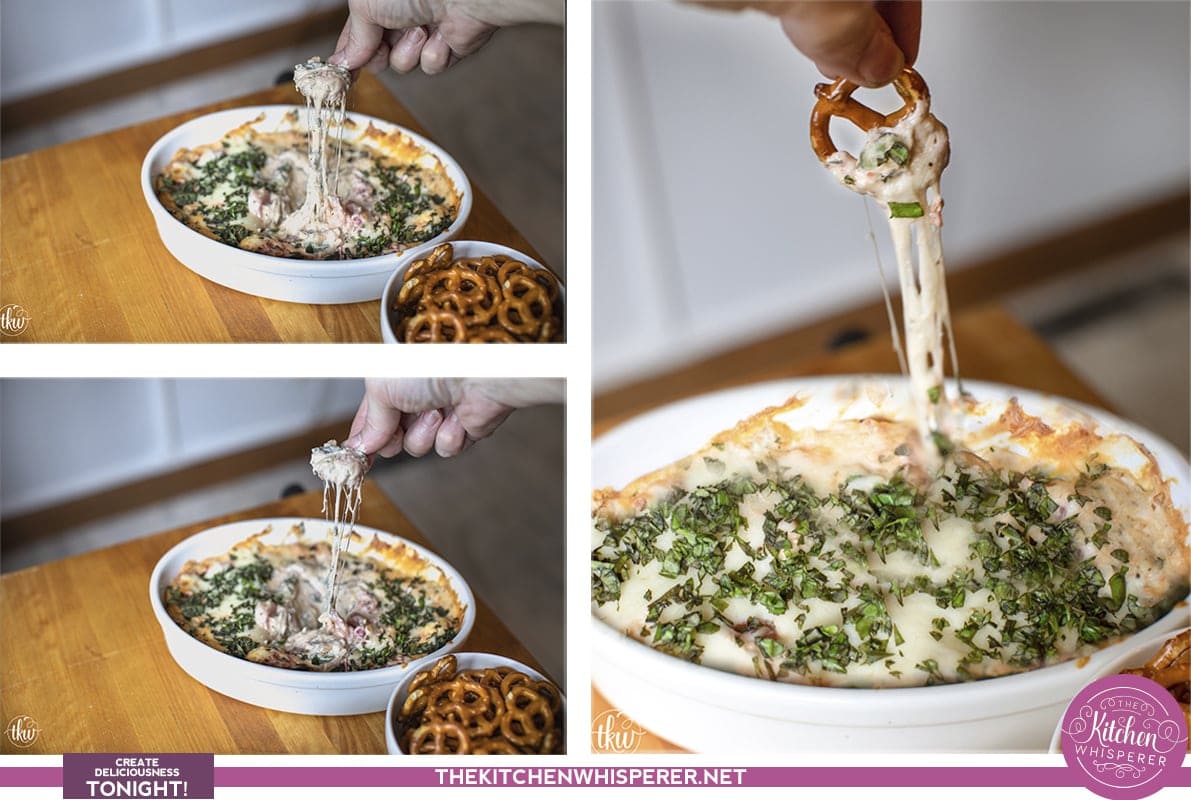
First, let’s take a gander at the baking dish full of that tomato basil cheesy goodness. That cheese pull tho… am I right?! That first bite I did keep it civilized with a normal sized scoop on the pretzel but after that first pretzel, well, we won’t discuss that. Let’s just say I had to pull myself away from it otherwise the rest of the photo shoot would not have got done.
The flavors were so intense in such a good way. You could taste the sweet, ripe tomatoes. The creaminess of the cheesy goodness snuggled up all around those diced tomato pieces making them all snug like a bug in a cheesy blanket. That fresh basil and herbs finished up this dip with such a light and bright flavor to help balance out the heaviness of the cheese. It truly was/is such a well-balanced dish. This dish needs to grace every single Tailgating party, every home gating party and pretty much any day of the week that ends in day. LOL
Pull-Apart and share…maybe
Lastly, if you wait 10 minutes all you need is 2 fingers and an appetite. Just grab a single roll and, as you pull up, you’ll see the dough pull apart and give away a single dough puff. Next, if you’re not sharing simply dip the bread puff into the dip, bite and re-dip. Please, only do this if you’re not sharing. But if you have to share, either spoon some dip onto a plate or tear your bread dough into smaller pieces and dip away. No double dipping. Trust me, you won’t get invited back to any more tailgating.
This post is being sponsored by Redpack Tomatoes featuring their Diced Tomatoes with Basil, Garlic and Oregano. All opinions of these ABSOLUTELY AMAZING tomatoes are mine. Thank you for supporting the brands that I love!
PrintSkillet Caprese Dip with Pull-Apart Rolls
This Skillet baked Cheesy Tomato Basil Caprese dip nestled in the middle of a ring Pull-Apart Rolls is the perfect tailgating/homegating/just-because-it’s-Wednesday-night dip!

Ingredients
- 12 frozen dinner rolls
- 2 tablespoon, 1 teaspoon melted butter, unsalted
- 8 ounces cream cheese, softened and full fat
- 3/4 cup sour cream, full fat
- 1 28 ounce can Redpack Tomatoes Diced Tomatoes with Basil, Garlic and Oregano, drained with 2 tablespoon juice reserved
- 1 cup shredded mozzarella
- 1 cup shredded parmesan
- 1/4 cup plus 2 tablespoon grated parmesan
- 1/3 cup chopped fresh basil
- 1 teaspoon oregano
- 1/2 teaspoon kosher salt
- 1/2 teaspoon black pepper
- 1 teaspoon garlic powder
Instructions
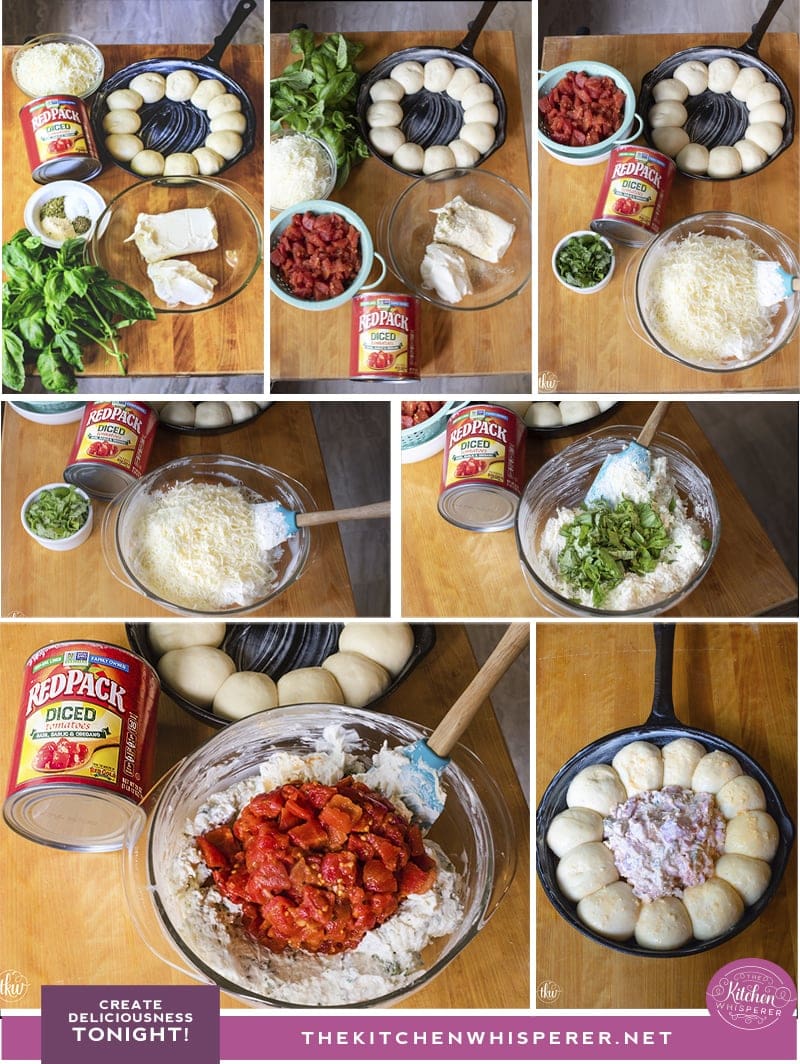
- In 2- 10” round cast iron pan brush the bottom and sides with 1 teaspoon of melted butter. Place 12 frozen dinner rolls around the outside of each trying to leave space in between them. Lightly spray with cooking spray then loosely cover with plastic wrap. Allow to thaw and rise (30-45 minutes). For this recipe I made 1 skillet and 1 baked dip (for pretzels and veggies) which means if you do that you only need 12 dinner rolls.
- While the rolls are thawing/rising, preheat the oven to 350F with the rack in the middle. In a large bowl add the cream cheese, sour cream, oregano, salt, pepper, and garlic powder. Whip together until light and fluffy. Next add in the shredded cheeses, 1/4 cup parmesan and mix until combined. Add in the basil and mix until incorporated.
- Add in the well-drained tomatoes and gently fold in. *Note I strained these for about 30 minutes gently pressing down every 5 minutes or so to try and get as much juice out as possible. The more juice you leave in, you run the risk of your dip being watery.
- Add half of the dip in the center of the bread rolls. If making 2 skillets, put the remaining dip in the other pan. If making 1 skillet pan and 1 tray of dip, spoon the rest of the dip in a 2 quart heat-safe baking dish.
- Mix together the remaining 2 tablespoon of melted butter, 2 tablespoon of reserved tomato juice and 2 tablespoon of grated parmesan. Brush gently on the tops of the rolls. Place the rolls (both pans or pan and baking dish) in the oven. Bake for 25-30 minutes or until the rolls are golden brown and the dip is bubbling.
- Remove from the oven and allow to cool for 10 minutes before serving.
- Store any leftovers in the fridge. *Note is not recommended putting the cast iron pan in the fridge.




So if I read it correctly , you add all but the 2 Tbs. of Parmesan to the filling . Am I right?
Right (step 2). In Step 5, that’s where you add the remaining 2Tbl.
Best Kitchen Wishes!
YES YES YES this is so good! Everyone needs to make this! Took this to our friend’s house to watch the game on Saturday and this was the first thing to go! Awesome recipe!
That filling is lit! This is so good! I wish I could give it a million stars!
This is so good and so easy! My family and I loved it! Thanks for another great recipe TKW!
Absolutely delicious! Made 4 of these over the weekend – 2 on Saturday and 2 on Sunday. We devoured them!
Lori,
Super job on the pics of the finished product.
Looks like a candidate for taking to the in-laws on Thanksgiving.
Joe
Thank you so much Joe! I appreciate your kind words!
Best Kitchen Wishes!